
How to replace the battery 2011-2017 Toyota Camry
To replace the battery on your Camry It’s easy. You will be asked to open the hood, localize the battery, remove the fastening clamp as well as carry out a few other steps. You can carry out this tutorial of 7 chapters in 60 minutes. Take your ratchet and your 10 mm socket and let’s get started!
Duration
60 minutes
Number of steps
7
Difficulty out of 5
2
Average savings
$40
Parts You Will Need
Tools You Will Need
Step-by-Step Installation
Chapter 1:
Open the hood
Step 1/2
Turn off the ignition, set the parking brake. Pull on the hood release lever and open the hood.


Chapter 1:
Step 2/2
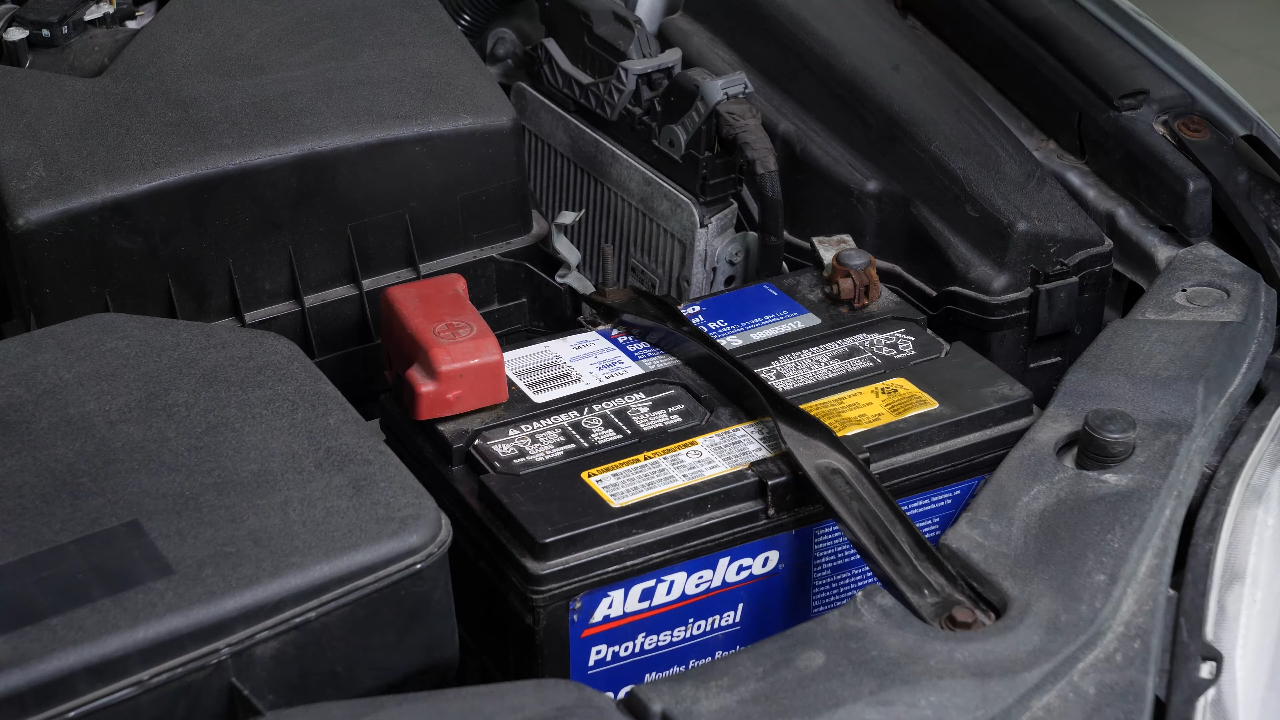
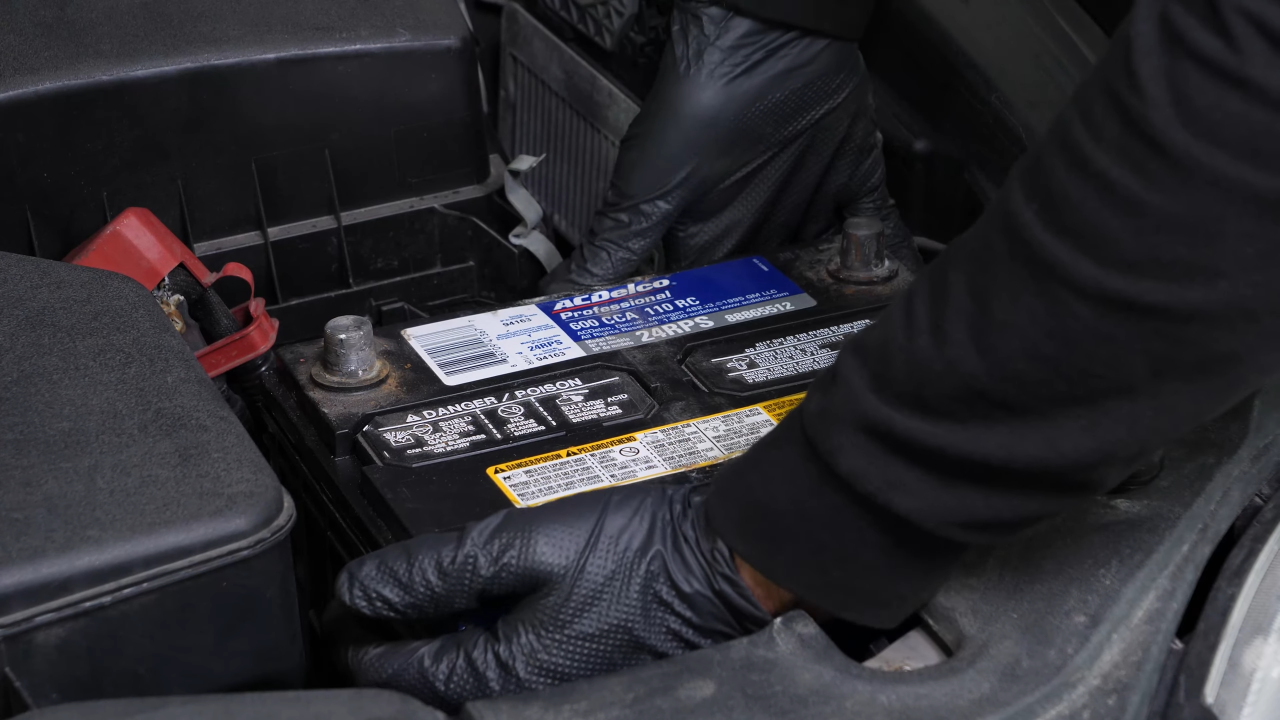
You should now be able to see the battery which is located to the right of the engine compartment.
Chapter 2:
Remove the fastening clamp
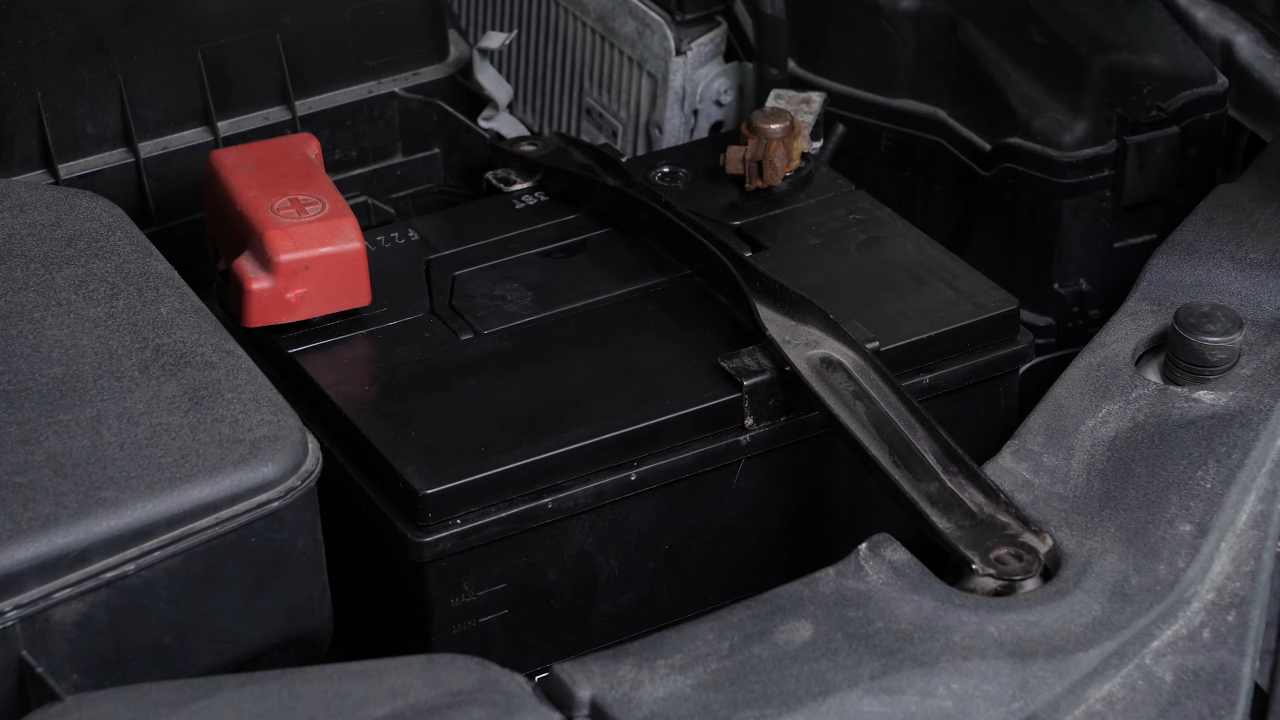
Step 1/2
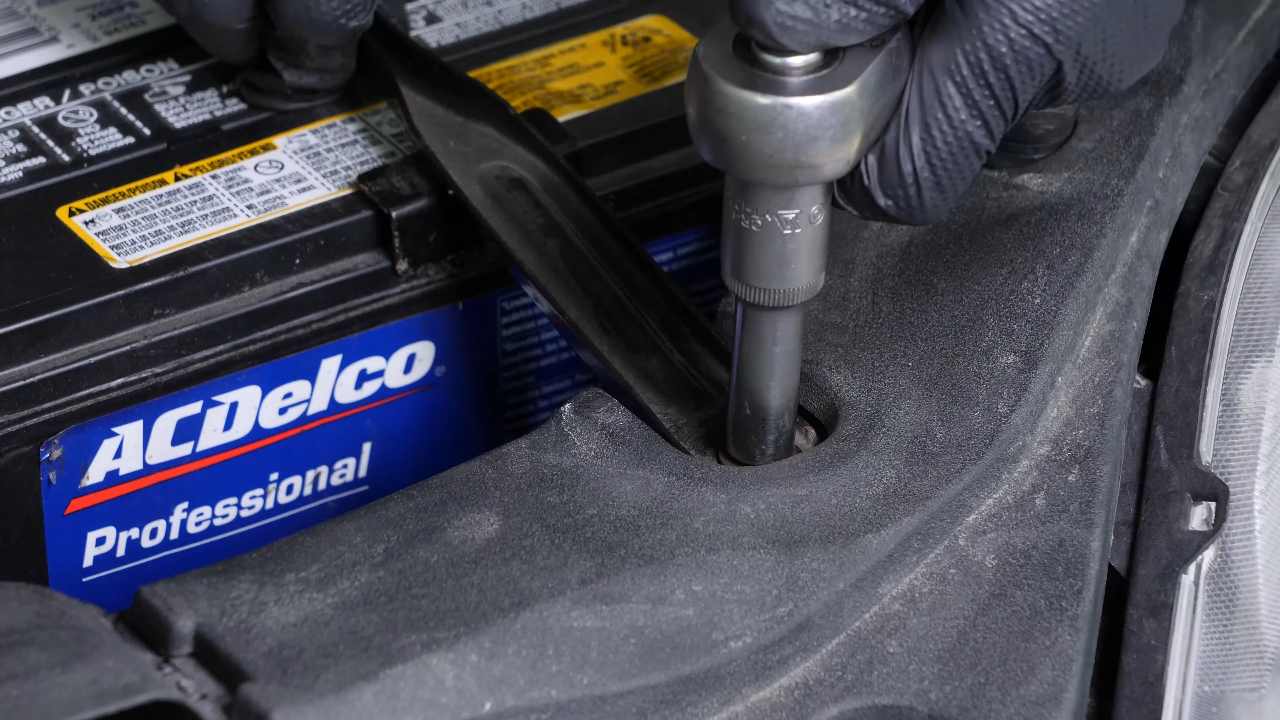
To remove the battery, you have to unscrew the support bar. Using a ratchet and a 10 mm socket, unscrew the nut and bolt securing the support bar.

Chapter 2:
Step 2/2
You can now remove the support bar.

Chapter 3:
Remove the battery
Step 1/6
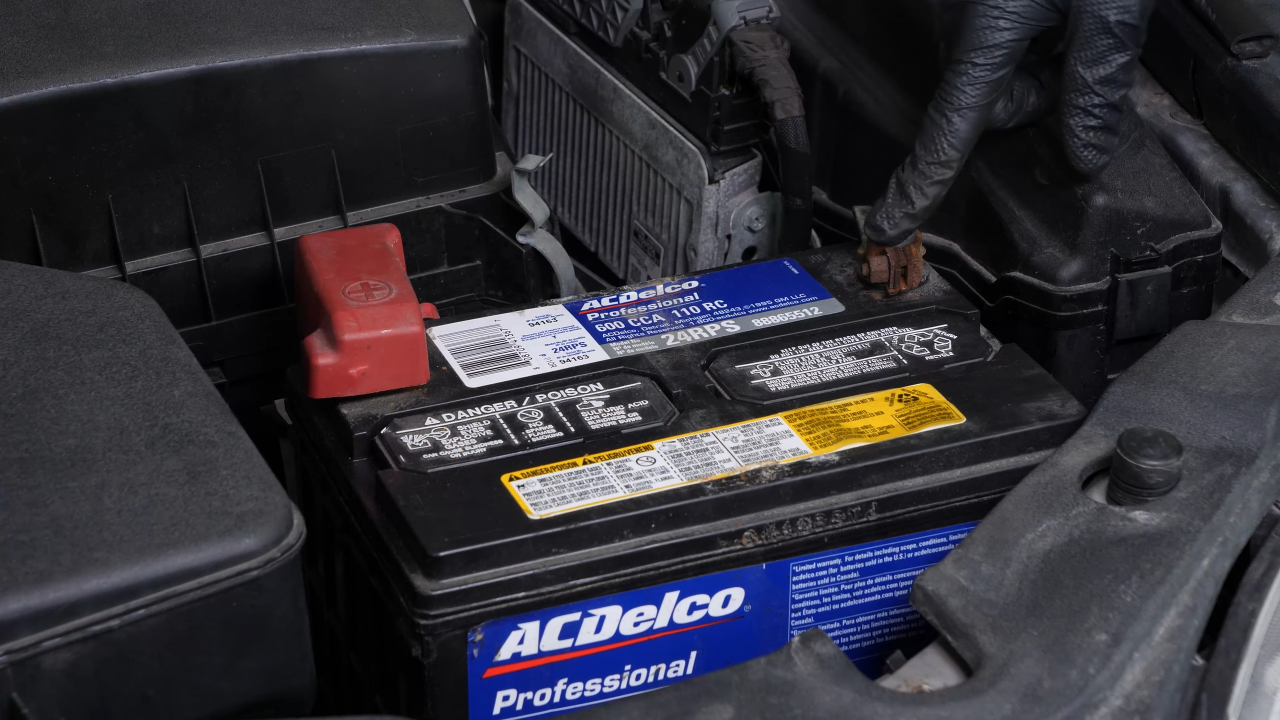
Never start by disconnecting the positive terminal, since the whole car is connected to the negative terminal. This can create sparks that are dangerous to your car’s electrical system.

Chapter 3:
Step 2/6
Using an 10 mm wrench, start by removing the negative terminal from the battery.
Chapter 3:
Step 3/6
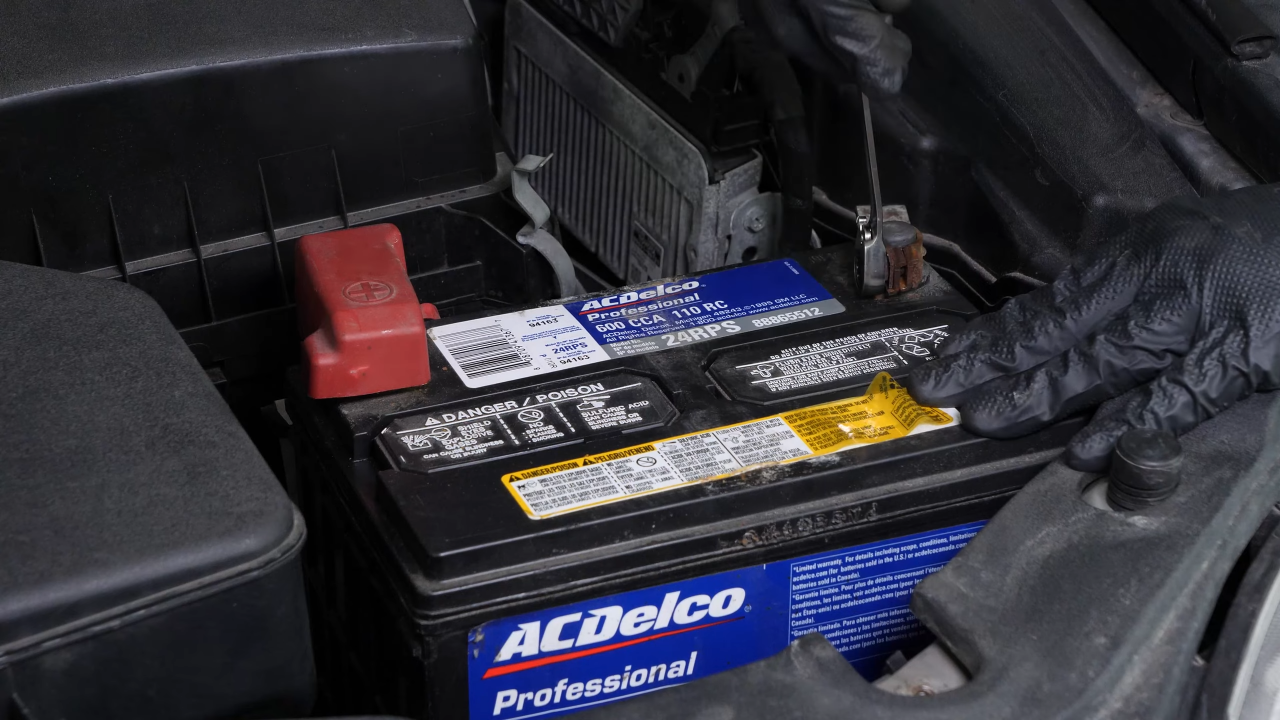
Once the terminal has been removed, ensure you distance the cable to avoid untimely reconnections which could damage the electrical network of the vehicle.
Chapter 3:
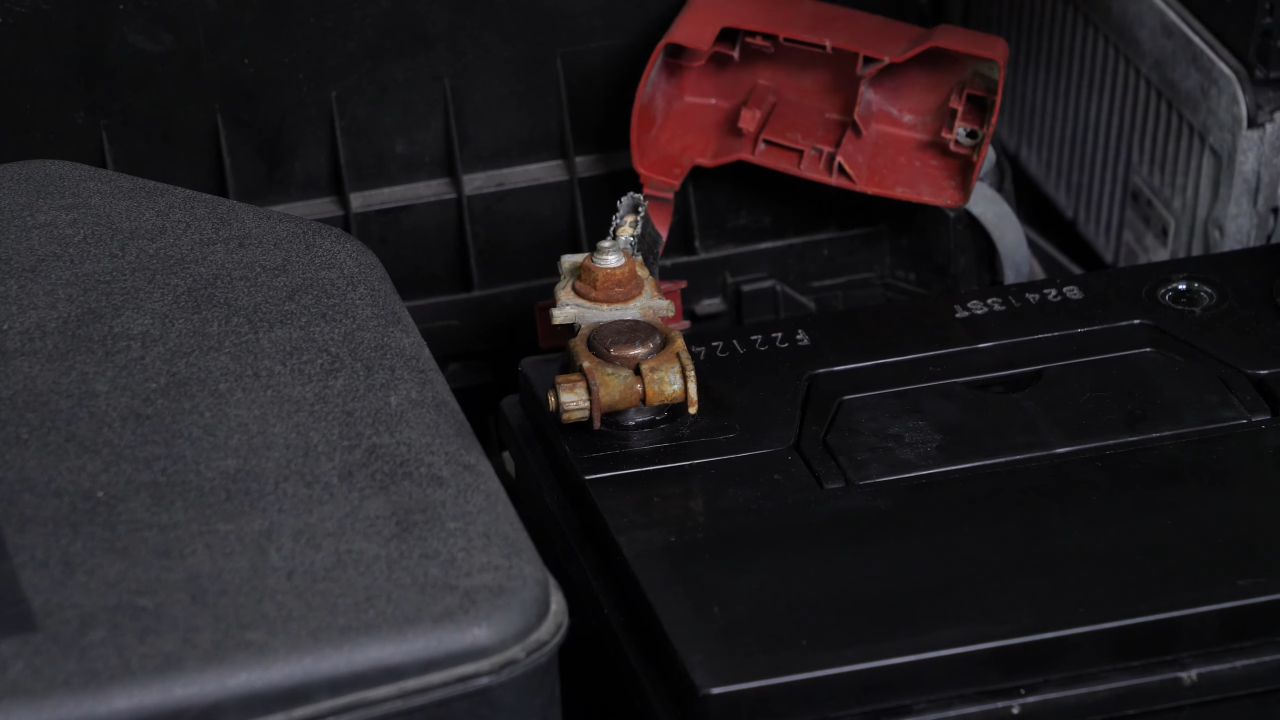
Step 4/6
Remove the rubber protection from the positive terminal.

Chapter 3:
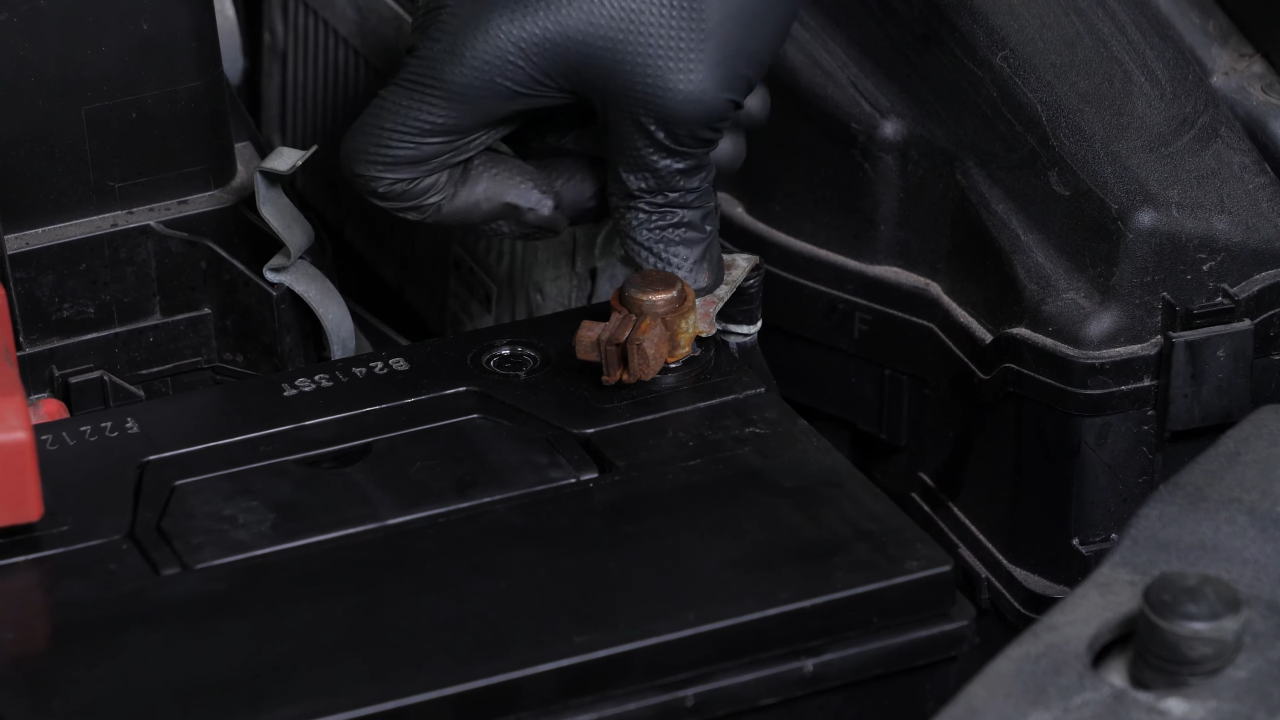
Step 5/6
Repeat the operation on the positive terminal.


Chapter 3:
Step 6/6
You can now remove the battery.
Chapter 4:
Sand the terminals
Step 1/2
Sand the inside of the terminals with sandpaper to remove the layer of white oxidation and to avoid breakdowns in the long-term.


Chapter 4:
Step 2/2
You can order the battery used in the video on Carparts.com via the link in the description.

Chapter 5:
Coat the terminals with copper grease
Step 1/1
Coat the terminals with copper grease to improve the contact between the terminals and connections, but also to limit oxidation development.

Chapter 6:
Install the new battery
Step 1/4
Take the new battery. Put the new battery in place and push it firmly into its frame.

Chapter 6:
Step 2/4
Start by putting the positive terminal back in place. Fix it in place with an 10 mm wrench.

Chapter 6:
Step 3/4
Put the rubber protection back on.

Chapter 6:
Step 4/4
Then put the negative terminal back on. Insert it fully, before fixing it in place with the wrench.

Chapter 7:
Put the battery fastening bar in place
Step 1/2
Put the battery support bar back in place and tighten the bolt, then the nut.


Chapter 7:
Step 2/2
Operation complete.