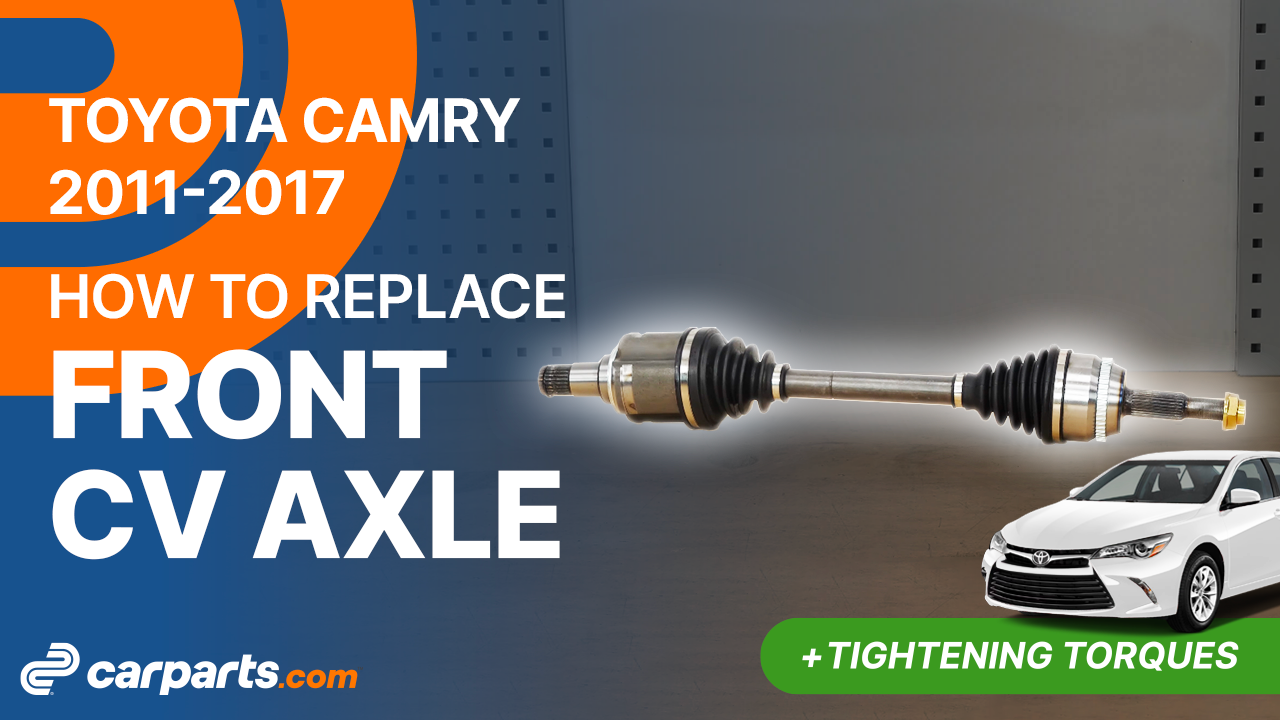
How to replace the front CV Axle 2011-2017 Toyota Camry
To replace the front CV Axle on your Camry we’re here to help. You’ll need to lift the vehicle, take off the wheels, remove the caliper assembly as well as carry out a few other steps. You can carry out this tutorial of 11 chapters in 90 minutes. Take your 10 mm socket and your 22 mm socket and let’s get started!
Duration
90 minutes
Number of steps
11
Difficulty out of 5
4
Average savings
$130
Parts You Will Need
Tools You Will Need
Step-by-Step Installation
Chapter 1:
Set up
Step 1/1
Turn your engine off and set the parking brake.


Chapter 2:
Tips
Step 1/2
We recommend loosening the nut on the end of the transmission once the vehicle is on the ground.

Chapter 2:
Step 2/2
If your vehicle is equipped with aluminum rims, you will need to remove the wheel first before you can remove the central rim cover.
Chapter 3:
Lift the vehicle
Step 1/5
Use a breaker bar and a 30mm socket to unblock the nut on the end of the CV axle.


Chapter 3:
Step 2/5
Loosen the stud bolts on the front wheels.

Chapter 3:
Step 3/5
Lift the front of your vehicle. Place the vehicle on the jack stands.


Chapter 3:
Step 4/5
Don’t forget to put the wheels under the vehicle!


Chapter 3:
Step 5/5
Finish unscrewing the nut on the end of the CV axle.


Chapter 4:
Remove the caliper assembly
Step 1/5
It is now necessary to remove the caliper assembly.Turn the disc outwards, this will facilitate the following steps.

Chapter 4:
Step 2/5
Using a socket wrench and a 17mm socket, unscrew the two holding screws on the caliper mount.


Chapter 4:
Step 3/5
Tip: attach a piece of electrical cable, or a hook, to one of the strut spring coils

Chapter 4:
Step 4/5
Remove the caliper assembly, and hang it on the hook.


Chapter 4:
Step 5/5
Then remove the disc.


Chapter 5:
Remove the ABS sensor
Step 1/2
Using a ratchet, an extender and an 10 mm socket, unscrew the ABS sensor’s retaining bolt.


Chapter 5:
Step 2/2
Then, remove the sensor.


Chapter 6:
Loosen the strut foot
Step 1/5
Brush the 2 strut foot bolts, then spray them with penetrating oil.


Chapter 6:
Step 2/5
Next, using a ratchet, a 22mm socket and a 22mm wrench to prevent the bolt from rotating, unscrew the strut foot nuts.


Chapter 6:
Step 3/5
Then remove the bolts.You can use a pin punch and a hammer to help you remove them.


Chapter 6:
Step 4/5
Separate the strut foot from the wheel knuckle by prying it using a large screwdriver.


Chapter 6:
Step 5/5
Then shift the wheel knuckle by disengaging it from the front CV axle.


Chapter 7:
Remove the CV axle
Step 1/2
Use a crowbar to pry the CV axle out of the gearbox.


Chapter 7:
Step 2/2
Then pull the CV axle out completely.It might prove difficult to extract.


Chapter 8:
Put the CV axle back
Step 1/7
Take the new CV axle and unscrew the nut supplied with it.


Chapter 8:
Step 2/7
Reinsert the CV axle into the gearbox.


Chapter 8:
Step 3/7
You must now fit the CV axle back into the wheel knuckle.

Chapter 8:
Step 4/7
Insert the wheel knuckle into the strut foot.

Chapter 8:
Step 5/7
Replace the bolts.Then screw the nuts back on, by hand at first.


Chapter 8:
Step 6/7
Screw the strut foot nuts back on until they make contact, using a ratchet, a 22mm socket, and a 22mm wrench to prevent the bolt from rotating.


Chapter 8:
Step 7/7
Finish tightening using a torque wrench.

Chapter 9:
Put the ABS sensor back
Step 1/3
Before installing the ABS sensor, we recommend that you thoroughly clean its location using a wire brush.

Chapter 9:
Step 2/3
Insert the sensor into its housing.


Chapter 9:
Step 3/3
Then, retighten the retaining bolt.

Chapter 10:
Put the caliper assembly back
Step 1/5
Reinstall the brake disc.

Chapter 10:
Step 2/5
You can now re-install the caliper assembly.And screw it back on.


Chapter 10:
Step 3/5
Finish tightening using a torque wrench.


Chapter 10:
Step 4/5
Don’t forget to remove the cable that you used to hold the caliper assembly together.

Chapter 10:
Step 5/5
Replace the hub nut.

Chapter 11:
Put the vehicle back on the ground
Step 1/6
Then, you will be able to put the wheels back on your vehicle.


Chapter 11:
Step 2/6
Put the car back on the ground and block the wheels properly.


Chapter 11:
Step 3/6
Finish tightening the hub nut once the vehicle is on the ground, using a torque wrench.

Chapter 11:
Step 4/6
Crimp the nut on the end of the transmission using a pin punch and a hammer.


Chapter 11:
Step 5/6
Put the central rim cover back on.

Chapter 11:
Step 6/6
Operation complete.