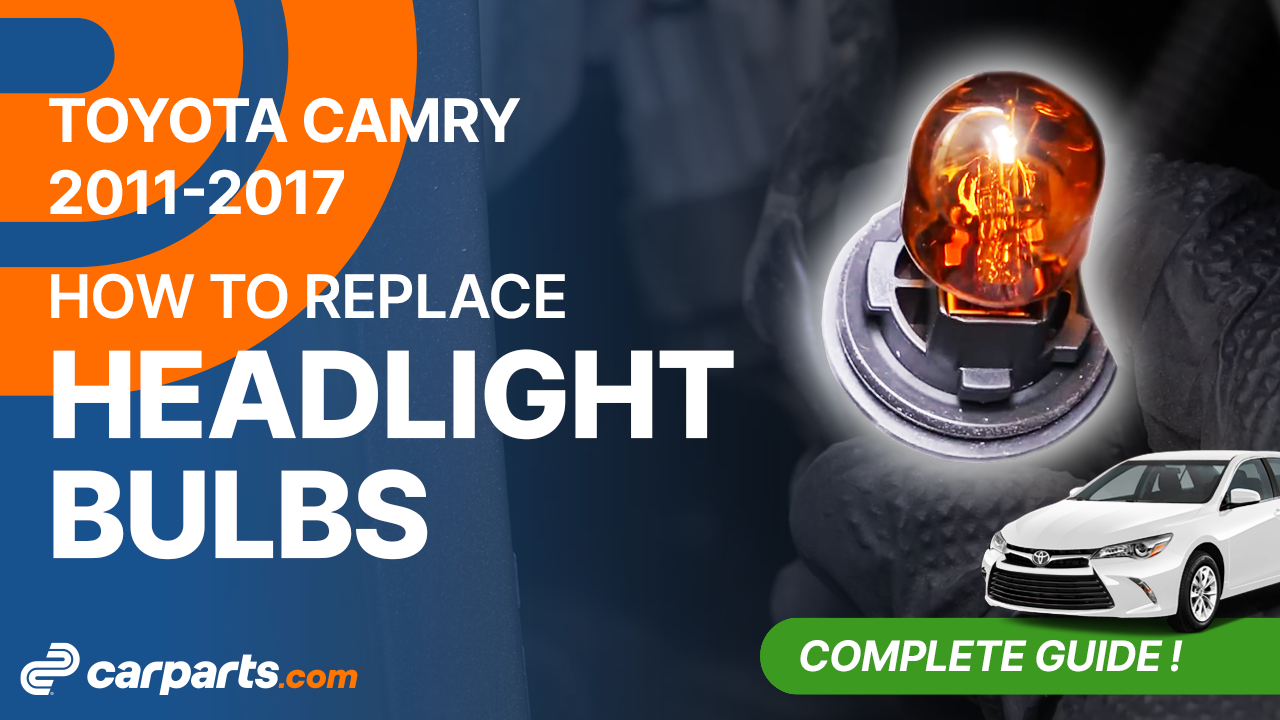
How to replace the headlight bulbs 2011-2017 Toyota Camry
To replace the headlight bulbs on your Camry It’s easy. You will need to access the lightbulbs, replace the low beam bulb, replace the parking light bulb as well as carry out a few other steps. You can carry out this tutorial of 8 chapters in 10 minutes. Take your ratchet and your 10 mm socket and let’s get started!
Duration
10 minutes
Number of steps
8
Difficulty out of 5
1
Average savings
$15
Parts You Will Need
Tools You Will Need
Step-by-Step Installation
Chapter 1:
Open the hood
Step 1/2
Turn your engine off and set the parking brake.


Chapter 1:
Step 2/2
Pull on the hood release handle and open the hood.This will allow you to access the lightbulbs of your headlights.

Chapter 2:
Tips
Step 1/1
To increase the lifespan of the bulbs, we would suggest never touching the glass with your fingers or cleaning them carefully with paper towels before putting them back.
Chapter 3:
Replace the high beam bulb
Step 1/4
To change the 9005 high beam lightbulb located next to the grille assembly, remove the lightbulb socket from the headlight housing, turn it counterclockwise, and pull it out.


Chapter 3:
Step 2/4
Remove the electrical connector from the lightbulb by pressing on the retaining tab, then pull on the lightbulb.

Chapter 3:
Step 3/4
Take the new bulb.

Chapter 3:
Step 4/4
Put the new bulb into the socket, then insert the whole thing into the light, and turn it clockwise to lock it in place.

Chapter 4:
Replace the low beam bulb
Step 1/4
To change the H11 low beam lightbulb located by the car’s chassis, remove the lightbulb socket from the headlight housing, turn it counterclockwise, and pull it out.


Chapter 4:
Step 2/4
Remove the electrical connector from the lightbulb by pressing on the retaining tab, then pull on the lightbulb.

Chapter 4:
Step 3/4
Take the new bulb.

Chapter 4:
Step 4/4
Put the new bulb into the socket, then insert the whole thing into the light, and turn it clockwise to lock it in place.


Chapter 5:
Replace the parking light bulb
Step 1/6
The parking lightbulb socket is located next to the low beam lightbulb.

Chapter 5:
Step 2/6
To remove the parking light bulb socket from the headlight housing, turn it counterclockwise and pull it out.

Chapter 5:
Step 3/6
To remove the socket, press down the retaining tab, then pull out the socket.

Chapter 5:
Step 4/6
Simply pull the bulb out to remove it.

Chapter 5:
Step 5/6
Take the new bulb.

Chapter 5:
Step 6/6
Put the new lightbulb into the socket, then insert the socket into the power cables. Then, insert the socket into the headlight housing, and turn it clockwise to lock it in place.


Chapter 6:
Acces the turn signal bulbs
Step 1/6
To replace the turn signal lightbulb, you need to remove the wheel to gain full access.

Chapter 6:
Step 2/6
Loosen the wheel’s lug nuts. Lift the front of your vehicle. Place the vehicle on the jack stands. Don’t forget to put the wheel under the vehicle!


Chapter 6:
Step 3/6
Now you need to remove the mudguard. On the mudguard, remove the plastic rivet using a fork.

Chapter 6:
Step 4/6
Then, using a flat head screwdriver, unscrew the mudguard retaining screw. Remove it using the fork.


Chapter 6:
Step 5/6
Using a ratchet and a 10 mm socket, remove the 3 screws that hold the mud flap.


Chapter 6:
Step 6/6
You can now pull back the mudguard.

Chapter 7:
Replace turn signal bulb
Step 1/4
To remove the lightbulb socket, turn it counterclockwise and pull it out.

Chapter 7:
Step 2/4
To remove the bulb all you have to do is pull on it.


Chapter 7:
Step 3/4
Take the new bulb.

Chapter 7:
Step 4/4
Put the new bulb into the socket, then insert the whole thing into the light, and turn it clockwise to lock it in place.


Chapter 8:
Finalise the reassembly
Step 1/8
Put the mudguard back in place.

Chapter 8:
Step 2/8
Put the rivet back in place.

Chapter 8:
Step 3/8
Then, retighten the retaining screw.

Chapter 8:
Step 4/8
Replace the mud flap.

Chapter 8:
Step 5/8
Screw back in the three screws holding the mud flap.

Chapter 8:
Step 6/8
Then, you will be able to put the wheels back on your vehicle.

Chapter 8:
Step 7/8
Put the car back on the ground and block the wheels properly.


Chapter 8:
Step 8/8
Operation complete.