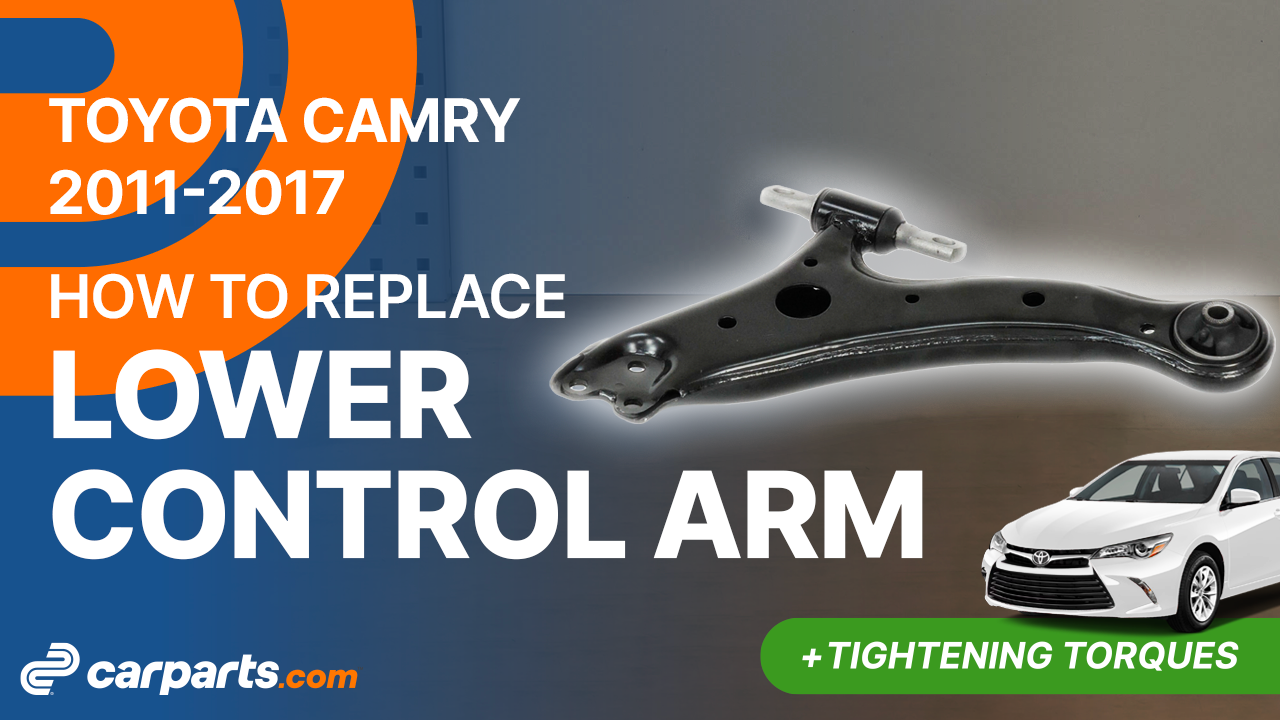
How to replace the lower control arms 2011-2017 Toyota Camry
To replace the lower control arms on your Camry it couldnt’ be easier. You’ll need to set up the vehicle, lift the vehicle, remove the sway bar end link as well as carry out a few other steps. You can carry out this tutorial of 9 chapters in 90 minutes. Take your 18 mm socket and your crowbar and let’s get started!
Duration
90 minutes
Number of steps
9
Difficulty out of 5
4
Average savings
$130
Parts You Will Need
Tools You Will Need
Step-by-Step Installation
Chapter 1:
Lift the vehicle
Step 1/3
Turn off your vehicle’s ignition, set the parking brake, pull the hood release handle and open the hood.


Chapter 1:
Step 2/3
Loosen the stud bolts on the front wheels. Lift the front of your vehicle.


Chapter 1:
Step 3/3
Place the vehicle on the jack stands. Don’t forget to put the wheels under the vehicle!


Chapter 2:
extract the lower ball joint
Step 1/3
You must then separate the front lower ball joint from the control arm. Brush the nuts holding the lower ball joint and spray them with penetrating oil.


Chapter 2:
Step 2/3
Using a ratchet and an 18 mm socket, unscrew the 2 nuts holding the lower ball joint.


Chapter 2:
Step 3/3
Brush the lower ball joint retaining bolt and spray it with penetrating oil. Then, unscrew it using the same tools.


Chapter 3:
Remove the transmission mount
Step 1/6
Brush the lower retaining nut and spray it with penetrating oil. Then, unscrew it using a ratchet and a 17 mm socket.


Chapter 3:
Step 2/6
Do the same with the 2 lower nuts located in the frame.


Chapter 3:
Step 3/6
Brush the mount’s upper retaining nut and spray it with penetrating oil. Then, unscrew it using a 19 mm wrench.


Chapter 3:
Step 4/6
Using a crowbar, separate the lower ball joint from the suspension wishbone.

Chapter 3:
Step 5/6
Inside the engine compartment, loosen the engine mount retaining bolt by a few threads using a ratchet, a long extender, a gimbal, and a 17 mm socket, which will allow you to remove the transmission mount without forcing it.

Chapter 3:
Step 6/6
Then, using the jack, push up on the transmission, not on the oil pan, in order to lift the engine and be able to remove the transmission mount.


Chapter 4:
Remove the control arm
Step 1/5
You now have access to the 2 front control arm retaining bolts.

Chapter 4:
Step 2/5
Spray them with penetrating oil and unscrew them using a ratchet and a 22 mm socket.


Chapter 4:
Step 3/5
Using a ratchet, a 19 mm socket, and a 19 mm wrench, unscrew the rear control arm retaining nut. Then remove the bolt.


Chapter 4:
Step 4/5
You can now remove the control arm by pulling it towards you and moving it back and forth.

Chapter 4:
Step 5/5
Brush and grease the control arm area to facilitate its installation.


Chapter 6:
Prepare the new control arm
Step 1/2
Take the control arm.

Chapter 6:
Step 2/2
Retrieve the spacer from the old control arm and install it on the new one.


Chapter 7:
Set up the new control arm
Step 1/4
Put the new control arm in place.You can tap it with a mallet to properly insert it into its rear housing. Next, reinsert the bolt.

Chapter 7:
Step 2/4
Loosely screw the nut back on to hold it together.

Chapter 7:
Step 3/4
Replace the 2 front retaining bolts of the control arm, then screw them back in.


Chapter 7:
Step 4/4
Finish the tightening of the bolts with a torque wrench.


Chapter 8:
Put the components back in place
Step 1/7
Replace the transmission mount. Then, lower the engine using the jack.


Chapter 8:
Step 2/7
Screw in the engine mount retaining bolt.


Chapter 8:
Step 3/7
Screw back on the upper retaining nut of the transmission mount.

Chapter 8:
Step 4/7
Finish tightening using a torque wrench. Then, screw back on the 3 lower retaining nuts of the transmission mount.


Chapter 8:
Step 5/7
Tighten the nuts with a torque wrench.


Chapter 8:
Step 6/7
Replace the lower ball joint in the control arm. Then, screw the nuts and bolt back on.


Chapter 8:
Step 7/7
Finish tightening using a torque wrench.


Chapter 9:
Put the vehicle back on the ground
Step 1/4
Then, you will be able to put the wheels back on your vehicle.


Chapter 9:
Step 2/4
During this operation, you will be intervening on the front axle of your car, so it is advisable to perform a wheel alignment afterwards.
Chapter 9:
Step 3/4
Put your vehicle back on the ground before properly fixing the wheels in place.


Chapter 9:
Step 4/4
Operation complete.