



Trail-Ready vs. Stock: Which ATV Upgrades Are Actually Worth It?
Most ATVs leave the factory tuned for everyone, which means they’re optimized for no one in particular. That’s fine for groomed trails, but the moment the terrain gets technical, those compromises show up fast. The right ATV upgrades genuinely transform how a machine handles the backcountry. The wrong ones, or the right ones done in the wrong order, can make things worse.
Whether you’re building a dedicated trail machine or just getting more serious about weekend rides, that gap between a capable ATV and a trail-ready one usually comes down to a few well-chosen modifications done in the right order.
Why Stock ATV Parts Aren’t Always the Problem
Manufacturers tune stock ATVs for the widest possible range of riders and conditions. The factory setup is intentionally conservative on suspension stiffness, air-fuel ratios, and tire compound. It's built to work passably across all terrain types rather than excel at any one of them. For casual trail riders on groomed paths, that compromise is perfectly fine.
For anyone pushing into technical terrain, deep mud, or aggressive off-camber trails, the stock configuration becomes a limitation fast. That said, there's a common mistake of treating every factory component as a weak link. Stock shocks on many entry-level utility ATVs are more capable than they get credit for on moderate terrain. Before spending money, honestly assess whether your riding style has outgrown the stock setup or whether technique is the real bottleneck.
ATV Upgrades Worth Your Time and Money
01 — Tires
Tires
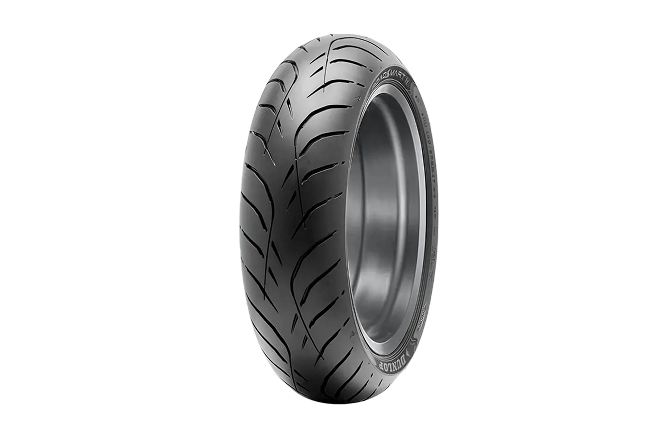
If there's one modification that delivers the most immediate improvement for trail riding, it's tires. Stock rubber is typically an all-terrain compromise that handles nothing particularly well. Upgrading to terrain-specific tires, whether a mud tire with widely spaced lugs or a six-ply rock-and-trail tire, transforms the way the machine connects with the ground.
The key is matching the tread pattern to your actual riding environment. A mud tire with aggressive paddle-style lugs wears prematurely on hardpack. A trail tire with stiff, closely spaced knobs packs with clay and loses grip in deep wet mud.
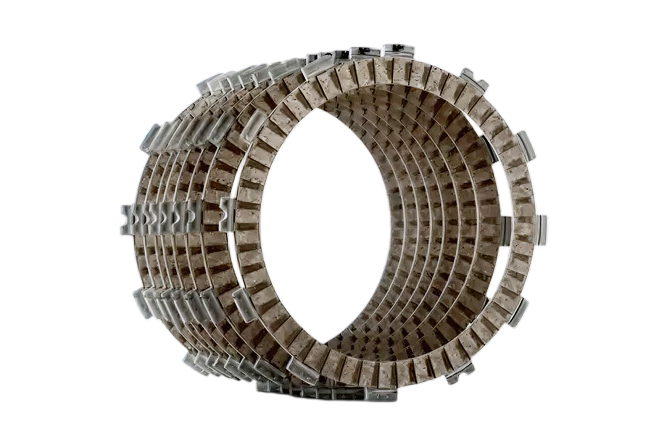
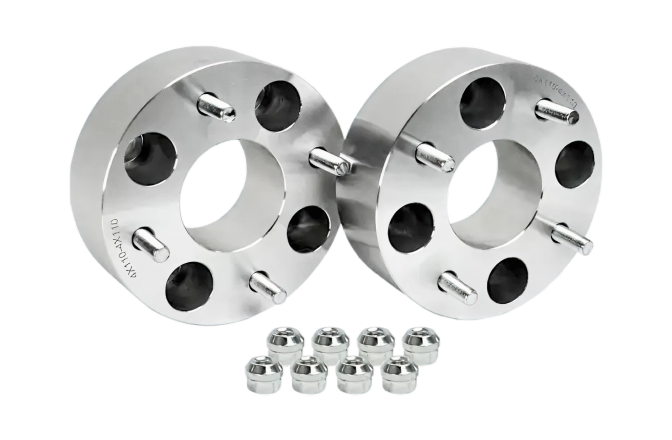
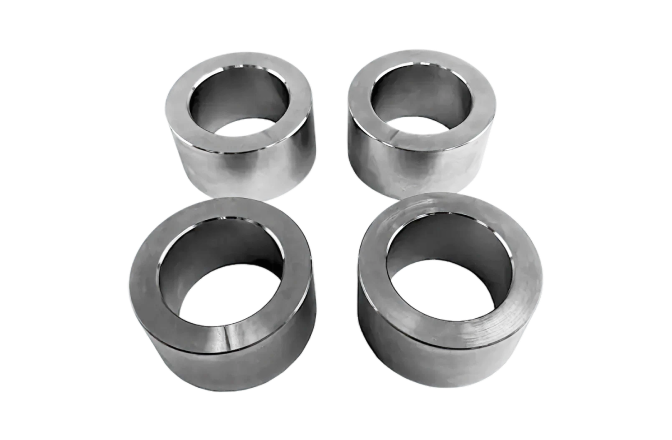
Going up in size, whether that's a taller tire for ground clearance or a wider one for extra float, changes how the tire sits in the wheel well. Wider tires often rub against the frame or A-arms, and a wheel spacer moves the wheel out just enough to restore clearance. Any size increase also adds rotational mass and alters the effective gear ratio, throwing off your CVT clutch calibration. A tire-only upgrade without matching clutch work often results in sluggish acceleration and premature belt wear.
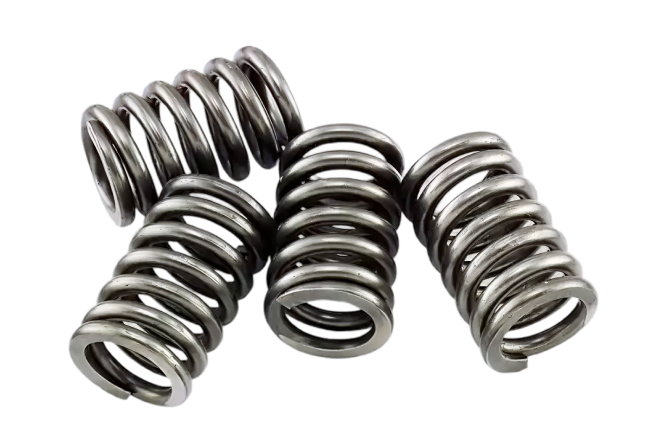
A clutch spring built for the new tire size corrects that shift and keeps power delivery where it belongs. Riders running a fresh terrain-specific tire should also carry a tire pressure gauge, since low pressure changes the contact patch and rolling resistance more than most people expect. Checking pressure before every ride catches a slow leak before it becomes a trailside flat.
02 — Suspension Upgrades
Suspension Upgrades
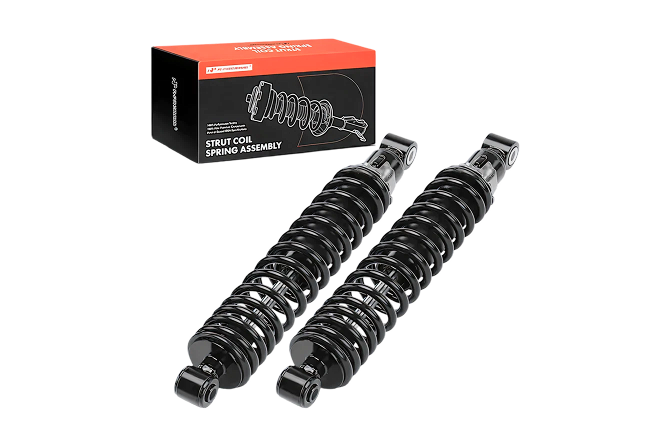
Suspension modifications rank among the most impactful changes you can make to an ATV, but they're also the easiest to get wrong. Factory shocks use fixed valving designed for average rider weight on average terrain. High-performance aftermarket shocks with adjustable preload, compression damping, and rebound settings let you dial in the ride specifically. You're tuning to your weight, your gear load, and the conditions you actually ride in.
For anyone who frequently tackles rough, high-speed trails or carries accessories that add weight, a quality shock absorber upgrade can be transformative. Remote reservoir shocks take it a step further, using larger fluid capacity to prevent heat fade during extended aggressive riding. The install detail most articles skip: always set your sag correctly after putting in new shocks. Sag is the static compression under your riding weight, and ignoring it negates most of the performance gain.
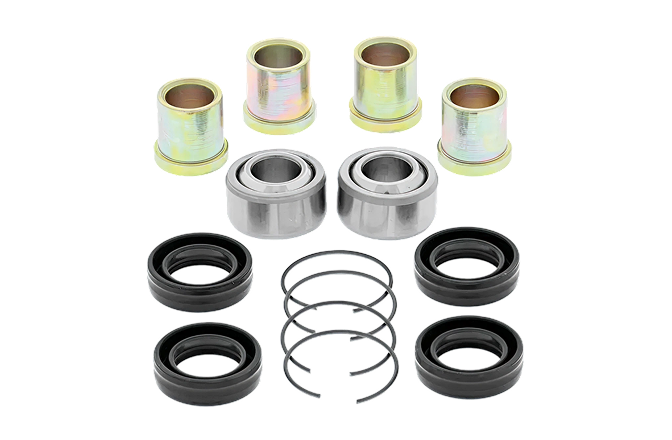
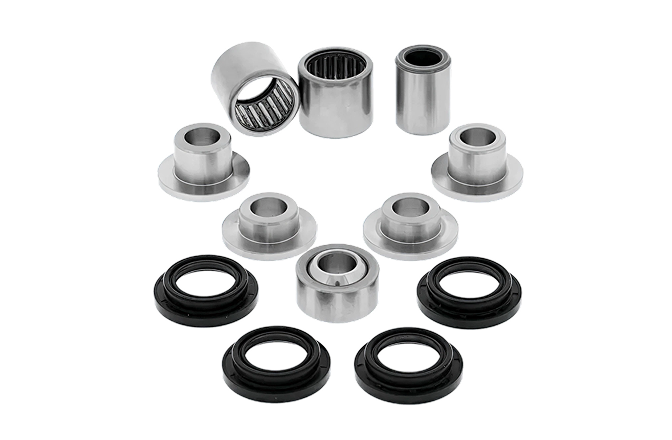
A starting point of roughly 30 percent of total suspension travel works well for most riders. For those who want more from the overall suspension geometry, extended A-arms are worth considering. Wider arms increase lateral stability and reduce tipping risk during high-speed cornering. Just know that longer arms typically require longer shock absorbers too, so factor that into the full cost.
03 — Exhaust and Air Intake
Exhaust and Air Intake
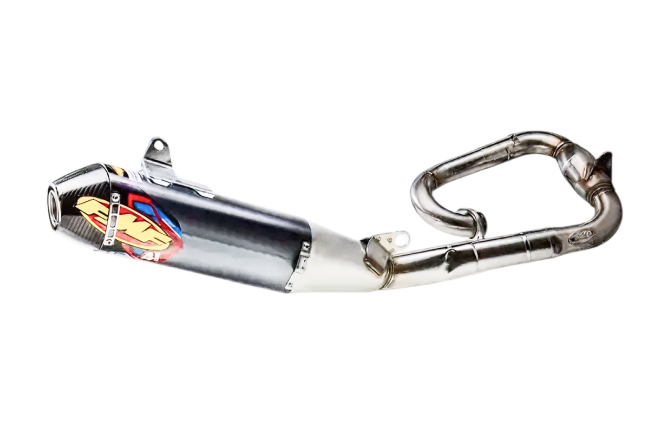
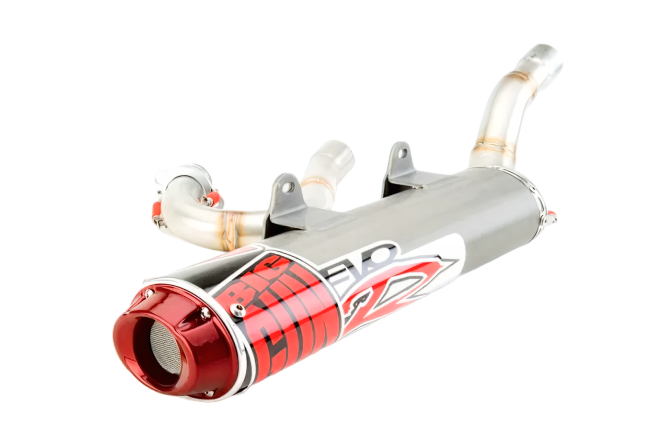
An aftermarket exhaust unlocks modest power gains by reducing backpressure and improving exhaust gas flow. A slip-on muffler is the most budget-friendly entry point, with easier installation and a noticeable sound improvement. A full system replacing the header, mid-pipe, and muffler delivers the maximum power gain. It comes with higher cost and more complexity at installation.
Swapping in a fresh muffler on its own is often the smartest first step before committing to a full system. Any complete exhaust swap also calls for new exhaust gaskets at each joint, since reused gaskets invite leaks that hurt both power and sound. Budget for gaskets any time a header or mid-pipe comes off the machine.
Here's what most upgrade guides bury in a footnote: running a full exhaust without retuning the fuel delivery leaves you running lean. The factory ECU calibrates the air-fuel mixture conservatively, and improved exhaust flow shifts that ratio toward too much air. That lean condition reduces power, causes throttle hesitation, and can seriously damage the engine over time. A fuel tuner corrects the mixture without full ECU modifications, making it the practical choice for most trail riders.
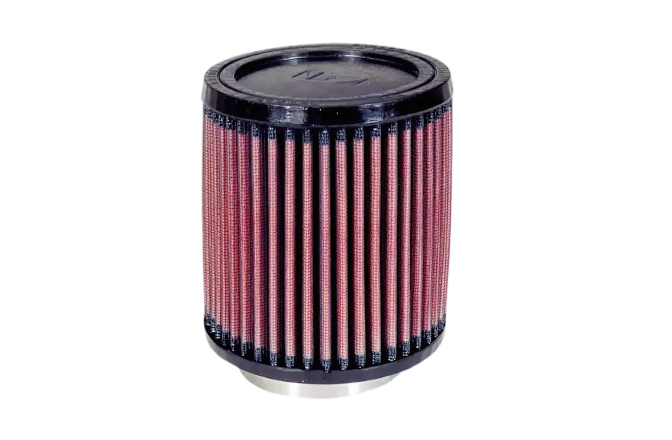
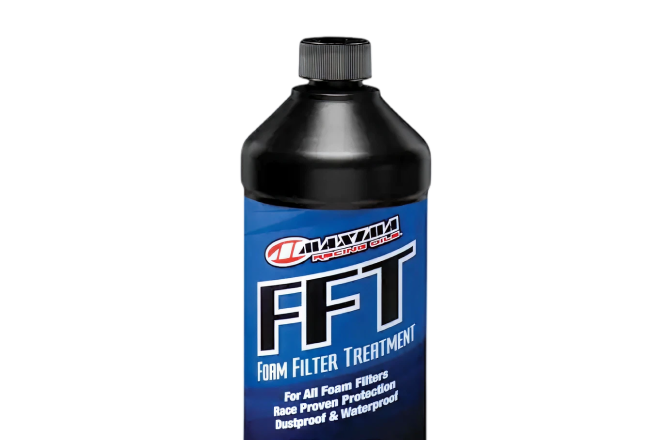
The intake side matters just as much. Swapping the stock air filter for a high-flow cotton element improves airflow and throttle response right away. In muddy or wet conditions, a quality foam filter offers better particulate protection while still flowing well. Intake and exhaust work together as a system, and running one without the other leaves measurable performance on the table.
04 — Undercarriage Protection
Undercarriage Protection
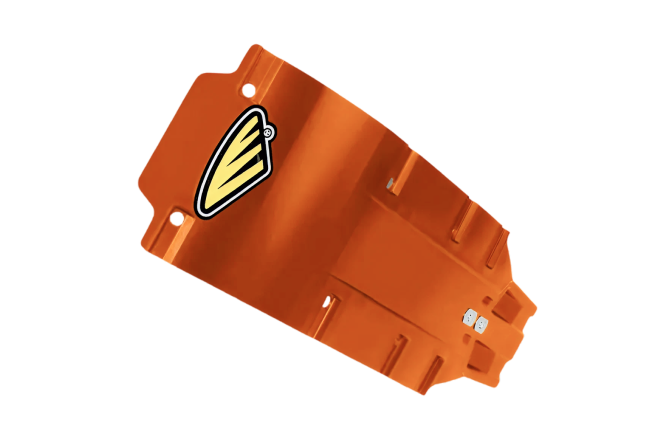
Undercarriage protection doesn't make an ATV faster, but it keeps it in the fight. A cracked engine case or bent A-arm from a single rock strike can end a season. The repair bill will always cost more than a proper skid plate kit would have.
UHMW polyethylene has largely replaced aluminum as the preferred skid plate material because it slides over rocks instead of catching on them. It absorbs and disperses impact energy rather than transferring it straight to the frame, and it adds minimal weight.
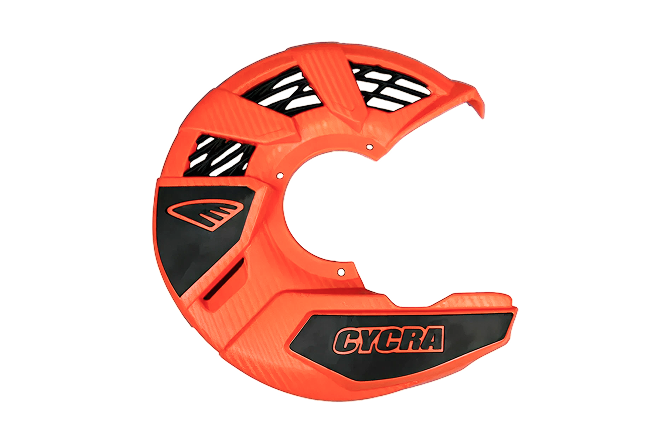
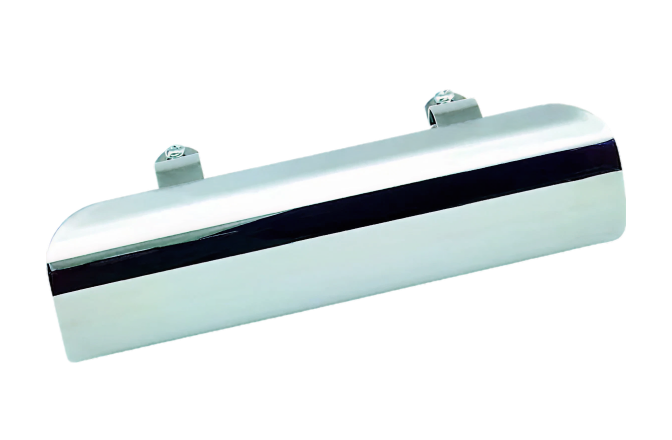
Full belly coverage is the priority, but A-arm guards, brake disc guards, and exhaust heat shields are equally important. The lower control arms, brake rotors, and exhaust system are all directly exposed to trail debris and expensive to replace.
05 — The CVT Belt
The CVT Belt
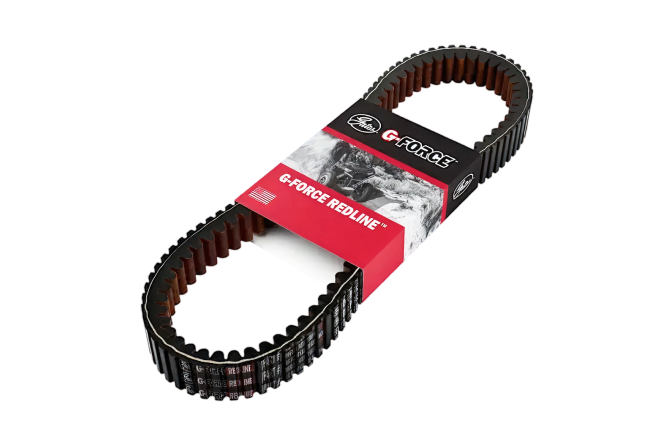
One of the most underrated upgrades on CVT-equipped ATVs is the drive belt. The factory belt handles typical use fine, but larger tires, added accessories, and aggressive terrain put far more heat and stress on it. Aftermarket belts built with Aramid fiber cores tolerate higher operating temperatures and handle more torque before they slip or fail.
Always carry a spare belt and a dedicated belt tool to swap it on the trail. Belt failure is one of the most common mechanical breakdowns in off-road conditions, and a failed belt miles from the trailhead turns a great day into a long walk. Pairing a heavy-duty belt with fresh clutch rollers tuned for your tire size closes the loop on the CVT drivetrain and keeps power transfer efficient.

06 — Winch and Lighting
Winch and Lighting
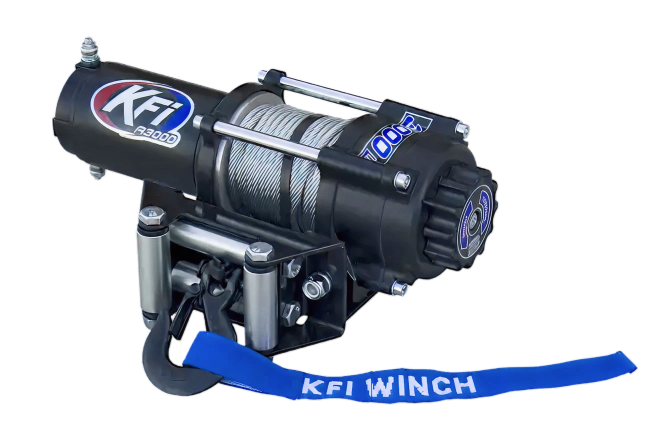
A winch separates riders who get stuck from riders who get themselves unstuck. Most experienced trail riders favor at least 2,500 to 3,500 pounds of pulling capacity to handle deep mud or steep angles. Synthetic rope has become the preferred choice over wire cable because it’s lighter, safer if it snaps, and easier to handle with gloves on. It’s a worthwhile spend for anyone riding remote terrain.
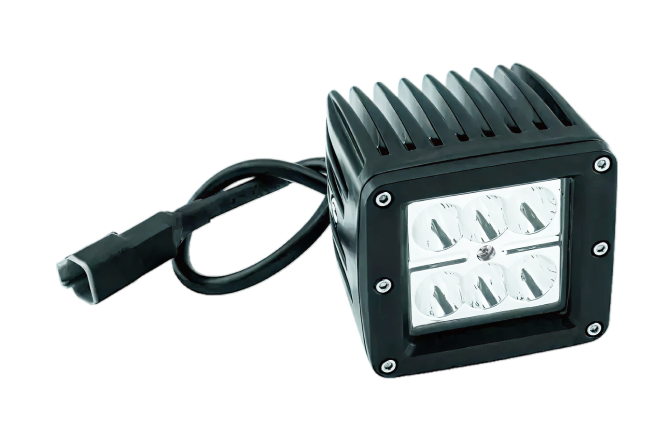
LED lighting rounds out a practical trail build for riding at dusk, dawn, or under heavy tree canopy. A light bar mounted to the front bumper or above the handlebars adds serious visibility without the heat or power draw of older halogen setups. Wire all additional electrical loads through a dedicated relay and fuse directly to the battery. The factory harness isn’t rated for the added draw, and cutting corners on wiring causes electrical problems that are annoying to diagnose.
Recommended Roadmap
The Upgrade Order That Actually Makes Sense
-
1
Tires + Undercarriage Protection
Address the two most common reasons rides end early: lost traction and mechanical damage.
-
2
Suspension
Deliver the most noticeable ride quality improvement.
-
3
Exhaust, Intake + Fuel Tuning
Build on an already-capable platform
-
4
CVT Clutch Work
Should follow any significant tire size change or power upgrade.
-
5
Lighting + Recovery Gear
Round out the build and extend how far and how long you can ride with confidence.
Gear Up at the JC Whitney Performance Hub