
If you’re wondering how to fix damaged car door trim panel issues, start by matching the damage to the right repair: reattach loose fabric/vinyl with high-strength trim adhesive, blend scuffs with controlled heat and refinishing, fill cracks with plastic repair epoxy, and replace broken clips or warped backing when the panel won’t hold its alignment.
Key takeaways
- Use heat only for light-to-moderate scuffs on textured plastic; overheating creates permanent gloss.
- For loose upholstery, remove the panel, strip failing foam/old glue, then use a high-tack trim adhesive designed for automotive trim materials.
- For deep gouges and cracks, a combination of filler, texture, and flexible interior coating beats sanding on grained plastics.
- If mounting points or the backing board has failed, replacement (panel, clips, or insert) outlasts cosmetic fixes.
- Drivers consistently report good results when they prep correctly before interior coatings (cleaning, adhesion promoter/prep, light coats).
Diagnose the damage
Scuffs vs. scratches vs. gouges on textured plastic
Scuffs (surface transfer): Often looks whitish/gray but doesn’t cut the plastic. These usually respond to cleaning plus gentle heat blending or refinishing. Detailers commonly warn that sandpaper makes plastic look worse because it flattens the grain and exposes lighter substrate.
Scratches (through the sheen): You can sometimes reduce visibility with controlled heat, then restore uniform appearance with interior coating or texture aerosol if the grain looks altered.
Gouges/cracks: Plan on filling, sanding the repair area only, recreating texture, then coating for color match. Sanding alone rarely works on grained interior plastics.
Loose fabric/vinyl or bubbling upholstery on the panel
If the fabric lifts, you’re fighting failed glue and decomposed foam. For a durable fix, remove the panel and old adhesive/foam, then bond with an automotive trim adhesive that builds fast tack and resists heat.
Rattles, gaps, or a panel that won’t sit flush
This usually points to broken clips, missing fasteners, or cracked mounting tabs. Cosmetic repairs won’t hold if the panel flexes every time you close the door. Focus on mechanical fixes like clips, tabs, or backing.
Tools and materials
Adhesives for upholstery and inserts
Use a trim/contact adhesive for auto trim materials. A strong trim adhesive should provide fast tack, resist high cabin temperatures, and avoid soaking into porous foam-backed fabric.
People often praise its strong hold but also note that spray adhesives require careful masking, even coat control, and proper tack time to prevent bleed-through or mess.
Coatings for color and uniform sheen
Flexible interior coatings, not household paint, help you recover color after you’ve blended scuffs or rebuilt texture. A purpose-built interior coating should remain flexible on vinyl or plastic, preserve texture, and avoid cracking when the panel flexes.
Heat tools for plastic blending
Detailers often recommend quick, controlled heat-gun passes to reduce the appearance of light scratches in textured plastic, with strict warnings to avoid dwelling in one spot due to gloss risk.
Fix loose upholstery on a door trim panel
Remove the panel without breaking clips
Use a trim removal tool, pull straight out at clip locations, and disconnect window switches before fully removing the panel. If you feel strong resistance in one area, reposition to the next clip rather than prying at an angle, which snaps retainers and mounting tabs.
Pro Tips are nuggets of information direct from ASE-certified automobile technicians working with CarParts.com, which may include unique, personal insights based on their years of experience working in the automotive industry. These can help you make more informed decisions about your car.
Pro Tip: Some door panels have screws securing them and plastic hooks molded into the door panel so that you simply need to remove the screws and lift the door panel to remove it. Always check for YouTube videos or shop manual material if you haven’t removed your door panel before. You can break the door panel if you do it wrong.
Strip failed glue and foam so that the new bond lasts
- Remove loose fabric/vinyl far enough to reach solidly bonded material.
- Scrape off degraded foam and old adhesive from both mating surfaces.
- Dry-fit the fabric so you understand where wrinkles want to form.
Apply adhesive like a trimmer
Most trim adhesives behave like contact cement, so it’s best to apply it to both surfaces, let it tack, then bond once with pressure. If you join the trim too early, the material slides and bubbles; if you wait too long, you lose bite and edges lift later.
Technique that prevents bubbles:
- Mask areas that you don’t want overspray on.
- Spray light, even coats on both surfaces; heavy coats can soak and print through thin fabric.
- Wait for tack based on the adhesive instructions, then lay material from the center outward using a roller or firm cloth-wrapped hand.
- Clamp flat areas with clean boards and spring clamps if the panel design allows.
Repair scratched or gouged interior plastic trim
Blend light scratches with controlled heat (only if the plastic isn’t coated/painted)
Quick flashes with a heat gun can reduce the appearance of light scratches by relaxing the surface. Too much heat creates shiny spots that look worse than the original damage, so treat heat as a conservative blending step, not a guaranteed fix.
- Clean with an interior-safe cleaner so you don’t bake contaminants in.
- Use low heat, keep moving, and stop as soon as the scratch softens visually.
- If gloss appears, plan on refinishing that section to even out sheen.
Rebuild deep damage with filler, texture, & coating
For gouges or cracks, aim for a repair that recreates the grain and flexibility:
- V-groove cracks lightly so that filler keys in.
- Apply plastic repair epoxy or filler, then sand only the repair area to level.
- Recreate texture with texture spray or a graining method, then apply a flexible interior coating for color match.
Prep matters: Thorough cleaning, appropriate surface prep, and light coats typically determine whether coatings bond evenly and avoid a plastic-looking painted finish.
Fix fitment problems
Replace broken fasteners before you chase cosmetic perfection
If clips don’t hold, the panel flexes, and adhesives fail faster. Address attachment points early: replace broken clips, restore missing screws, and repair cracked mounting tabs before you do any refinishing work.
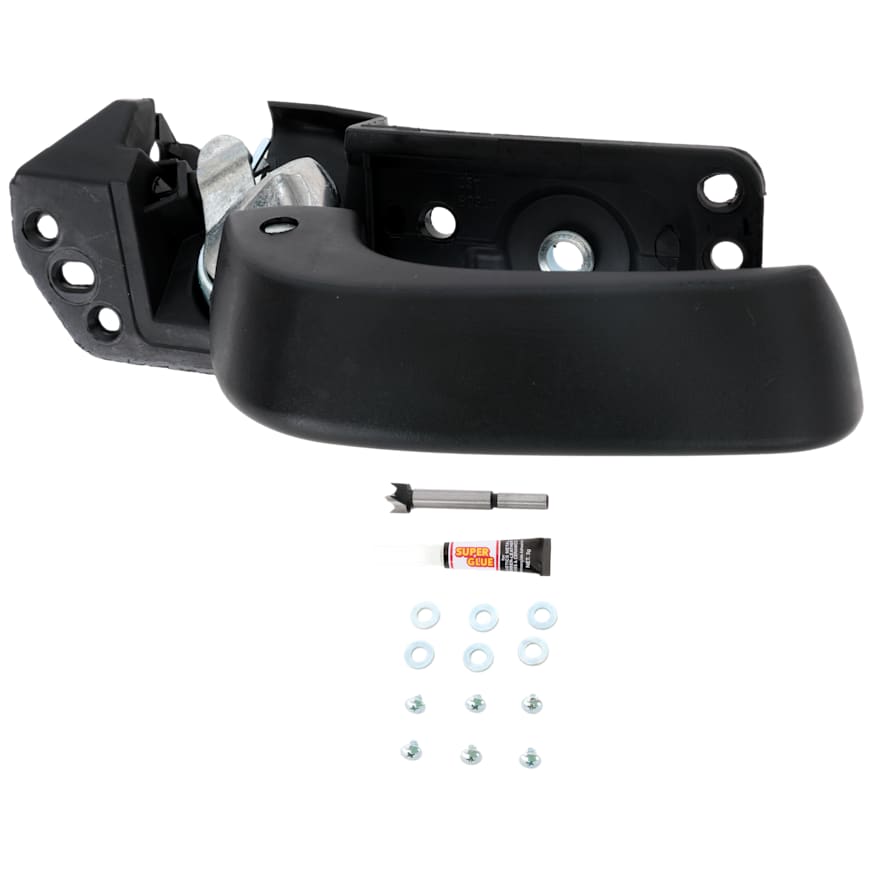
When replacement beats repair
Replace the panel or insert when this happens:
- The backing board has warped or crumbled.
- Mounting tabs have snapped off in multiple places.
- The grain or finish has been sanded flat across a large area.
At this point, a salvage panel or a new door liner for car applications often saves time and looks more factory-correct than large-area refinishing.
FAQ
Can I sand scratches out of textured interior plastic?
Usually no. Sandpaper typically worsens the look by flattening texture and exposing lighter plastic underneath. Use heat blending for light scratches or fill, texture, or coat for deep damage.
What adhesive works best for door panel fabric or vinyl?
Use an automotive trim adhesive designed for trim materials and heat exposure. Look for high initial tack, strong heat resistance, and compatibility with foam-backed fabrics, vinyl, and plastics.
Do I need to remove the door panel to re-glue upholstery?
For a lasting repair, yes. You need access to clean both surfaces and remove old foam or glue, which is hard to do accurately while the panel stays on the door.
How do I avoid shiny spots after using a heat gun on interior trim?
Keep the gun moving, use the lowest effective heat, and stop early. If gloss happens, correct it by refinishing that section with texture or coating to restore uniform sheen.
Should I paint interior trim after repairs?
Use flexible interior coatings meant for vinyl or plastics, not rigid household paint. Apply light coats over proper prep so that you preserve texture and avoid cracking or peeling when the panel flexes.A durable car interior door panel repair comes from fixing structure first, bonding upholstery with the right trim adhesive, and refinishing plastic only after you’ve restored texture and uniform sheen. Take a conservative approach with heat, because you can’t un-gloss melted grain. When the backing or mounting points fail, replacement often delivers the cleanest factory-like result.
Keep Reading: Related Posts


Any information provided on this Website is for informational purposes only and is not intended to replace consultation with a professional mechanic. The accuracy and timeliness of the information may change from the time of publication.


