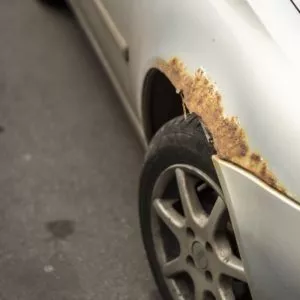
Rust around the wheel arches never stays small for long. A paint bubble above the tire eventually eats through the outer skin, spreads to the inner wheelhouse, and weakens the structure underneath. Installing a wheel arch repair panel stops that progression and restores the body line, but only if the work is done right. A rushed job invites the same corrosion back within a couple of seasons.
How to Install a Wheel Arch Repair Panel in the Correct Sequence
Cutting corners at any stage creates problems that snowball later. Follow this sequence from start to finish.
1. Park on solid, level ground, set the emergency brake, jack up the vehicle, and pull the wheel off the affected side.
2. Remove fender flares, trim panels, sill covers, and plastic inner arch liners blocking the work area.
3. Assess the full extent of the rust with an inspection mirror behind the inner wheelhouse. Paint bubbles on the outside almost always mean worse damage underneath.
4. Hold the new panel against the damaged area, trace around it with a marker, then lay masking tape just below the line to protect surrounding paint.
5. Cut out the damaged metal with an angle grinder and a thin cutting disc, staying on the tape line and leaving enough solid metal for the new panel to attach to.
6. Patch or replace any rust holes in the inner wheelhouse first. Welding fresh outer skin over a rotten inner structure is wasted effort.
7. Grind all cut edges back to bare, shiny metal and remove every trace of paint, primer, and surface corrosion.
8. Test-fit the new panel by clamping it in place with G-clamps or welding magnets, check alignment against the body lines, and trim as needed with a flap disc.
9. Apply weld-through primer to every surface that will overlap or sit against another panel.
10. Clamp firmly and tack weld in four to six spots spaced well apart. Recheck alignment before committing to a full seam.
11. Weld using a tack-and-move approach, alternating sides to spread heat and minimize warping.
12. Grind the welds flush with a flap disc, fill low spots with body filler, and sand to match the original contour.
13. Apply seam sealer to every joint, especially on the backside and in overlapping seams.
14. Prime, paint, and apply cavity wax or undercoating to the inside of the arch.
Tip: Use the thinnest cutting discs available. They remove less material, leave cleaner edges, and reduce the gap the welder has to bridge.
Butt Welding vs. Overlap Joints for Wheel Arch Panels
Butt welding places the new panel edge-to-edge with the original metal, producing a flat seam that needs less filler and creates no crevice for moisture. The tradeoff is that it demands precise cuts, because too wide a gap causes burn-through and too tight a gap prevents proper penetration.
Overlap joints are more forgiving since the new panel sits over or behind the existing metal. The downside is that overlapping layers trap dirt and water, especially on front arches where tire spray hits hard. Use butt welds on forward-facing arches and reserve overlaps for rear arches behind the bed, sealing both sides thoroughly.
Warning: Never weld new metal over existing rust. The corrosion keeps spreading underneath and destroys the repair. Always cut back to clean, solid metal before fitting any replacement fender patch panel.
What to Check Before Buying a Replacement Panel
The wrong panel can turn a weekend project into a headache. Verify the part number against the vehicle’s exact year, make, model, and body style, because a crew cab panel may not match a regular cab of the same truck.
Check that the metal gauge is at least 18 to 20 gauge, since thinner steel burns through easily and dents from road debris. Look for an EDP or zinc coating that protects against rust during shipping, and confirm that weld flanges are present where the panel attaches to the inner wheelhouse.
Tip: Cross-reference the listing against the vehicle’s VIN whenever possible to eliminate guesswork about trim levels and production-date changes that affect panel dimensions.
Skip These: Adhesive-Only Fixes and Universal Panels
Adhesive-only installations appeal to anyone without a welder, but structural adhesive alone cannot handle the vibration, temperature swings, and stone impacts that wheel arches absorb daily. The bond weakens, moisture creeps behind the panel, and the rust returns. Adhesive works as a supplementary sealant between welded panels, not as a standalone attachment.
Universal panels labeled as fitting most vehicles almost always need heavy trimming, which removes the stamped contours that make a vehicle-specific panel drop into place. Panels priced under $25 for a large steel section often signal ultra-thin gauge metal, and considering how much labor goes into welding body panels on trucks or cars, skimping on the part itself rarely pays off.
Preventing Rust from Coming Back After Installation
Sealing the repair properly is the step most people rush through or skip entirely. Apply urethane seam sealer to every exterior joint after grinding and before priming, then access the interior side through the wheel well and seal overlapping seams there too.
Coat the inside of the arch with cavity wax or a rust-prevention spray made for enclosed body sections, and avoid rubberized undercoating because it traps moisture if water gets behind it. Prime all bare metal immediately, since exposed steel starts forming surface rust within hours in humid conditions.
On newer trucks, remove any factory foam between the inner and outer panels during the repair and replace it with cavity wax, because that foam soaks up water and accelerates corrosion.
Where to Find Affordable Wheel Arch Repair Panels Online
Replacement panels for rust repair on wheel wells typically run between $20 and $110, depending on the vehicle, brand, and panel size.
Shopping online consistently beats dealer pricing, especially for aftermarket parts built to OEM specs. The key is buying from a retailer that provides detailed fitment data and hassle-free returns so the right part shows up the first time.
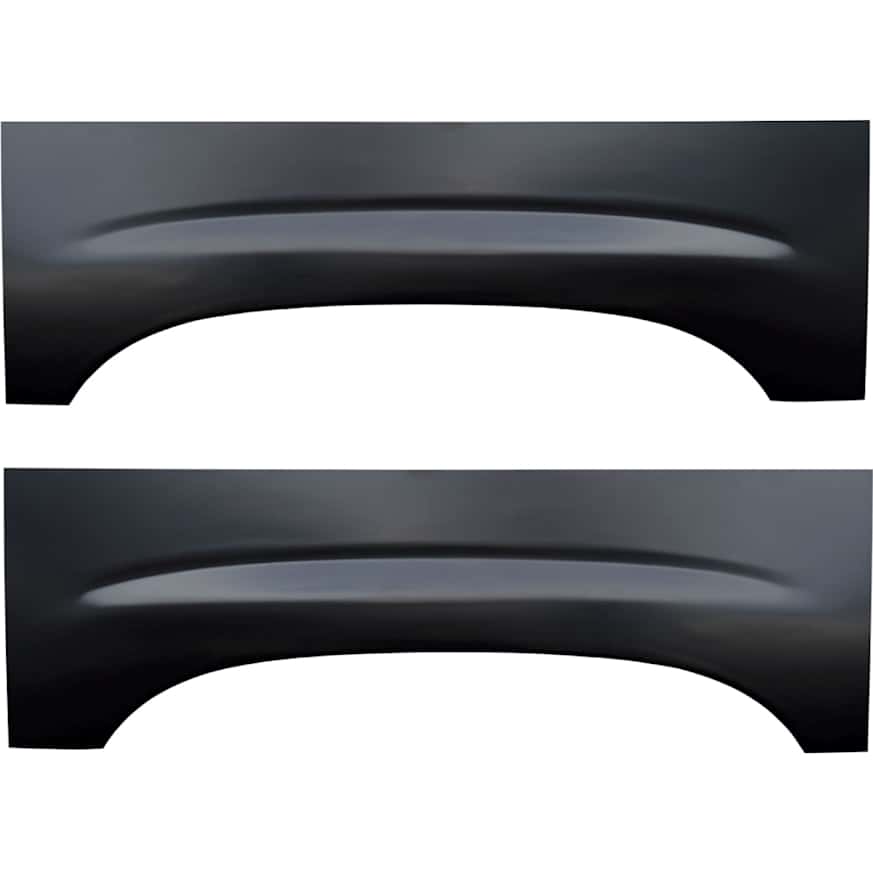
CarParts.com carries wheel arch repair panels for trucks, SUVs, and sedans with a vehicle selector that filters by year, make, and model, plus fast shipping that keeps the project moving.
Keep Reading: Related Posts


Any information provided on this Website is for informational purposes only and is not intended to replace consultation with a professional mechanic. The accuracy and timeliness of the information may change from the time of publication.