Fog light covers (the lenses) are susceptible to gravel, mud, water, and harsh sunlight if they’re plastic. Furthermore, the heat from the bulb when the light is on also contributes to foggy lenses on plastic-lensed lights.
Those plastic fog light lenses aren’t as crack-prone as the glass ones, but glass ones don’t fog with heat and age like plastic does.
Most OEMs sell fog lights as sealed units. If the lens cracks on one of these, you often have to replace the entire fog light assembly, including the housing, reflector, and bulb.
But some aftermarket suppliers offer lens-only replacements or protective overlays for OEM units, especially for popular models. These may be made of Lexan, polycarbonate, or glass, and can be installed with adhesives or clips.
In some cases, owners have replaced cracked lenses using custom-cut sheets of Lexan or 3D-printed plastic.
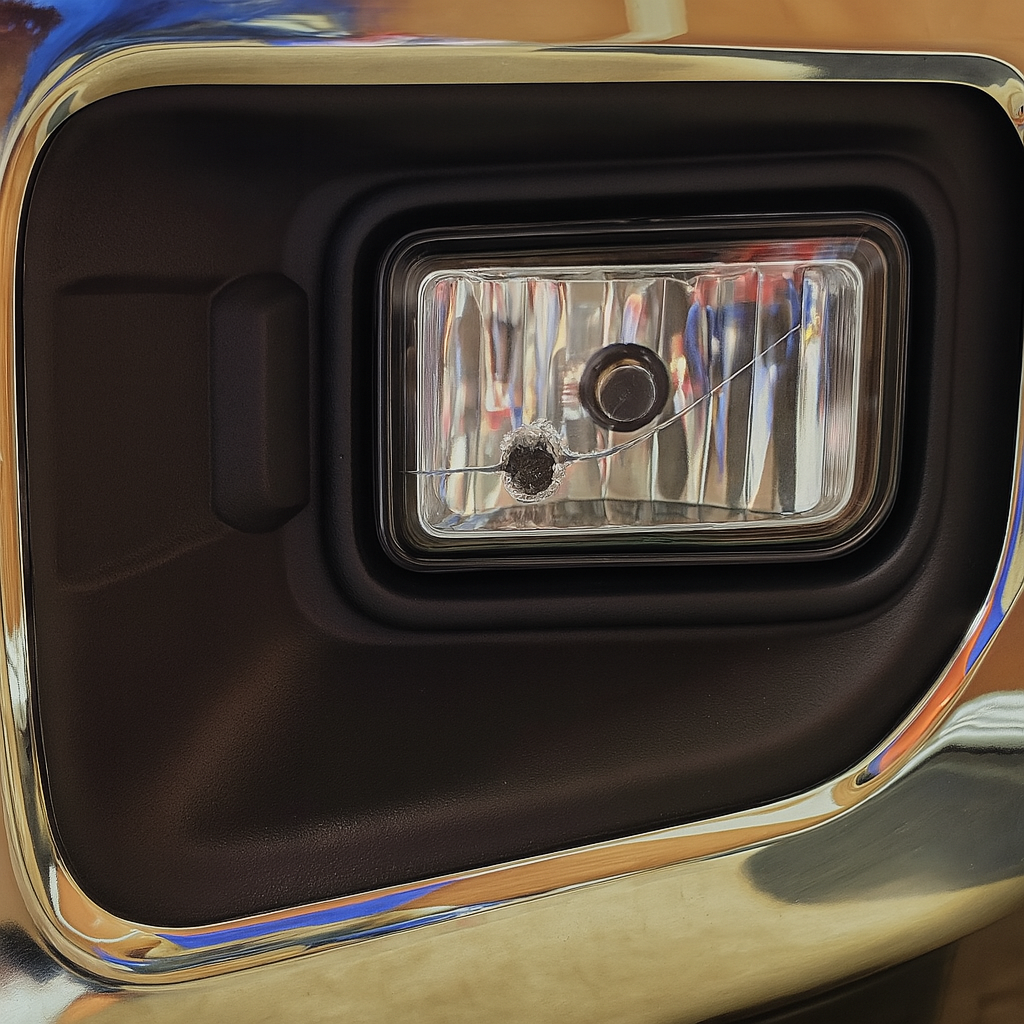
Once a cover is damaged, the clock starts ticking. A cracked lens can let in enough condensation to ruin an otherwise good bulb. This can also leave components vulnerable to road salt or rust. Without that protection, your fog lights can be damaged by road debris, shortening their life span and leaving you with dim or unreliable lighting.
Put off replacing it, and you might be staring at a much bigger repair bill. Save time and money by learning how to replace a fog light cover on your own.
A Guide to Fog Light Cover Replacement
Replacing a fog light cover is one of the repairs that can be done at home, with the right tools and a bit of patience. Here’s a quick overview of what the process typically involves:
What You’ll Need
- Trim removal tool (plastic is best)
- Small screwdrivers
- Socket set
- Heat gun
- Fog light cover
Step 1: Access the Assembly
Depending on your vehicle, you may remove the inner fender liner or reach through openings behind the bumper to access the fog lamp cover from the back. In some models, you must remove or loosen the bumper cover entirely.
On others, it’s best just to remove the light assembly (disconnect wires and unbolt it). Replacing the cover is a bench job. Often the light may need to be disassembled to replace the cover/lens.
Step 2: Remove the Damaged Cover
Covers usually snap in with tabs or small screws. Remove the screws before attempting to pry the cover off. Once all fasteners are released, use your trim tool to gently pry the old cover free. If the plastic feels brittle, use a heat gun on a low setting to loosen up the plastic edges. Go slow to avoid extra damage.
Step 3: Clean and Inspect the Housing
Give the housing a quick wipe with a microfiber cloth and isopropyl alcohol. Look for signs of water damage and rust. Replace the old gasket if it looks flat, worn, or torn. Add a thin bead of silicone before putting the new cover in place to maintain a tight seal.
Step 4: Install the New Cover
Line up the tabs, push the fog lamp cover firmly into place, and listen for that satisfying click. If screws are involved, tighten them evenly without over-torquing. Once seated, the cover should sit flush all around with no gaps.
Step 5: Put Everything Back Together
Reattach any trim, liners, or even the bumper if you had to take it off. Organizing screws and clips in small containers (labeled by step) as you go makes this part much faster.
Step 6: Test Your Work
Turn on the fog lights, step outside, and check the beam. Look for even coverage and no signs of flicker or moisture creeping in. If everything looks good, you’re done.
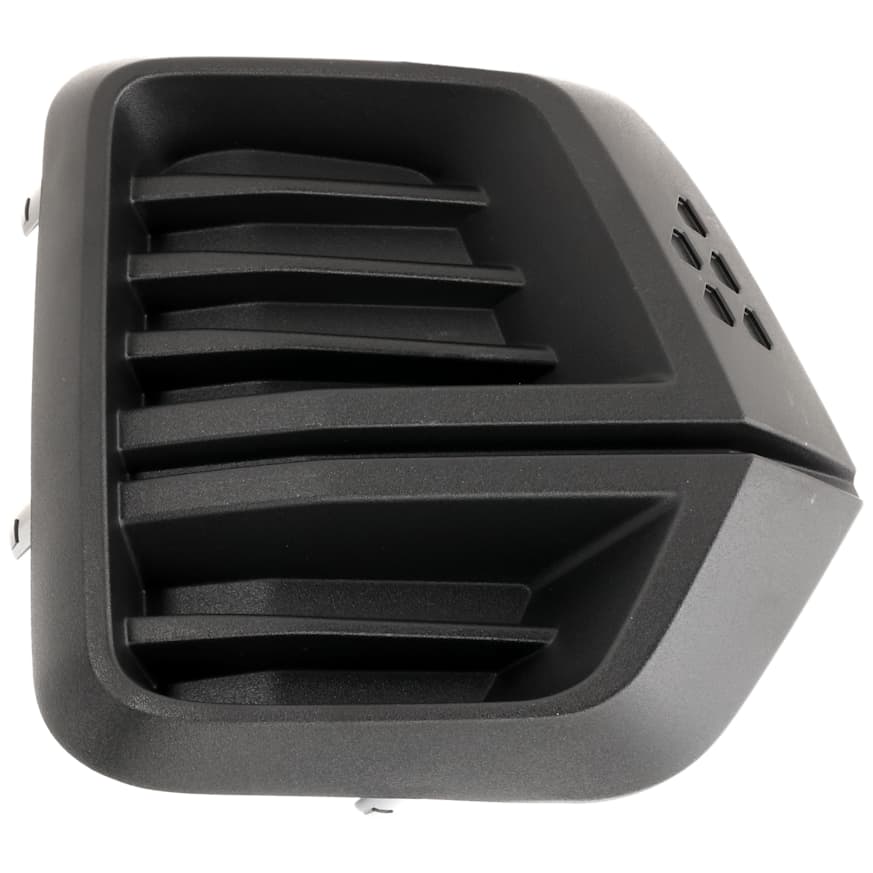
Shopping for the Right Part
Not all covers are built the same. Here are a few things to check before placing your order:
Material
Not all fog light covers are made with the same quality or design. Polycarbonate and ABS plastics stand up to road abuse better than thin or cheap plastics. They resist cracking and discoloration, giving you more life out of your replacement.
OEM vs Aftermarket
OEM covers fit perfectly and match factory specs, though they often cost more. Aftermarket versions are more affordable and easier to find. If you choose to go the aftermarket route, read reviews, check return policies, and purchase from a trusted source like CarParts.com.
Seals
Some covers come with a gasket included, while others don’t. A proper seal (foam, rubber, or silicone) helps prevent moisture from seeping into the light assembly. If yours doesn’t, plan on buying a separate seal kit.
Style
The style of the cover is worth considering too. Clear lenses give you maximum brightness, while smoked or tinted options change the look of your car. Just be aware that darker tints can reduce light output and may not pass local laws.
Fitment
Fitment is the last piece of the puzzle. Always confirm the part number or use your vehicle’s VIN when ordering. Many online stores let you enter your car details so they can filter out incompatible options.
When to Replace a Fog Light Cover
Sometimes damage is easy to spot, like a cracked lens or a cover that has broken off completely. Other times it’s more subtle, like a cover that’s turned cloudy over time or moisture collecting inside the lamp after rain.
Covers that rattle while driving may have clips that won’t fasten properly. These may need to be replaced. Upgrading your fog lights may also require you to get new covers designed specifically for LED assemblies.
Addressing these issues early can help keep you from paying for a full fog light replacement later on.
How Much Does It Cost to Replace a Fog Light Cover
A new fog light cover will likely cost you anywhere between $26 and $100 on parts alone. Depending on your location, hourly labor rates can range from $50 to $150.
If your vehicle requires bumper removal before fog light cover installation, you’re looking at around two hours of labor. This puts your final total at around $200. Handling the job yourself can keep the cost to a minimum
Tips for a Smooth Install
Plastic pry tools are worth using because they won’t scratch the surrounding trim.
Organization helps too. Keeping screws and clips in small containers makes reassembly faster and less confusing.
Nothing is more frustrating than seeing the lights malfunction after you’re done reassembling everything. Before reinstalling the bumper or trim pieces, test the fog lights to ensure they work properly.
Adding a dab of dielectric grease to the wiring connectors can help protect against corrosion and extend the life of the connection.
Keep Reading: Related Posts


Any information provided on this Website is for informational purposes only and is not intended to replace consultation with a professional mechanic. The accuracy and timeliness of the information may change from the time of publication.