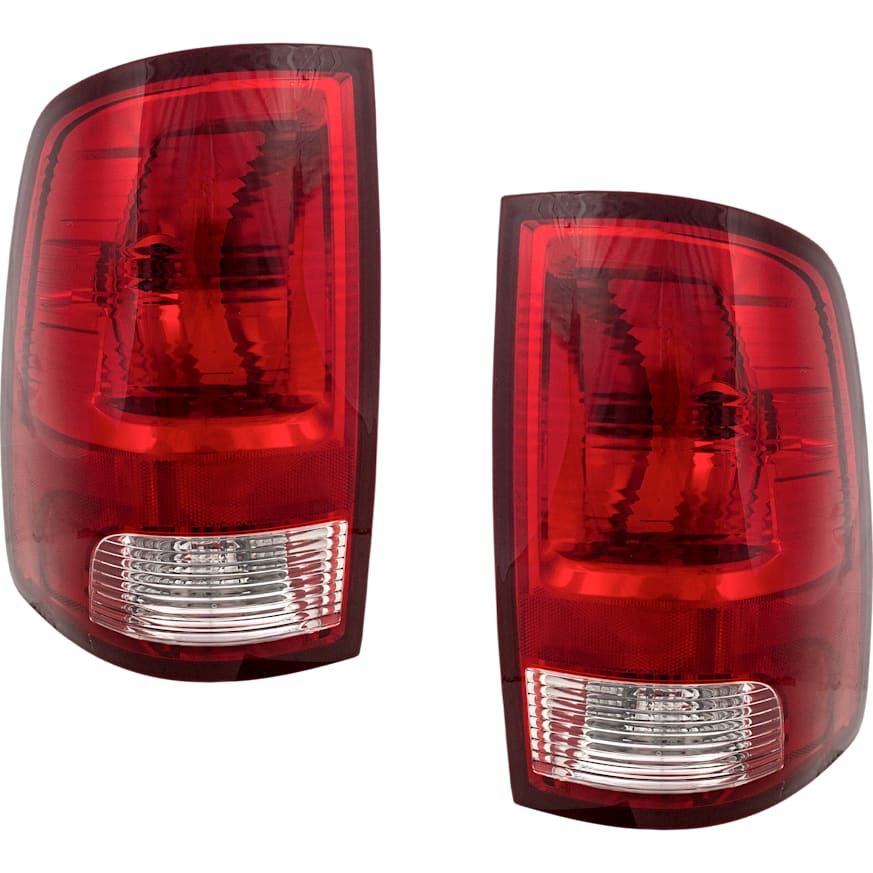
There are several reasons why you may want to replace your entire tail light assembly (not just the bulb). Maybe you got into a fender bender and the lens is broken. Or maybe your tail lights are dingy-looking after years of service and you’re looking to carry out some maintenance work to increase your car’s resale value.
Regardless of why you want to replace your tail light assembly, generally, the procedure is pretty straightforward. On some vehicles, however, the rear bumper cover or interior trim panel must be removed to access the tail light fasteners—and that can make the job more complicated.
What Tools Do You Need to Replace Your Tail Light Assembly?
The tools required to replace a tail light assembly can vary, depending on what type of car you have.
But in general, you’ll need:
- Screwdrivers
- Ratchet, appropriate size sockets and wrenches
- Safety glasses
Should You Do the Job Yourself?
Tail light assembly replacement is typically pretty easy. When it comes to vehicle maintenance, changing out the tail light isn’t always on top of everyone’s priority list. However, when you finally get around to it, you’ll be glad to know that it’s a relatively easy task. Plus, unlike some other tasks like replacing your brakes, vehicle safety is unlikely to be compromised if something goes wrong.
That being said, you could damage your vehicle if the job is done incorrectly. You could also end up wasting a lot of time or even hurt yourself.
So, if you feel like you’re up to the job, go for it. Otherwise, leave it to a professional.
A Step-By-Step Guide to Replacing Your Tail Light Assembly

Now we get to the fun part: tail light assembly replacement. Are you ready to grab some tools and get dirty? Good.
We’re going to discuss replacing a traditional tail light assembly that uses mini bulbs.
Before we start, however, keep in mind that all vehicles are different. Be sure to follow the repair information for your specific application. Repair manuals, such as those from Chilton, are useful, but an ALLDATA subscription is even better. ALLDATA has single-vehicle subscriptions for DIYers that provide detailed factory repair information.
Note: The following are general guidelines for educational and entertainment purposes only. Consult your vehicle’s factory information for specific repair instructions and recommended safety procedures.
How to Remove Tail Light Assembly
- Put on your safety glasses.
- Disconnect the negative battery cable.
- If necessary, remove the rear bumper cover or interior trim panel per the factory repair information. On some vehicles, this must be done to access the tail light assembly retaining fasteners. The process generally involves removing a collection of screws and/or clips to free the bumper or trim panel.
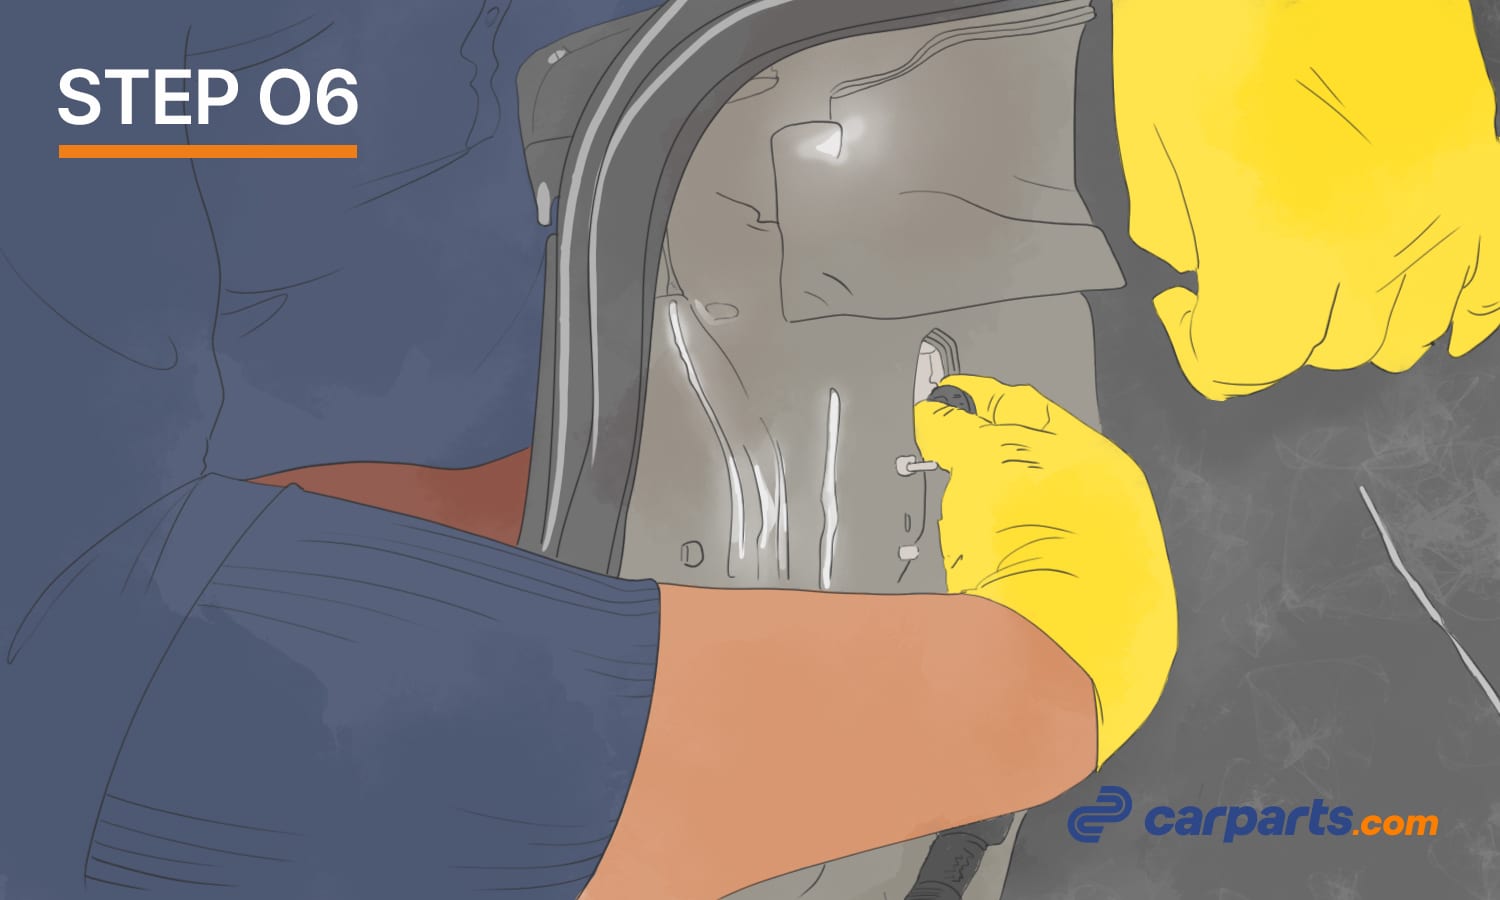
- Once you have direct access to the tail light assembly, remove the bolts or screws holding it in place.
- Pull the tail light assembly out and away from the vehicle. Keep in mind: there may still be retainer clips holding the assembly in place. You’ll need to carefully dislodge the assembly from the clips as you pull it toward you.
- Disconnect the electrical connectors from the back of the assembly.
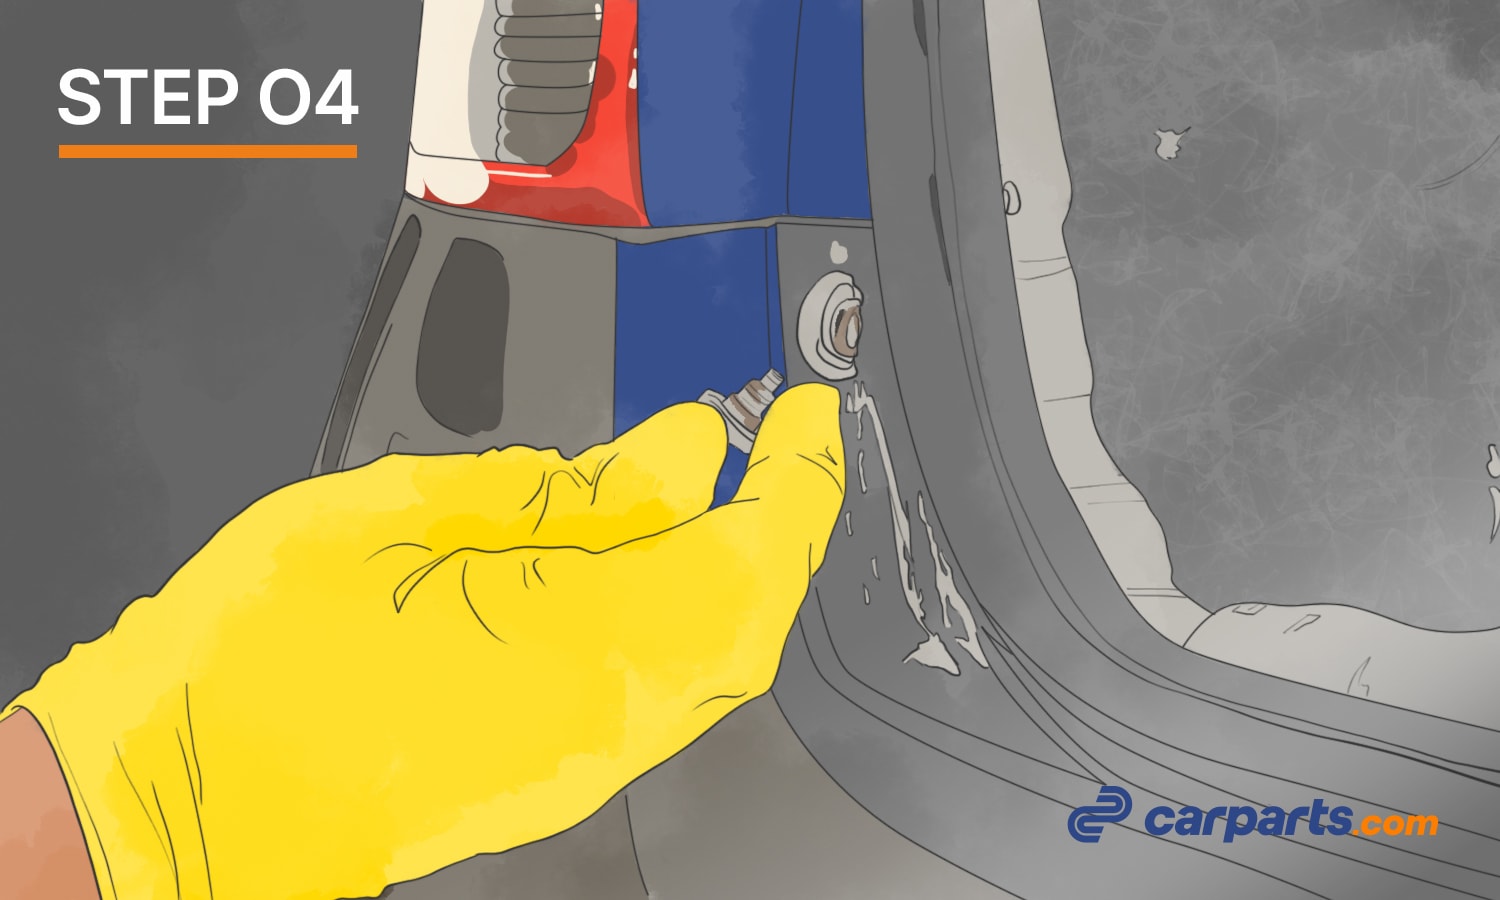
- Some replacement tail light assemblies will come with new bulbs. If yours does not, you will need to remove the old bulbs and sockets so they can be reused. Typically, this involves turning the bulb socket counterclockwise to remove it from the tail light assembly.
Check out these videos for tips on how to replace your tail light assembly and bulb:
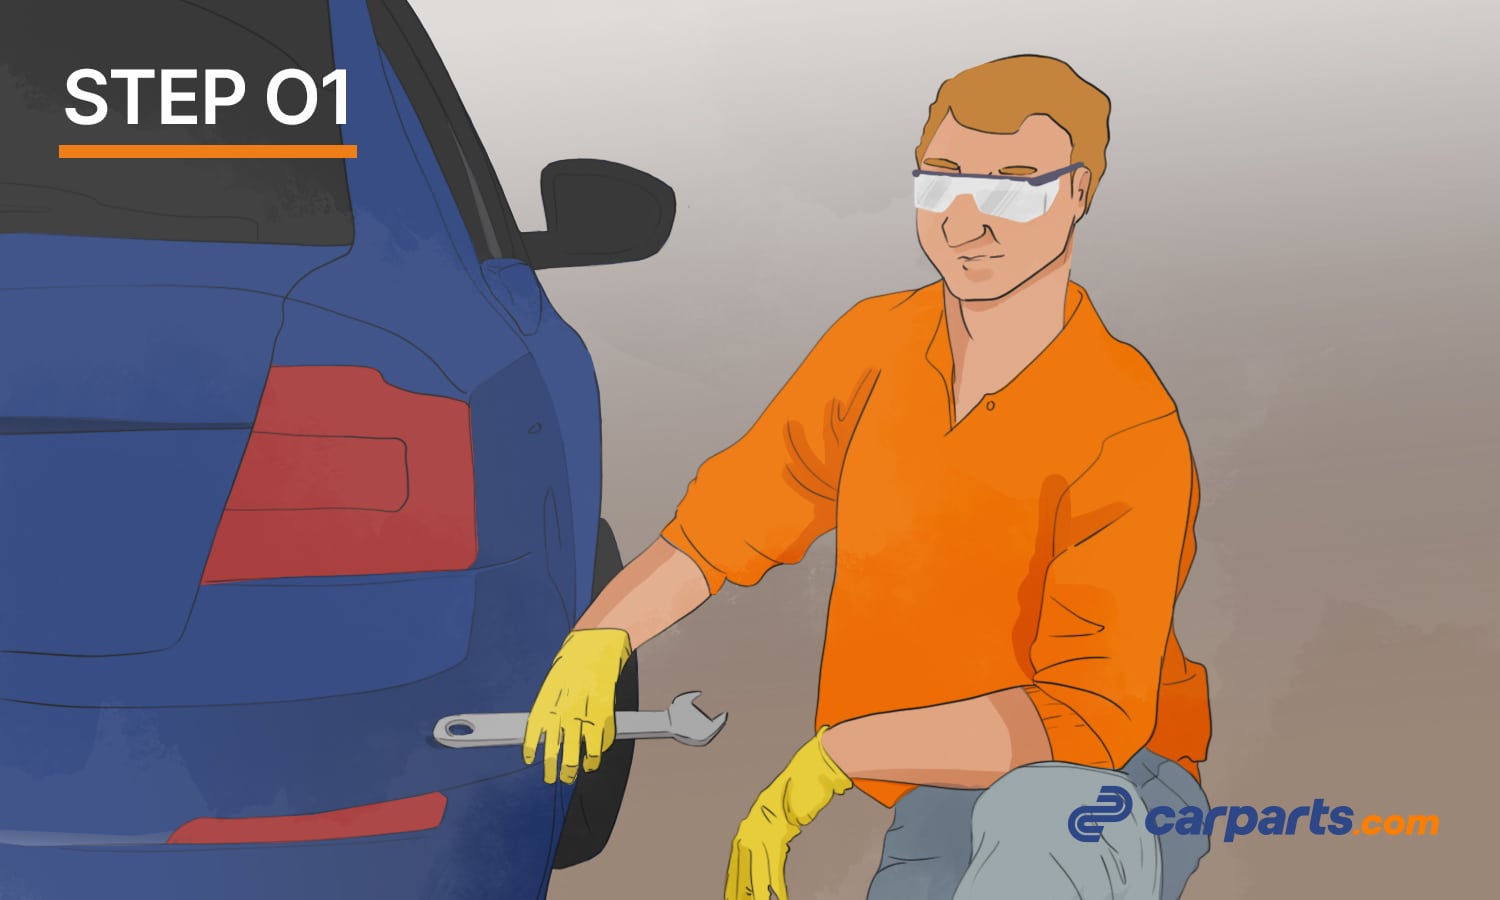
Put on your safety glasses.
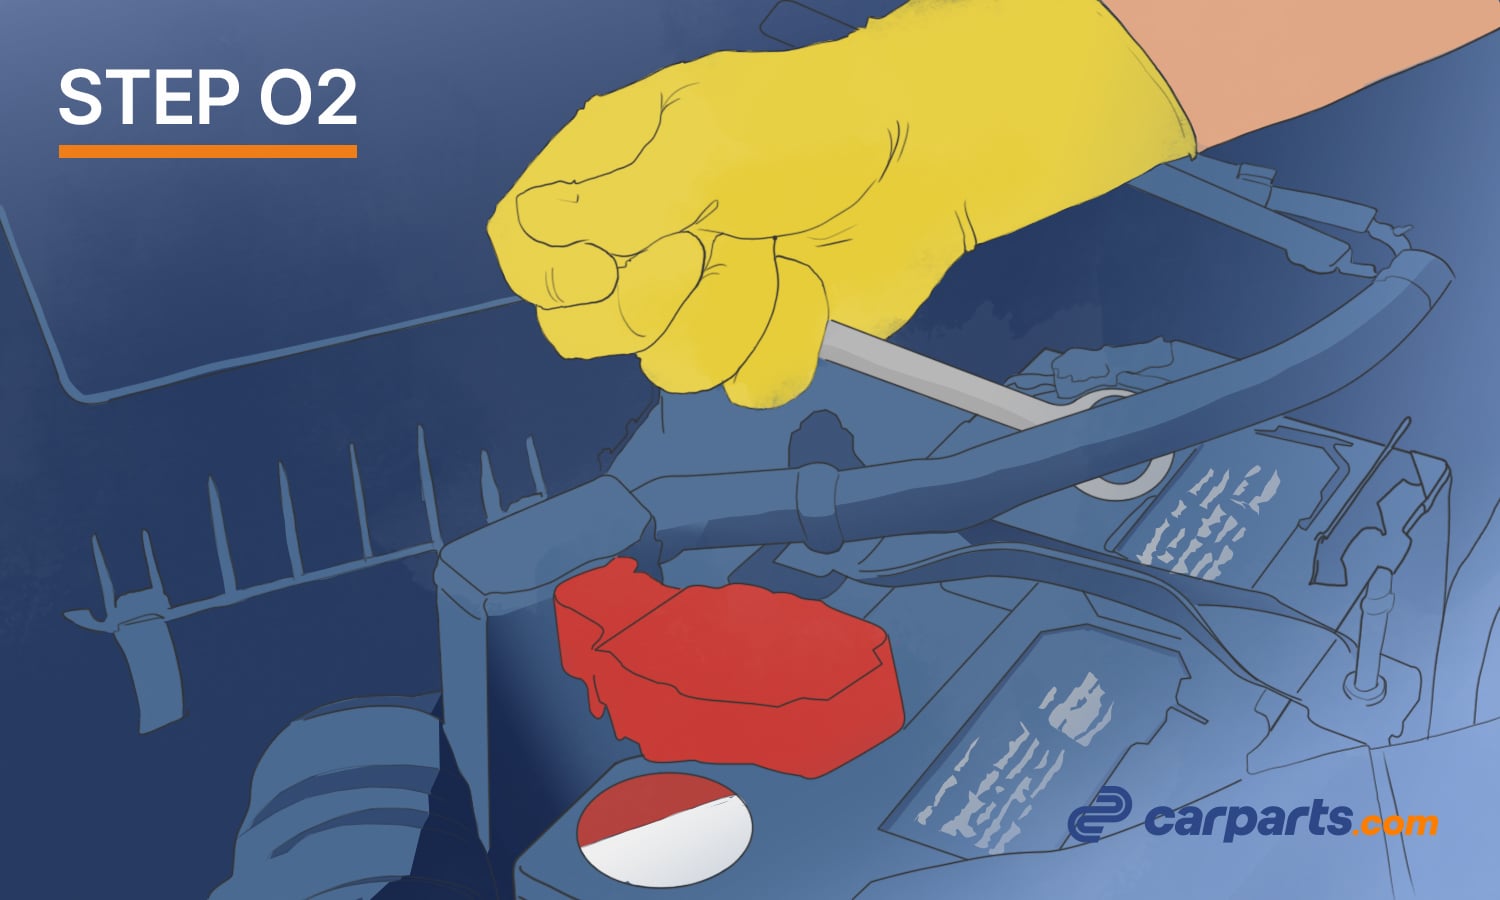
Disconnect the negative battery cable.
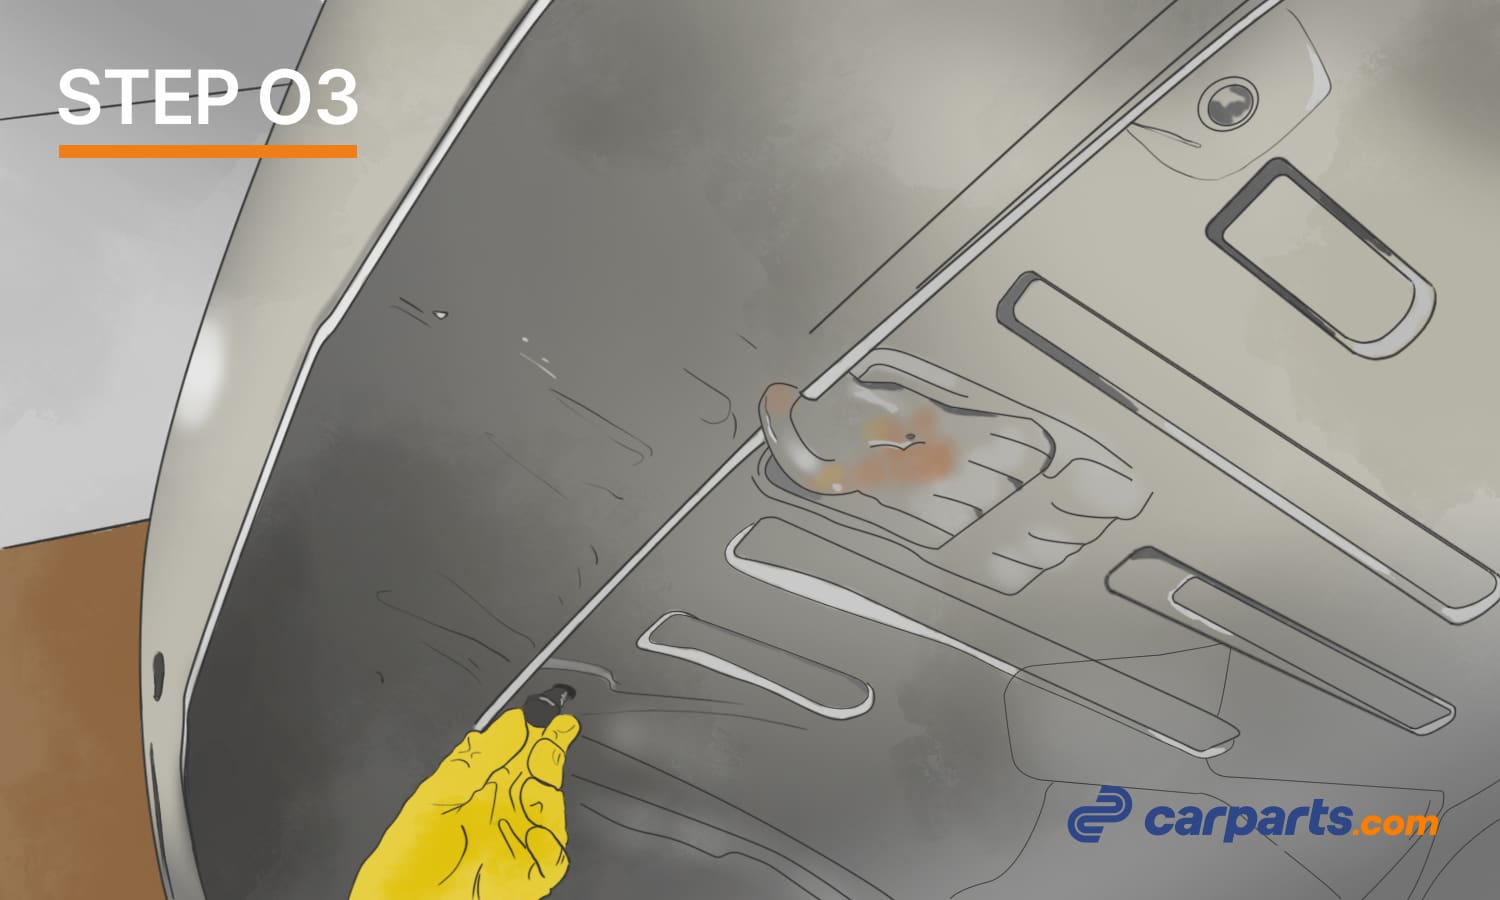
If necessary, remove the rear bumper cover or interior trim panel by unscrewing and/or detaching the clips.
Once you have direct access to the tail light assembly, remove the bolts or screws holding it in place.
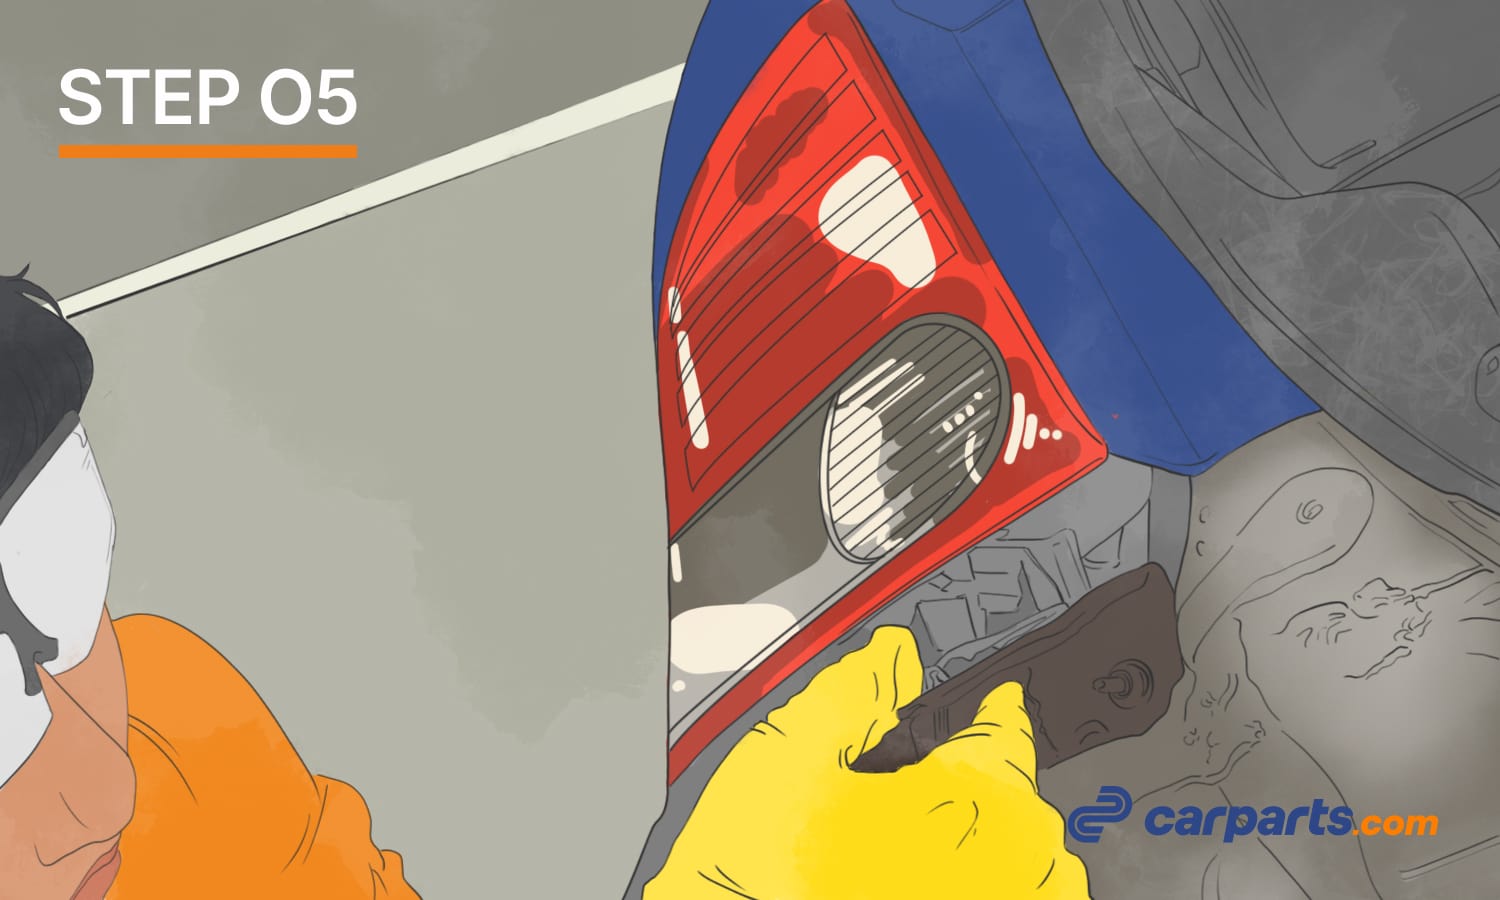
Pull the tail light assembly out and away from the vehicle.
Disconnect the electrical connectors from the back of the assembly.
Remove the old bulbs and sockets from the tail light assembly.
How to Install Tail Light Assembly
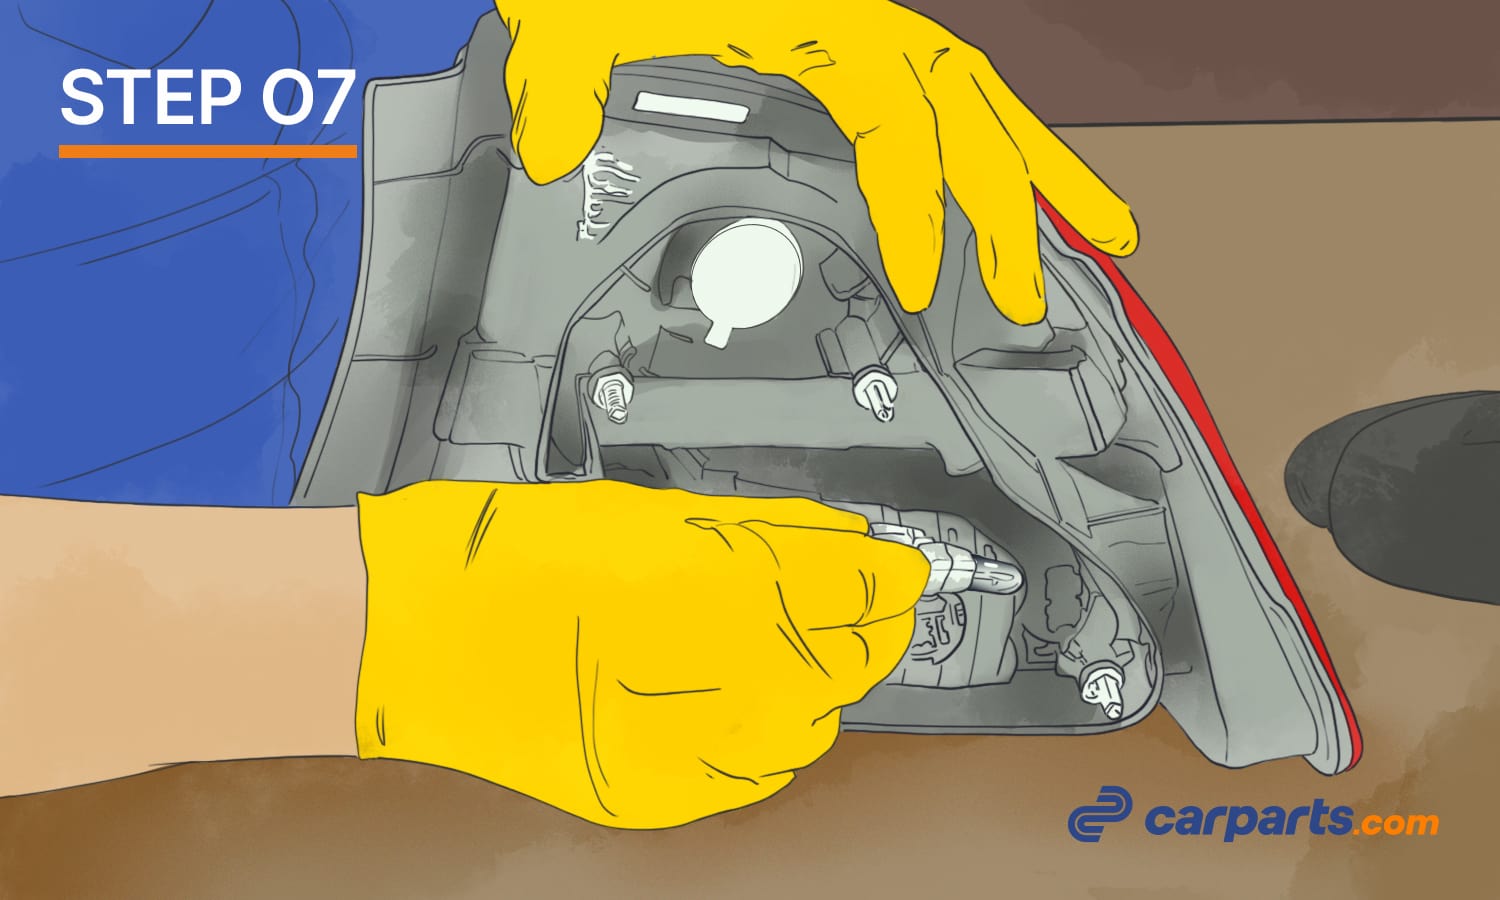
- Compare the new tail light assembly to the old one to be sure that both are the same design.
- Reinstall the bulbs and sockets in the tail light assembly as needed.
- Reconnect the electrical connectors.
- Mount the tail light assembly in place. Be sure that it slides into any retainer clips affixed to the rear of the vehicle.
- Reinstall the tail light assembly mounting bolts or nuts and carefully tighten them down until they’re snug. Do not overtighten. If needed, you can consult the factory repair information and use a torque wrench to tighten the fasteners to the manufacturer’s specification.
- Reinstall the rear bumper or interior trim panel as needed.
- Reconnect the negative battery cable.
Tail lights and their retaining clips (if applicable) are made of fragile plastic. So, be gentle and take your time when performing the replacement.
Tail Lights: Next Steps
Now that you know how to change your vehicle’s tail lights, it might be a good idea to start looking for replacements. This way, you can get started with upgrading your vehicle as soon as possible.
If you’re looking for a replacement part that will last years, CAPA-certified tail lights are a wise investment. CAPA, or the Certified Automotive Parts Association, is a non-profit certification organization that establishes standards and specifications for replacement auto parts. Products and manufacturers that are CAPA-certified have undergone rigorous inspection and testing to ensure strict adherence to high-quality standards.
CarParts.com has a wide range of CAPA-certified auto parts – tail lights included. The best part? These parts are available for practically all vehicle models on the market. We source our tail lights from the most reputable names in the industry, so rest assured that you’re getting high-quality parts. Shop now for tail lights that fit the needs of both you and your vehicle.
Products Mentioned in this Guide
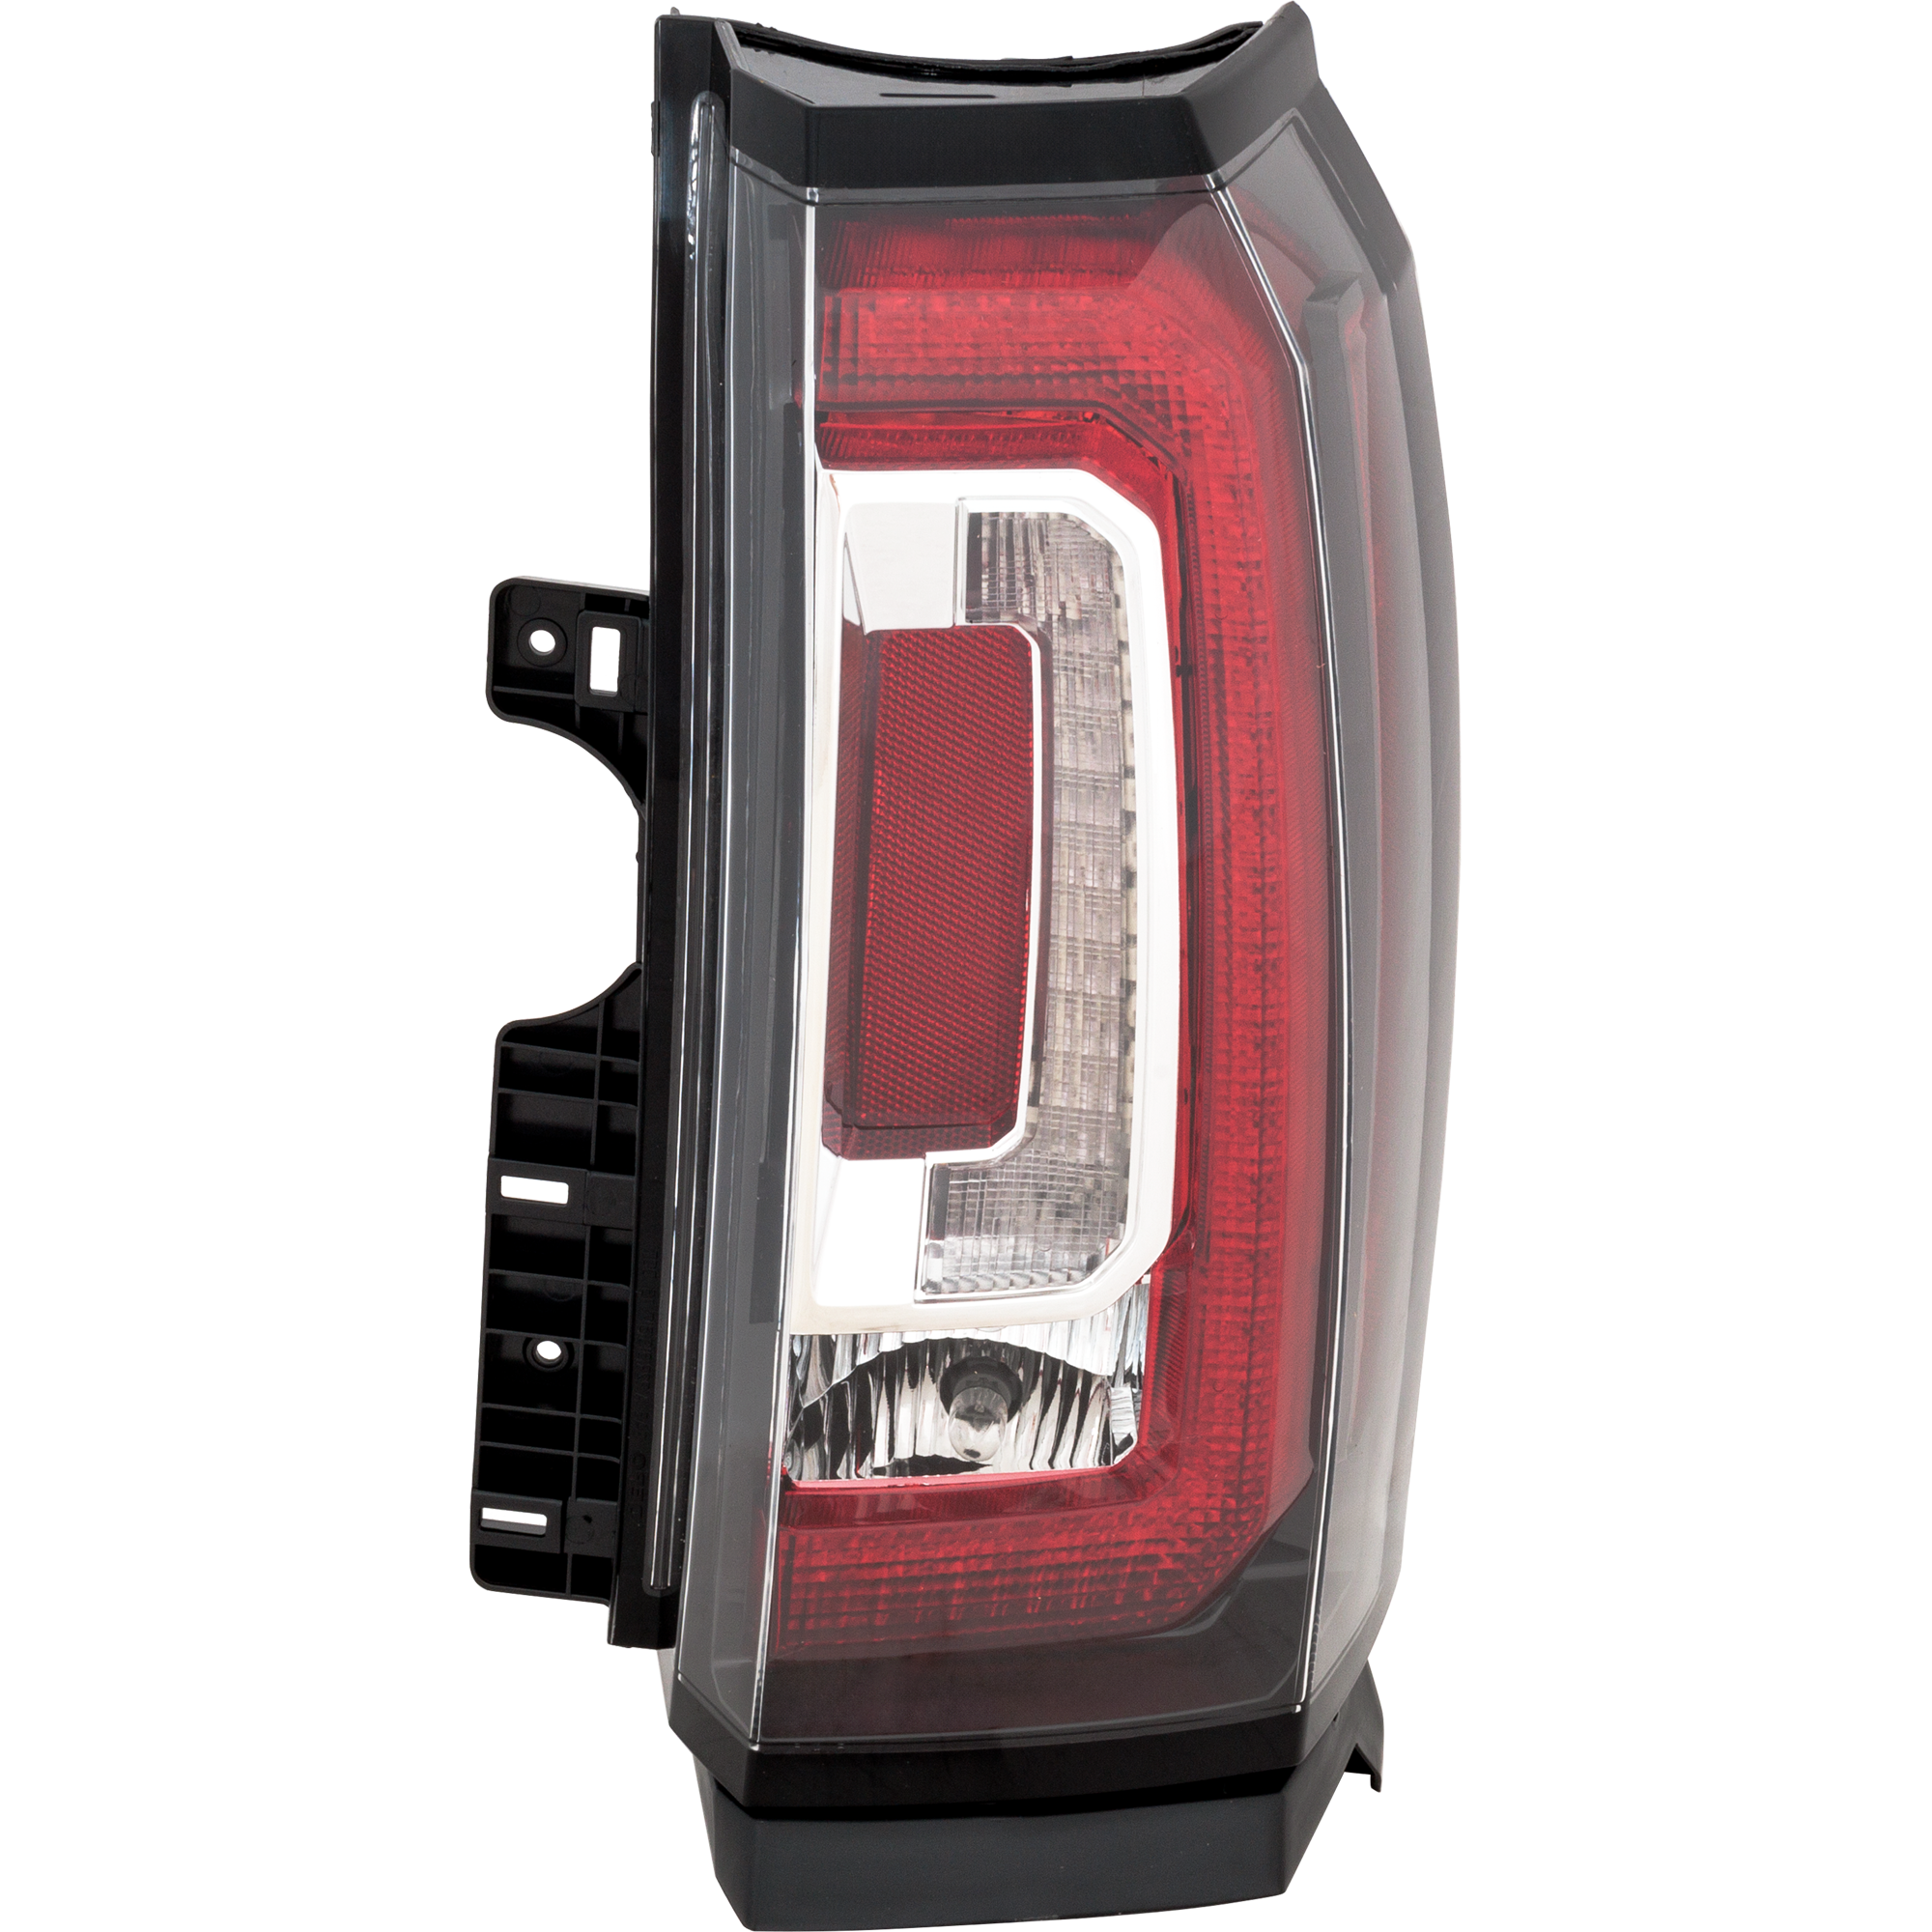
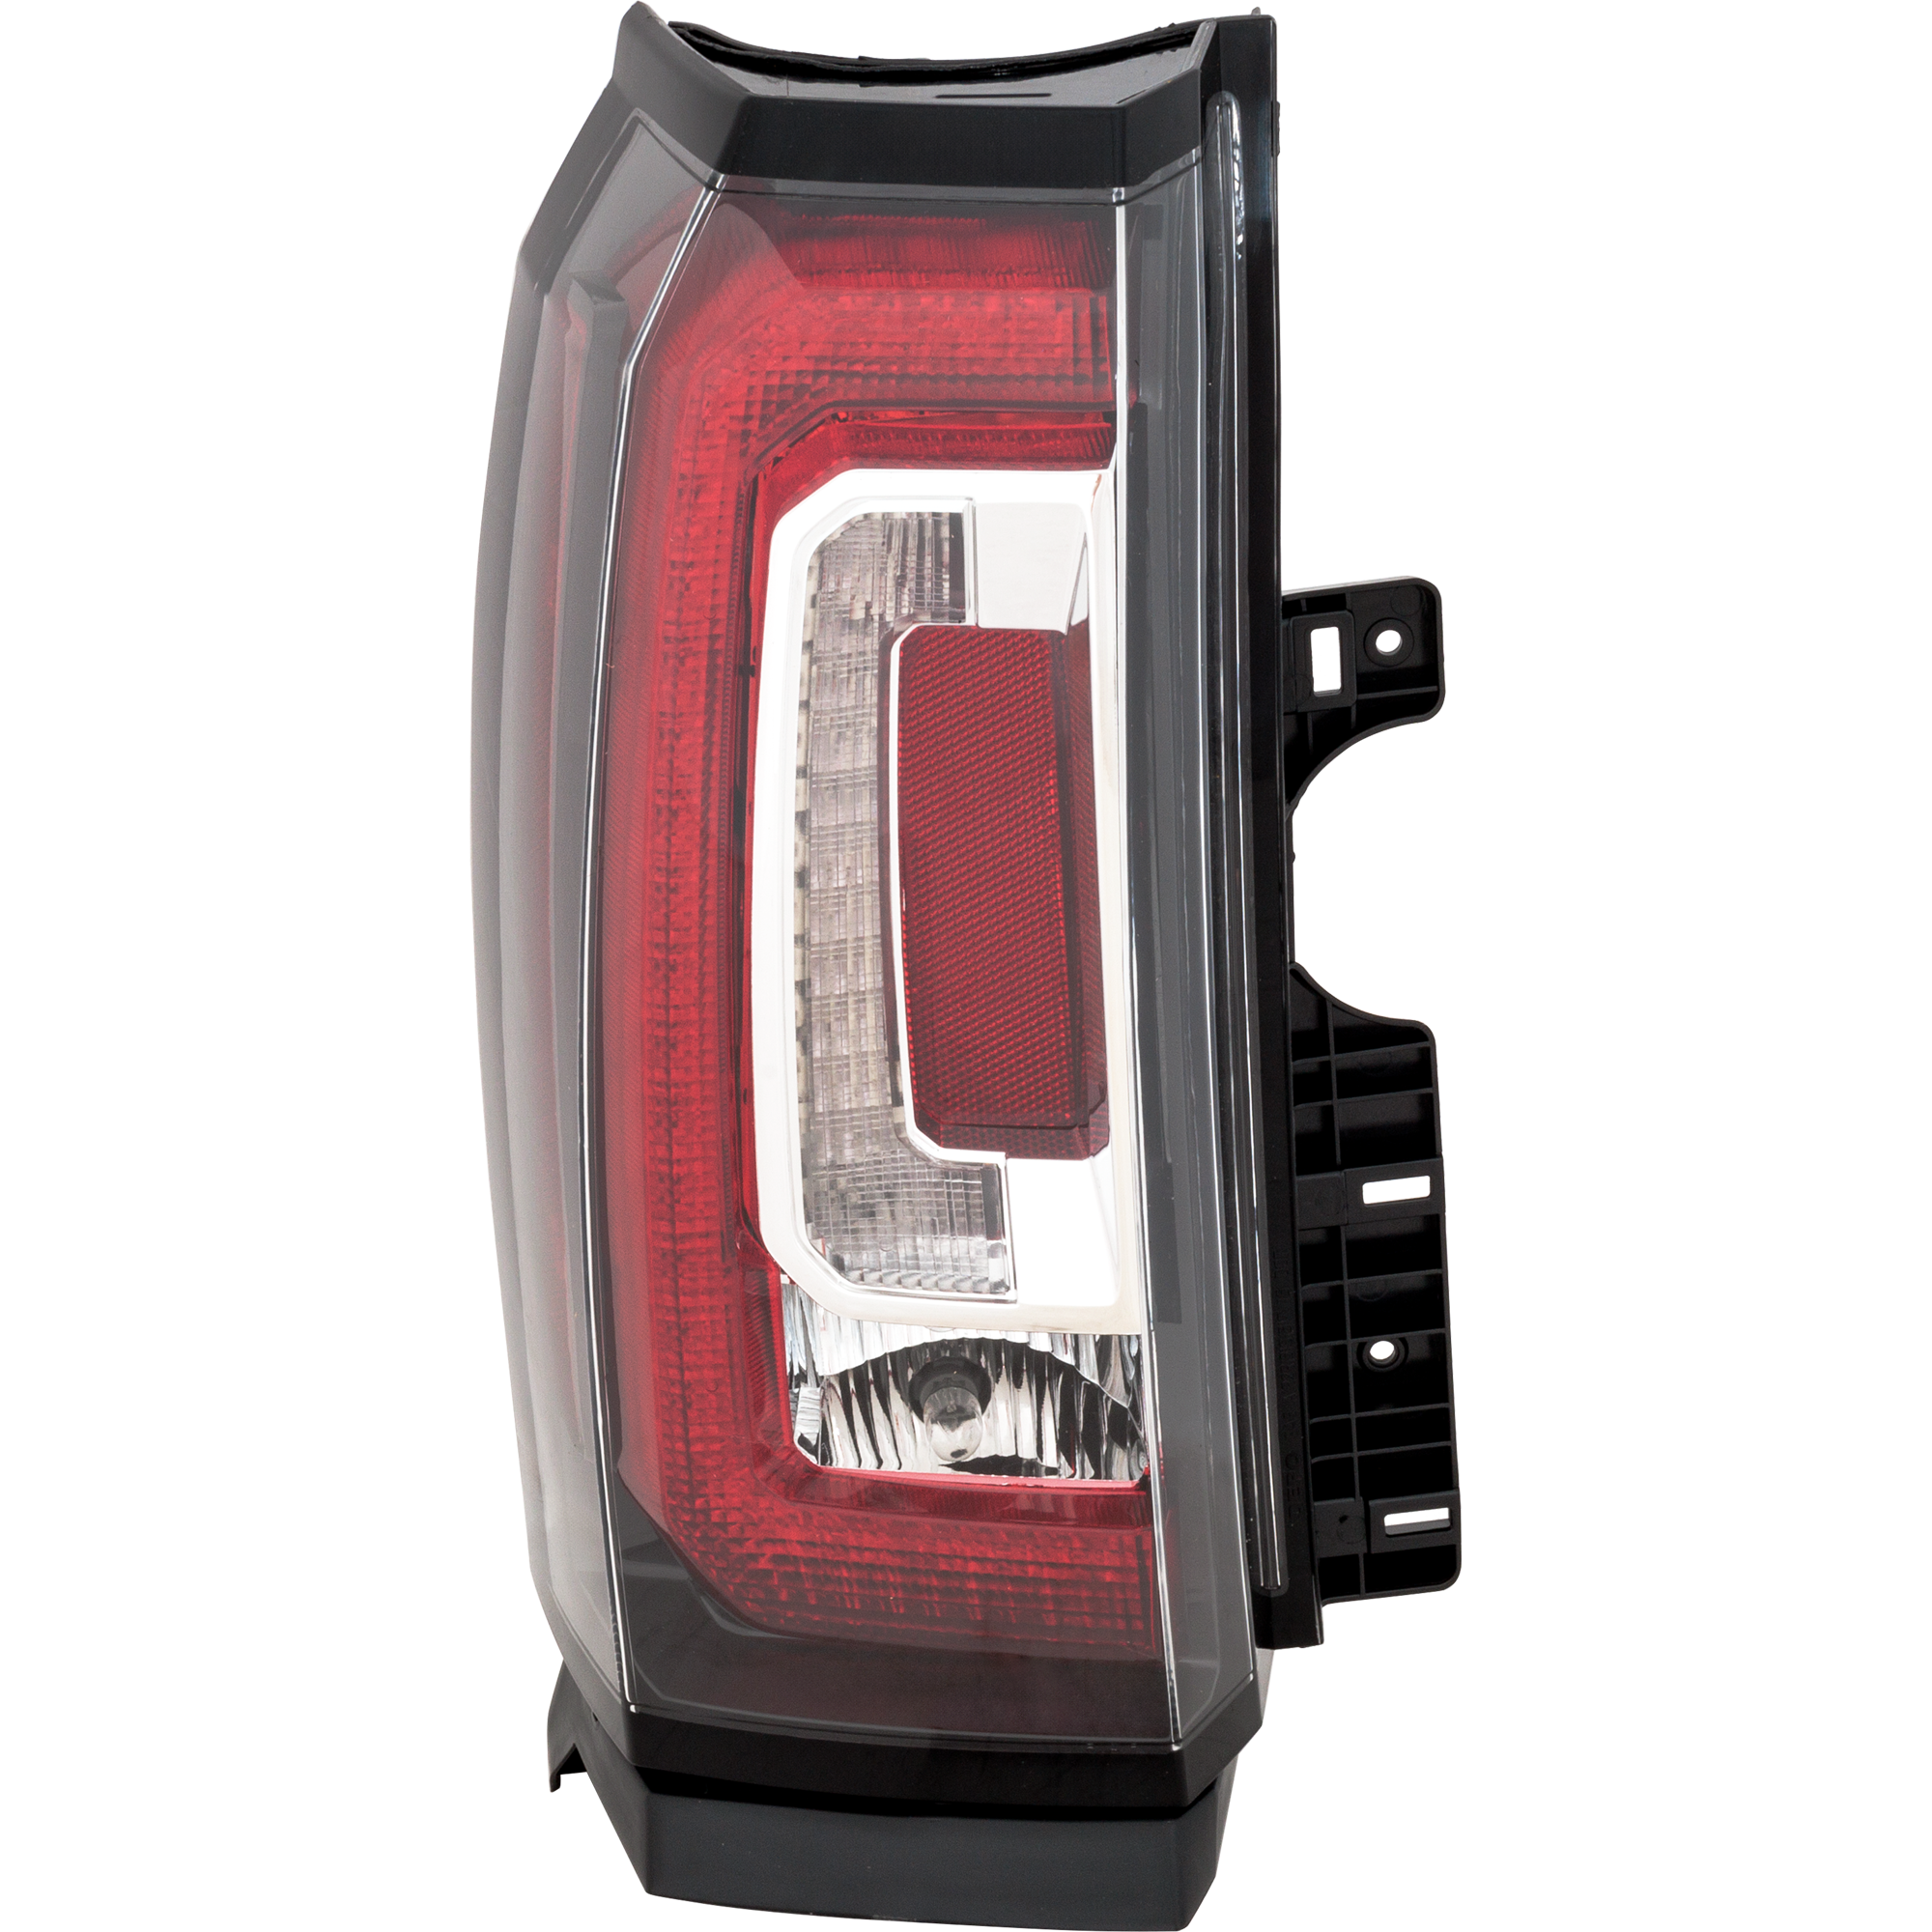
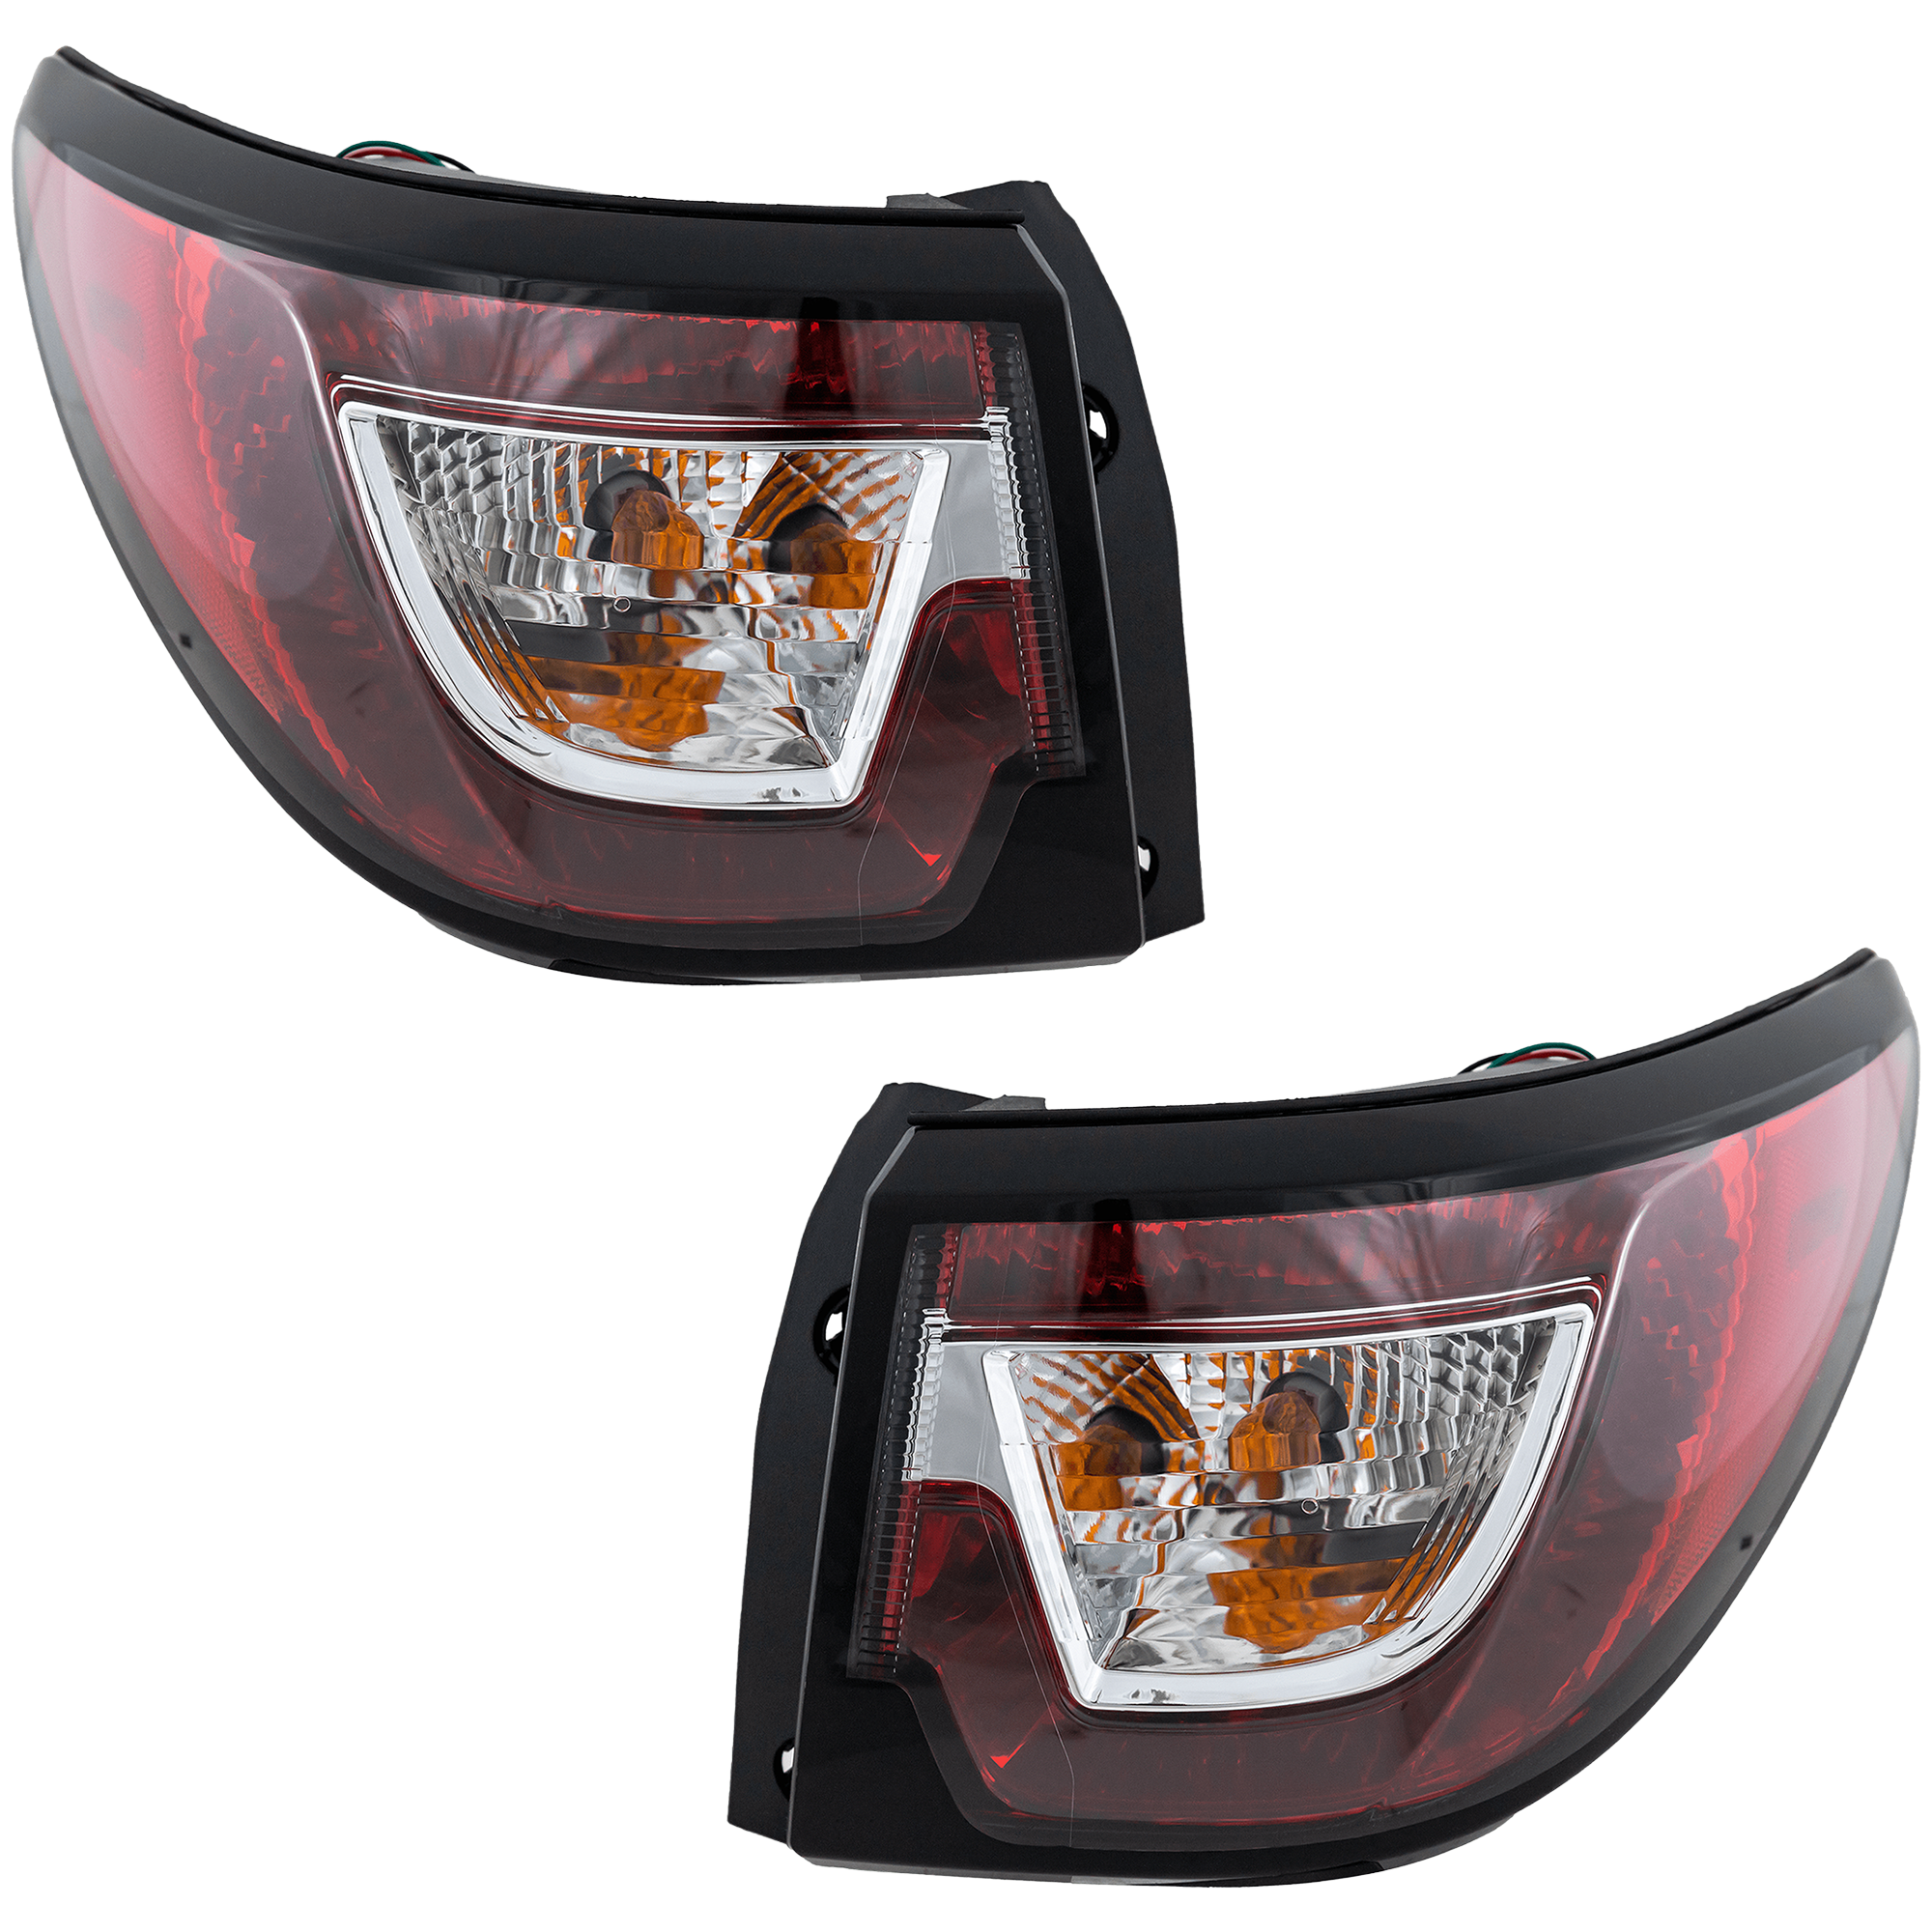
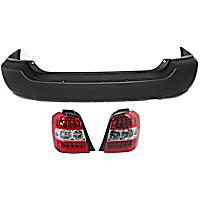 Tail Light
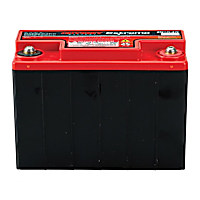 Battery
Shop this Project
-
Replacement – Passenger Side Tail Light, With bulb(s), LED, Clear and Red Lens

$269.99
Price and rating may change from the time content is published.
-
Replacement – Driver Side Tail Light, With bulb(s), LED, Clear and Red Lens
$209.99
Price and rating may change from the time content is published.
-
Replacement – Driver and Passenger Side, Outer Tail Lights, With bulb(s), Halogen, Mounts on Body
$181.41
Price and rating may change from the time content is published.
Keep Reading: Related Posts


Any information provided on this Website is for informational purposes only and is not intended to replace consultation with a professional mechanic. The accuracy and timeliness of the information may change from the time of publication.


