
Adding a mesh grille to your vehicle is a great way to spruce up its front end and give your ride a sportier look. But more than just a cosmetic upgrade, this change has practical purposes, too.
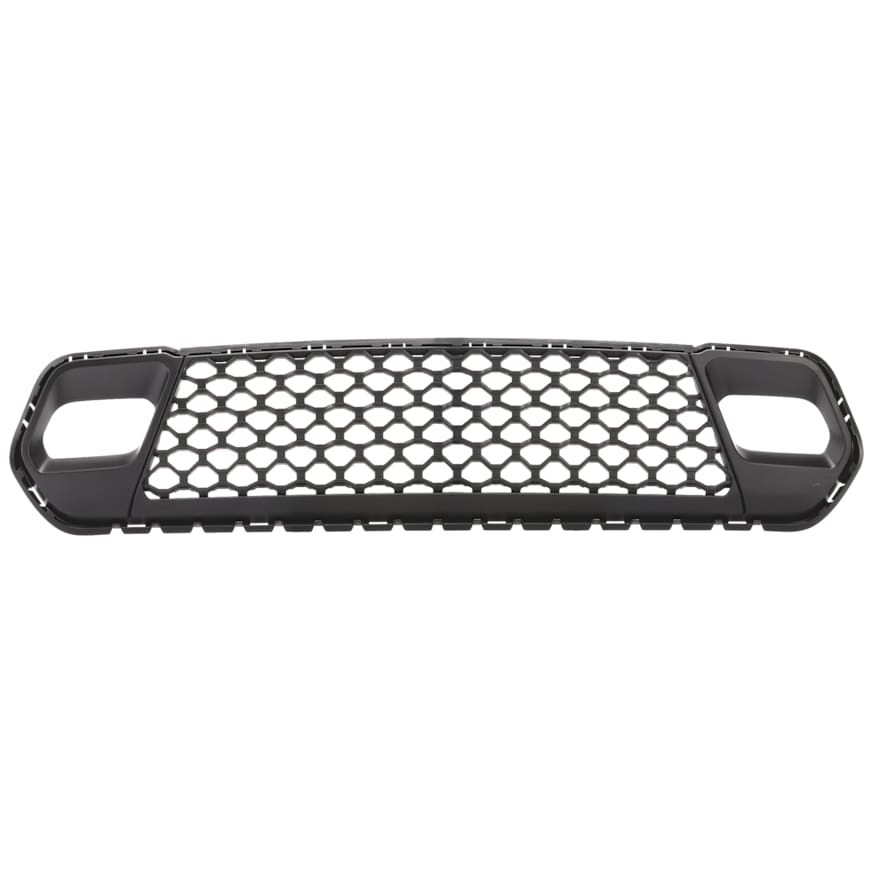
A well-designed car grille mesh allows air to enter the engine compartment to keep things cool. At the same time, it helps keep rocks, bugs, and other kinds of road debris from entering your engine bay. This keeps your radiator, condenser, and other key engine components working at their best.
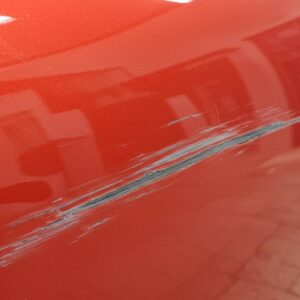
Over time, UV damage can make plastic trim brittle. Road debris can crack or clog the mesh, and exposure to road salt can wear away your metal grille’s protective coating. And more than regular wear and tear, forward collisions can also cause this part to break. If that isn’t enough, some grilles have large enough openings to let just about anything through.
When the grille gets damaged, it can’t do its job. Pebbles slipping through broken mesh may bend or puncture the radiator fins, and a bent grille can block airflow, making it harder for your engine to stay cool. Treat a failing grille as a sign to swap in a new one and keep your bumper’s structure intact.
How to Attach a Mesh Grille to Your Bumper: A Step-by-Step Guide

Adding mesh to your bumper is a pretty easy project, though you’ll need a bit of patience and some basic tools. Whether you’re aiming for a custom appearance or just replacing worn-out mesh, follow these steps to make the process simple and stress-free.
What You’ll Need
- Mesh grille insert (available in plastic, aluminum, stainless steel, or ABS).
- Fasteners: zip ties, screws, rivets, clips, or epoxy.
- Tools: tin snips, rotary tool, jigsaw, measuring tape, marker, and file/sandpaper.
- Safety gear: gloves and goggles.
Car Grille Mesh Installation
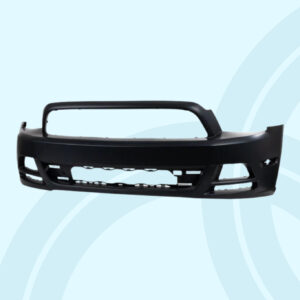
1. Remove or loosen the bumper
How difficult it is to reach your grille will depend on your vehicle. With some cars, you’ll have to take off the entire bumper; others let you remove the old mesh with less effort.
Taking off the bumper might sound like extra work, but it can make cutting and attaching the mesh much easier, even if it means removing a few extra bolts.
2. Measure the opening
Measure the width, height, and any curves of your bumper opening. Cut the mesh a bit larger so it overlaps the edges behind the opening. An extra half-inch all around will help keep it secure and keep it from rattling.
3. Cut and shape the mesh
For thin mesh, tin snips will do the trick; heavier mesh may call for a rotary tool. After cutting, smooth out any sharp edges so you don’t end up with scratches or cuts. If your bumper has curves, gently shape the mesh to match.
4. Test fit
Hold the mesh up to your bumper opening and make sure that it sits flat. It shouldn’t press up against any wiring or sensors. If needed, trim or bend it until you’re satisfied with the fit.
5. Fasten the mesh
Choose your fastening method based on your bumper’s material and how you want things to look. Zip ties, rivets, panel adhesive, or epoxy are all common choices. Just don’t overtighten the mesh to keep it from warping or appearing uneven.
6. Reinstall trim or bumper
Once the mesh is in place, reattach your bumper and reconnect any wires you might have unplugged. Make sure everything lines up neatly, with no gaps or loose edges left behind.
7. Final check
Start your engine and check that air flows properly while the car idles. As you drive, listen for any buzzing or rattling; those sounds mean something might be loose. After a few drives, give the mesh and all fasteners a quick check, since vibration can loosen things up.
Choosing the Right Mesh for Your Grille
Grille mesh comes in lots of varieties. What you pick will change how your car looks and how well it’s protected.
Stainless steel mesh grilles are tough, resist rust, and will last a long time. One thing to note is that they can add a bit of weight to your bumper. Aluminum is lighter and easier to shape, but it’s more likely to dent. Though not as strong as metal options, plastic mesh is the way to go if you’re looking for something that’s affordable, flexible, and easy to paint
Don’t forget about the finish. Powdercoated or anodized mesh will hold up better in harsh weather or against road dirt. Bare metal mesh needs a coat of sealant to keep rust away.
Think about the weave pattern, too. A tight mesh will stop small debris but also limit airflow. Wide mesh allows more air to pass through, but can let in larger debris. Choose what’s best for your driving environment: tight weave for gravel or lots of bugs, wide weave for hot places where your engine needs plenty of cooling.
When to Replace the Bumper Grille
Mesh grilles don’t have to be replaced very often, but there are some clear warning signs that it’s time for a new one:
- Cracks or missing sections.
- Rust is eating through the weave or mounting tabs.
- Mesh that shakes, sags, or rubs against the radiator.
- Flaking paint that exposes raw metal.
- Noticeable overheating when the grille looks clogged or warped.
If you ignore a damaged grille for too long, it can end up costing much more down the road—damage from debris or overheating is often expensive to fix.
What It Costs to Install or Replace
How much you’ll pay for a new mesh grille depends on your car, the kind of grille you choose, and whether you install it yourself or pay someone else.
Most mesh grille inserts are between $50 and $300. Full grille assemblies can be $300 to $600, and if you’re hiring a shop, labor might add another $100 to $300.
If you’re comfortable with tools, installing the grille yourself will help you save a lot. But if you’re worried about making a mistake, hiring a pro can save time and prevent headaches.
Installation Tips for DIYers
Stick some painter’s tape around the bumper opening so you don’t scratch the paint while fitting the mesh. Before trimming the bumper, use a heat gun to warm the plastic. This will help in making clean cuts without he material cracking.
Don’t make screws or rivets too tight. A bit of flex helps absorb vibration and keeps the mesh in place.
Take some photos as you go. They’ll be useful if you ever need to swap the mesh again or if you want to show the work when selling your car.
After your first week of driving, check the fasteners to see if they need tightening. Sometimes vibration will loosen things after a new install.
Keep Reading: Related Posts


Any information provided on this Website is for informational purposes only and is not intended to replace consultation with a professional mechanic. The accuracy and timeliness of the information may change from the time of publication.


