You might already know that your wheel arch is rusted through, dented, or rotting at the lower lip, and that a wheel arch repair panel is the fix. The harder part is choosing the panel that actually matches your vehicle, repair, and the body section you’re cutting out.
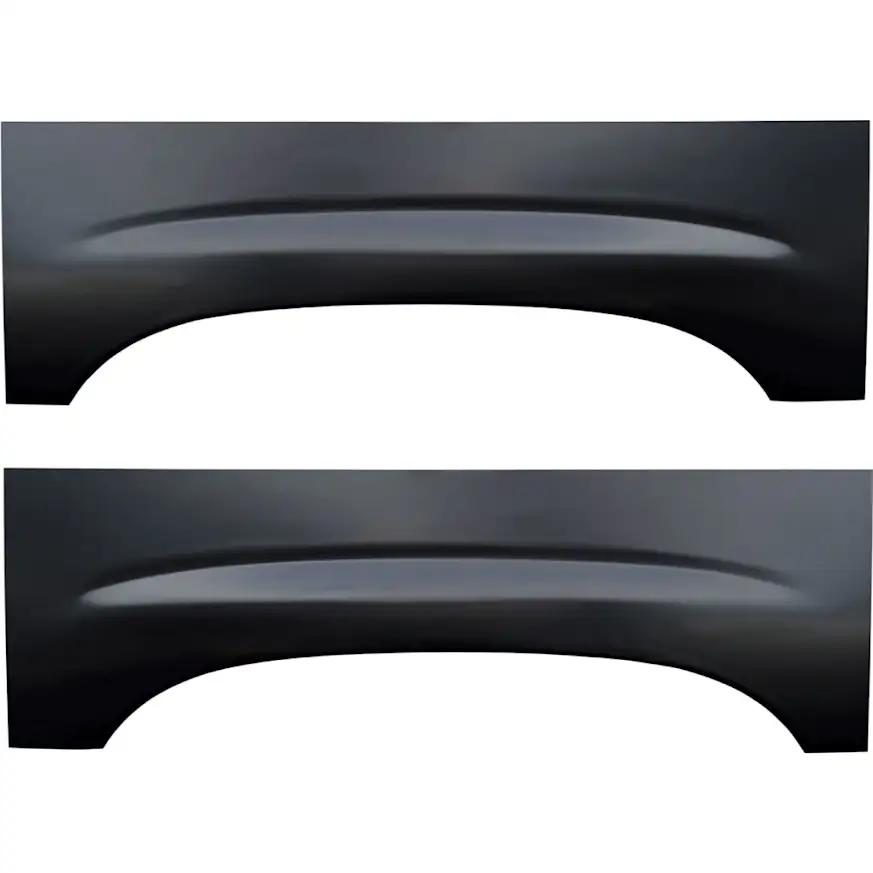
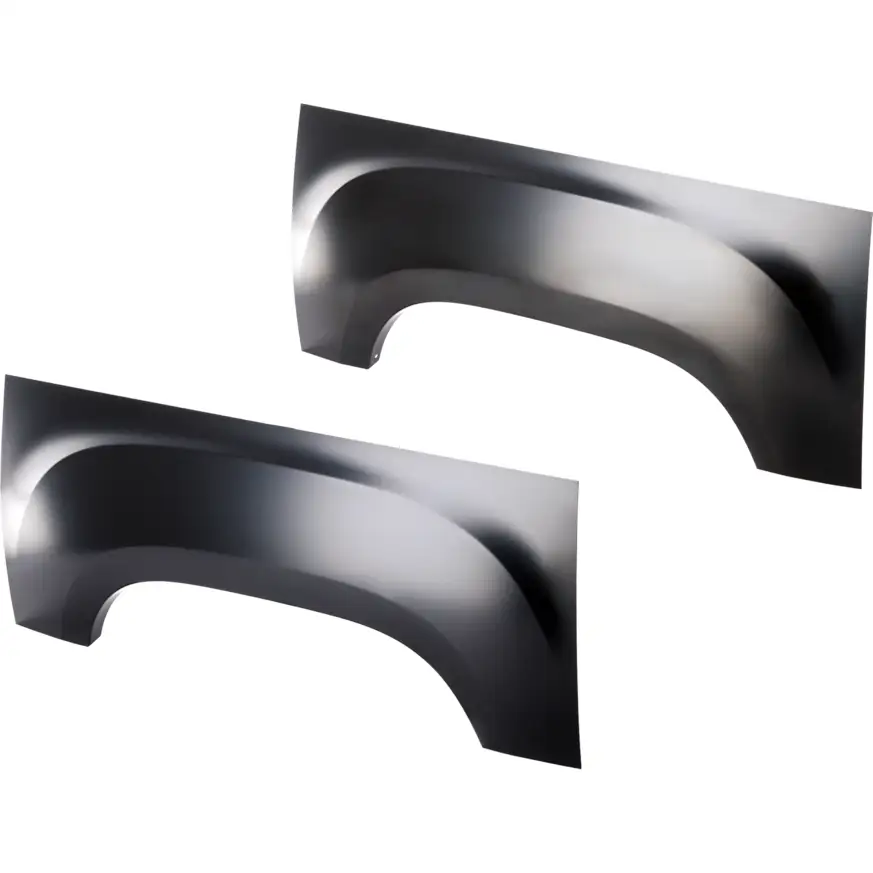
Wheel arch repair panels look almost identical in thumbnails. A curved steel section is a curved steel section at a glance. But the listings differ in side, position, single-panel versus set, the section of the arch they cover, and how they’re meant to be attached. Pick the wrong one and you’re left with a panel that won’t line up with the cut you made.
This isn’t a repair walkthrough. It’s a pre-order confidence check so the panel you add to cart is the one that belongs on your body shop bench, not a return label waiting to happen.
How Do You Choose the Right Wheel Arch Repair Panel?
Start by confirming your vehicle’s year, make, model, body style, and which side and position you’re repairing: rear or front, driver or passenger, and whether you need the upper arch section or the full lower section. Then decide whether you need a single panel or a left-and-right set, since many of these are sold as pairs. Check the listing notes for how the panel is intended to be attached, since most are cut-and-weld steel sections, and confirm the material matches your repair. After fitment, side, and panel coverage are settled, compare brands and verify the quantity before adding to cart.
Start With the Vehicle, Not the Thumbnail
Fitment is the first gate, and it’s stricter than the product photo suggests. A wheel arch panel is stamped to match the exact contour of a specific body shell, so a panel for a close model year or a different body style won’t follow the same curve.
Confirm these before anything else:
- Year, make, and model: Arch contours change between generations and sometimes within a generation.
- Body style: Sedan, coupe, truck cab type, and SUV variants can use different rear arch shapes.
- Side: Driver or passenger. Some listings cover both sides as a set, while others are side-specific.
- Position on the vehicle: Front arch versus rear arch.
- Section of the arch: Upper arch repair section versus a full lower quarter panel or bedside section. The listing position label, such as “Rear, Upper,” tells you how much of the arch the panel actually replaces.
The thumbnail shows the general shape. It doesn’t tell you whether this curve matches your exact shell, so treat the image as confirmation, not proof.

Identify the Version Your Repair Actually Needs
Two wheel arch repair panels can share the same name and still solve different repair problems. Here are the version differences that matter most:
- Single panel vs. set of two: Many listings are sold as a driver-and-passenger pair, while others are a single side. If you only have rust on one side, a set means a spare panel. If both sides are rotting, a single won’t finish the job.
- Upper section vs. full arch section: An upper wheel arch repair panel covers the curved top portion of the arch. A larger panel may extend down into the quarter or bedside. Match the panel to how far your vehicle’s rust or damage extends.
- Front vs. rear: Rear arch panels are the most common repair, but confirm that the listing position matches the corner you’re fixing.
- Driver vs. passenger specific: A panel is stamped with a handed curve. A left panel will not mirror correctly onto the right side.
Match the version to the cut you’re planning to make, not to the cheapest panel that shares the name.
Compare the Details That Make the Panel Fit
Use the product image as a starting point, not as the whole match. A panel can look right and still follow a slightly different arch radius or extend a different distance down the body. Before ordering, compare these against your vehicle and the old metal where you can:
- Arch curve and radius: Does the panel’s curve follow your vehicle’s existing arch line?
- Coverage area: How far up and down the panel extends, and whether this overlaps the rusted or damaged section you’re removing.
- Body lines and contours: Any character lines, steps, or flares that need to align with the surrounding fender or panel.
- Flange and edge style: How the panel edge is shaped where it meets the existing metal.
- Left/right orientation: Confirm the panel is handed for the side you’re repairing.
This is about matching metal before you order, not about how to weld it in. The goal is a panel that lines up with the section you’re cutting out.
Check What Comes in the Box
A listing can be correct for your vehicle and still not include what you assumed. Wheel arch repair panels are usually sold as the bare stamped steel section, and the listing notes typically describe them as cut-and-weld parts. This means the following:
- No hardware or fasteners: These weld in. There’s nothing to bolt on.
- No paint or finish: Panels generally ship as bare or primer-coated steel and need finishing after installation.
- Single vs. set quantity: Check whether you’re buying one panel or a left-and-right pair, since the quantity changes what you actually receive.
- No seam sealer, weld-through primer, or body filler: These aren’t part of the panel listing and may be needed to complete the repair.
Confirm the quantity and the cut-and-weld note so you know you’re getting a raw repair section, not a finished bolt-on piece.
Compare Brands After You Confirm Fitment
Brand matters, but it shouldn’t be the first filter. A Replacement or Key Parts panel still has to match your vehicle, its side, position, and arch section before it belongs in your cart. A familiar brand name doesn’t make a passenger-side panel correct for a driver-side repair.
On CarParts.com you’ll see options like the Replacement brand and Key Parts for many applications. Depending on the vehicle, some are sold as single panels and others as driver-and-passenger sets, so the brand and the configuration are tied together.
The better question isn’t “Which wheel arch panel brand is best?” It’s “Which brand offers the correct panel section and side configuration for my vehicle and repair?” Settle fitment first, then let brand be a confidence filter.
Choose the Right Ownership Lane
The right panel isn’t always the most expensive one. It’s the one that matches the scope of your repair.
- Single-Side Spot Repair: For rust or damage on one corner only. A single, side-specific upper arch panel covers the affected section without paying for a side you don’t need.
- Both-Sides Matched Repair: When both rear arches are rotting, which is common with symmetrical road and salt exposure. A driver-and-passenger set keeps both sides matched and is often the more sensible value than two single panels.
- Full Lower-Section Restoration: When rust extends well below the arch lip into the quarter or bedside, sometimes far enough that the rocker panel underneath is involved too. A larger panel that covers more of the lower body may be the better starting point than a small upper section that leaves rotten metal behind.
Don’t underbuy a tiny upper section if the rust runs deeper, and don’t overbuy a full set if only one corner needs work.
Make the Final Add-to-Cart Check
Before you add the wheel arch repair panel to cart, make sure the listing matches the vehicle, the side, the arch section, and the quantity you need:
- Vehicle year, make, model, and body style confirmed
- Front or rear position confirmed
- Driver or passenger side confirmed (or set, if buying a pair)
- Upper section vs. larger lower-section coverage confirmed
- Single panel vs. set-of-two quantity confirmed
- Cut-and-weld steel construction noted
- Arch curve and coverage compared against the section you’re replacing
- Brand chosen after fitment and configuration are settled
- Product notes and any material warnings reviewed
Your Best Starting Point
Start with fitment. Use the vehicle selector so the results narrow to replacement panels stamped for your ride’s shell.
Then narrow by position and side, deciding whether you need front or rear, one side or a matched set, and an upper section or a larger lower piece. Compare the panel’s curve and coverage against the metal you’re cutting out before committing. Because the lower body is the area most exposed to road salt and moisture, it helps to understand why wheel well rust spreads before it reaches the panel you’re shopping for.
Confirm you’re getting bare cut-and-weld steel and the right quantity, then use brand as a final confidence filter once the configuration is right.
The best wheel arch repair panel order isn’t the one that looks close enough or carries a familiar name. It’s the one that matches your vehicle, its side, arch section, and the quantity your repair actually needs.
Keep Reading: Related Posts


Any information provided on this Website is for informational purposes only and is not intended to replace consultation with a professional mechanic. The accuracy and timeliness of the information may change from the time of publication.