At one time, you were in love with your car—just the sight of it made you swoon. But now, thanks to those yellow, oxidized headlights, your car is, well, ugly. The good news is: you can easily clean the oxidation off with simple tools. The bad news is: the oxidation usually comes back after a while.

That’s why, in many cases, swapping your old headlights out for a brand-new pair is a better way to go. Most replacement headlight assemblies are relatively affordable nowadays—as long as you don’t have a high-end luxury vehicle.
So, before rolling up your sleeves to clean your old headlights, take a look around and price out a replacement set. If a new pair is too costly—don’t worry. We’ve got you covered with our headlight cleaning instructions below.
Cleaning Your Headlights with Toothpaste

Yes, cleaning headlights with toothpaste is a thing. Once again, usually, the effort doesn’t keep your headlights clean forever, but it will de-fog them temporarily.
What You’ll Need
You’ve probably got many of the tools needed for this task lying around the house. All that’s needed is:
- Automotive-grade masking tape
- Automotive detail wax
- Car wash soap and water
- Clean cloths
- Spray bottle
- Toothpaste with baking soda
- UV headlight sealant
How to Clean Headlights with Toothpaste
Are you ready to start cleaning those nasty yellow headlights? Good. Here’s how it’s done.
1. Clean with soap and water.
Clean the headlights and the area around them with car wash soap and water. Dry everything with a clean cloth.

2. Apply automotive-grade masking tape.
Carefully apply tape to the area around the headlights to protect your car’s paint. To avoid damaging the finish, it’s important to use masking tape that’s designed for cars. You can find it at your local auto parts store.
3. Spray headlights with soapy water.
Use a spray bottle to apply a solution of soapy water to one of the headlights.
4. Add toothpaste to a cloth and scrub gently.
Place a small amount of toothpaste onto a clean cloth. Using light to medium pressure, move your hand in circular motions to scrub the headlight with the toothpaste. Make sure to keep the headlight wet with soapy water while you do this.
5. Rinse toothpaste off.
Use clean water to remove any remaining toothpaste residue from the headlight.
6. Do the same thing on the other headlight.
Repeat steps three through five on the other headlight, then dry both headlights with a clean cloth.

7. Apply a coat of wax.
Take your automotive detail wax and apply a coat to each of the headlights. Wipe them clean.
8. Use UV headlight sealant.
Apply UV headlight sealant to each of the headlights. Follow the instructions that come with the product for proper application.
9. Cure sealant in sunlight or with UV light.
Leave the headlights out in sunlight or use a UV light to cure the sealant. Allow to cure for the specified duration, as outlined in the product information.
Cleaning Your Headlights with a Headlight Restoration Kit

As great as the toothpaste method is (or isn’t) for removing oxidation, there’s a more professional way to clean your headlights—and it involves using a headlight restoration kit.
What You’ll Need
If you decide to go this route, almost everything required is included in the headlight restoration kit. Altogether, you’ll need:
- Automotive-grade masking tape
- Car wash soap and water
- Clean cloths
- Headlight restoration kit
- Paper towels
- Spray bottle
How to Clean Headlights with a Restoration Kit
The following is a general guideline. Be sure to use the instructions listed on the product for the best results and to avoid damaging your vehicle.
1. Clean with soap and water.
Similar to the headlight cleaning toothpaste method, you’re going to start by cleaning the headlights and the area around them with car wash soap and water. Dry everything with a clean cloth.
2. Apply automotive-grade masking tape.
Carefully apply tape to the area around the headlights to protect your car’s paint. To avoid damaging the finish, it’s important to use masking tape that’s designed for cars. You can find it at your local auto parts store.
3. Spray headlights with soapy water.
Use a spray bottle to apply a solution of soapy water to one of the headlights.
4. Find the coarsest piece of sandpaper in the kit.
Keep in mind: the lower the number, the more abrasive the sandpaper. For example, if your kit contains the grits 1000, 2000, and 3000, the piece of 1000 sandpaper is the most abrasive.
5. Dip the coarsest piece of sandpaper into soapy water.
You’ll need to make sure it remains wet the entire time you’re sanding; otherwise, you’ll leave deep scratches in the lens.

6. Begin sanding one of the headlights.
Make sure you sand in the same direction the entire time using straight horizontal strokes—and again, make sure the sandpaper stays wet. Once you’re done, clean the lens with a soft cloth.
7. Repeat steps three through six using each of the less abrasive pieces of sandpaper.
Use each piece of sandpaper one at a time. Once again, you’ll want to follow the product instructions closely for this step.
8. Do the same thing on the other headlight.
Repeat steps three through seven on the other headlight.
9. Remove any residue and wipe dry.
After you’ve finished sanding both headlights, clean any remaining residue, then dry using a cloth.
10. Apply polish and wax.
Squeeze a small amount of polish onto a clean cloth. Using light pressure, move your hand in circular motions to apply the polish to each of the headlights. Wipe the headlights clean, then follow up with a coat of wax and wipe the headlight off when you’re done.
11. Apply UV headlight sealant.
Once again, apply UV headlight sealant. Make sure to follow the instructions that come with the product for proper application.
12. Cure sealant in sunlight or with UV light.
After applying sealant, place the headlights out in sunlight or use a UV light to cure. Allow to cure for the specified duration, as outlined in the product information.

What if the Oxidation Comes Back?
As was mentioned, all too often, headlights eventually get foggy again after cleaning. If your work fades over time and you find that your headlights have oxidized again, you can try repeating the cleaning process. Or better yet, consider buying a new set of headlights, as previously recommended. If you’re handy, you can even try replacing them yourself.
Where to Get New Headlights for Your Ride
Cleaning foggy headlights can reveal various issues. If you spot signs that indicate that your headlights are close to failing, don’t put off replacing them. Remember; driving with dim or faulty headlights at night is not only risky but also against the law. Fortunately, finding replacements is easy with the help of CarParts.com.
We source our headlights from top manufacturers. Each one is carefully vetted by industry experts to ensure they’re built to last. You won’t have to worry about your new headlights getting foggy shortly after obtaining them.
The best part? You won’t even have to take one step outside your home to get your hands on new headlights. Our warehouses are strategically located across the country meaning you can receive your order within a matter of days.
To get started, use your mobile device or computer to visit our website. Fill out our vehicle selector and use the search filters to view compatible headlights that match your preferred brand, price, and features.
Shop now and take advantage of our unbeatable prices!
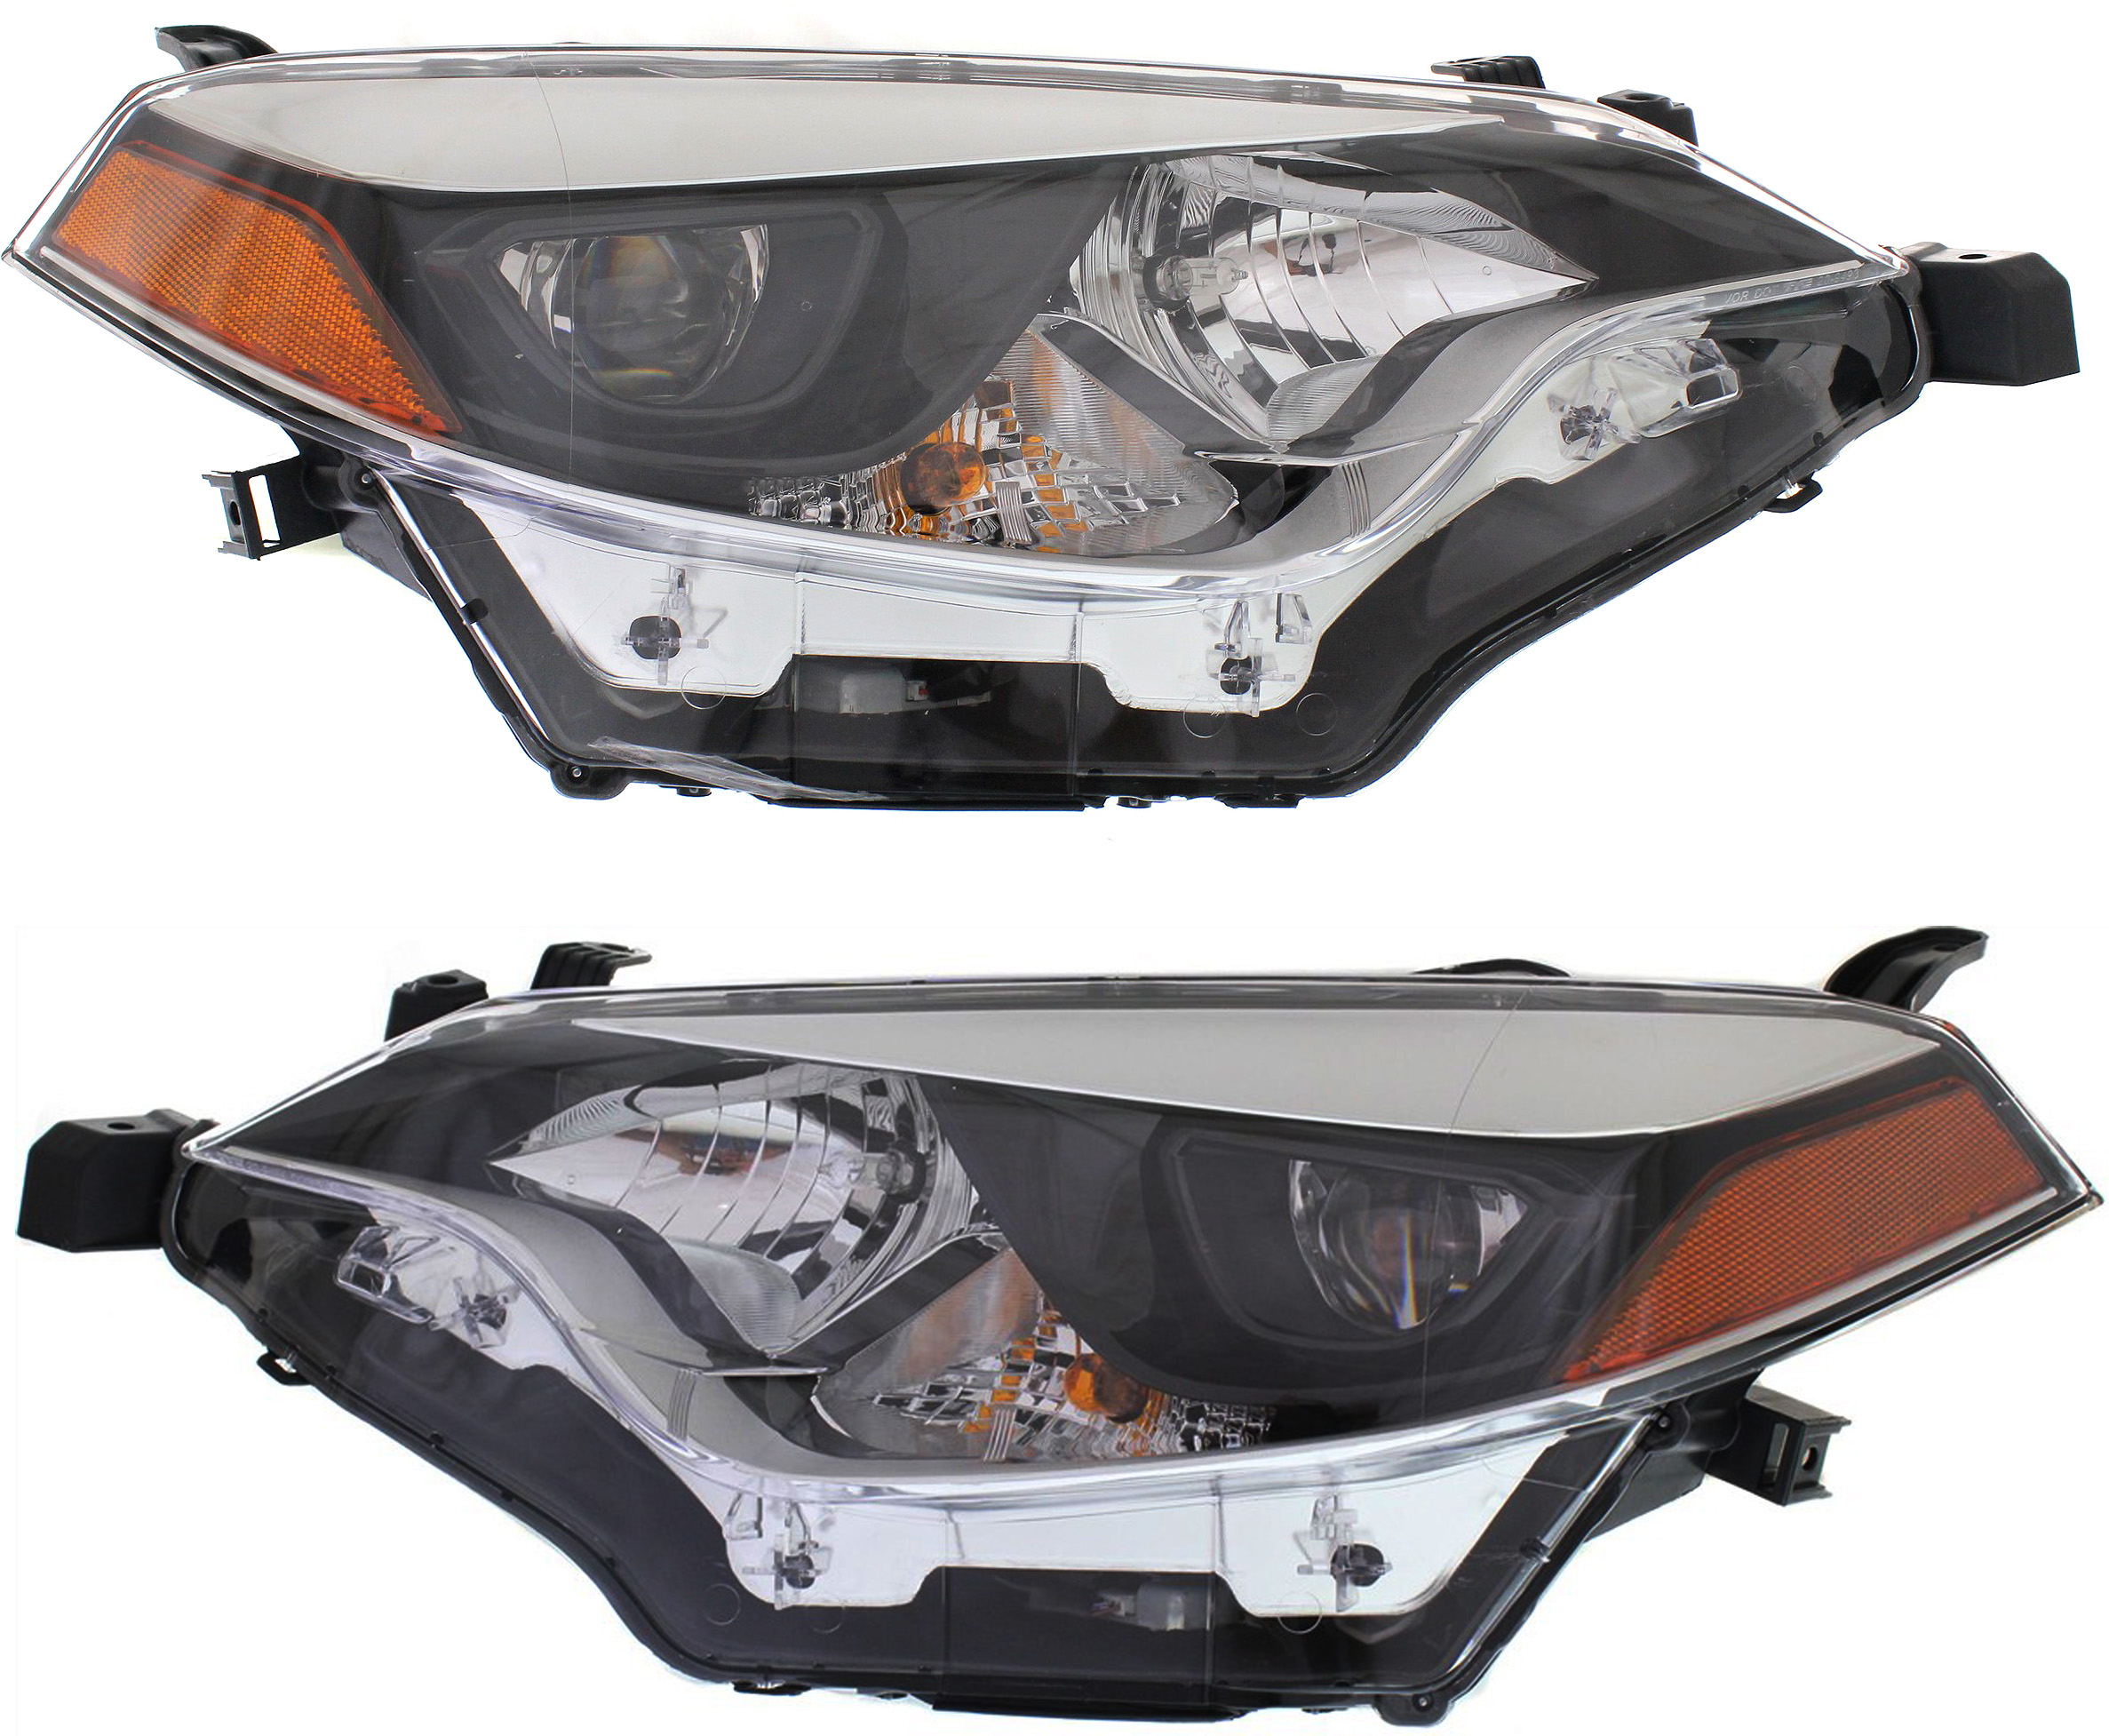
Shop this Project
-
Replacement – Driver and Passenger Side Headlights, with Bulbs, LED

$189.99
Price and rating may change from the time content is published.
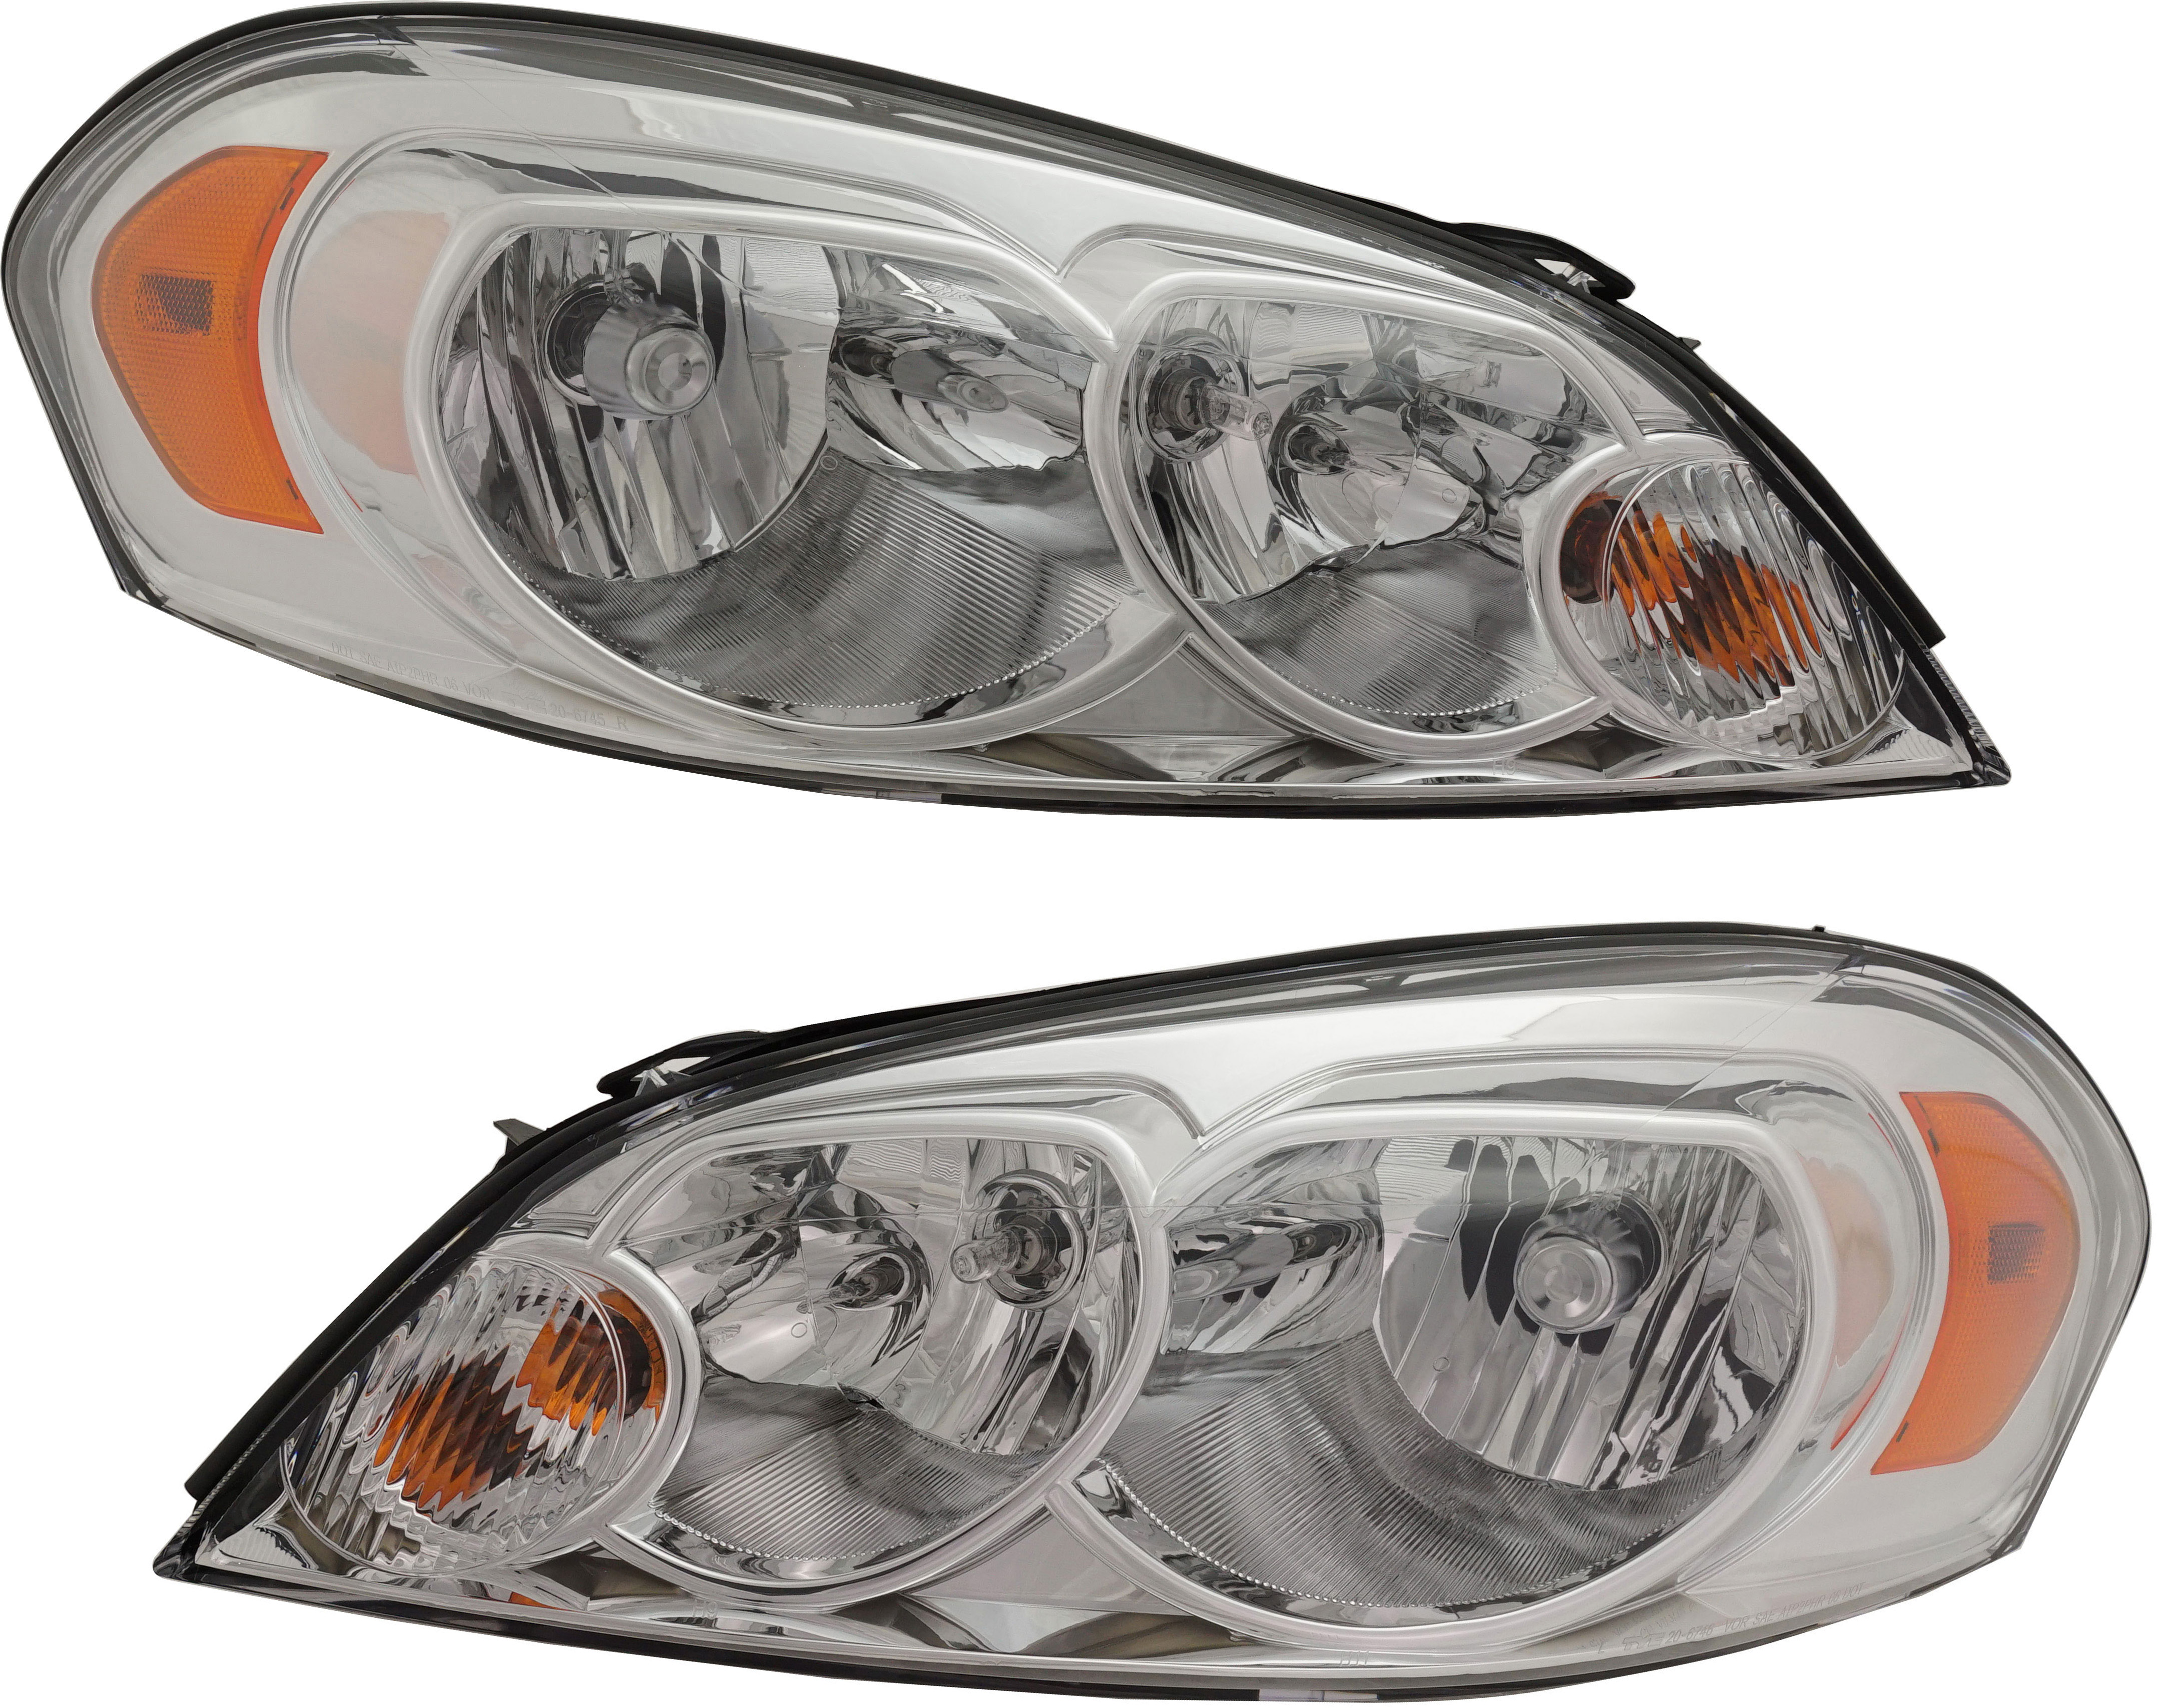
-
Replacement – Driver and Passenger Side Headlights, with Bulbs, Halogen

$134.99
Price and rating may change from the time content is published.
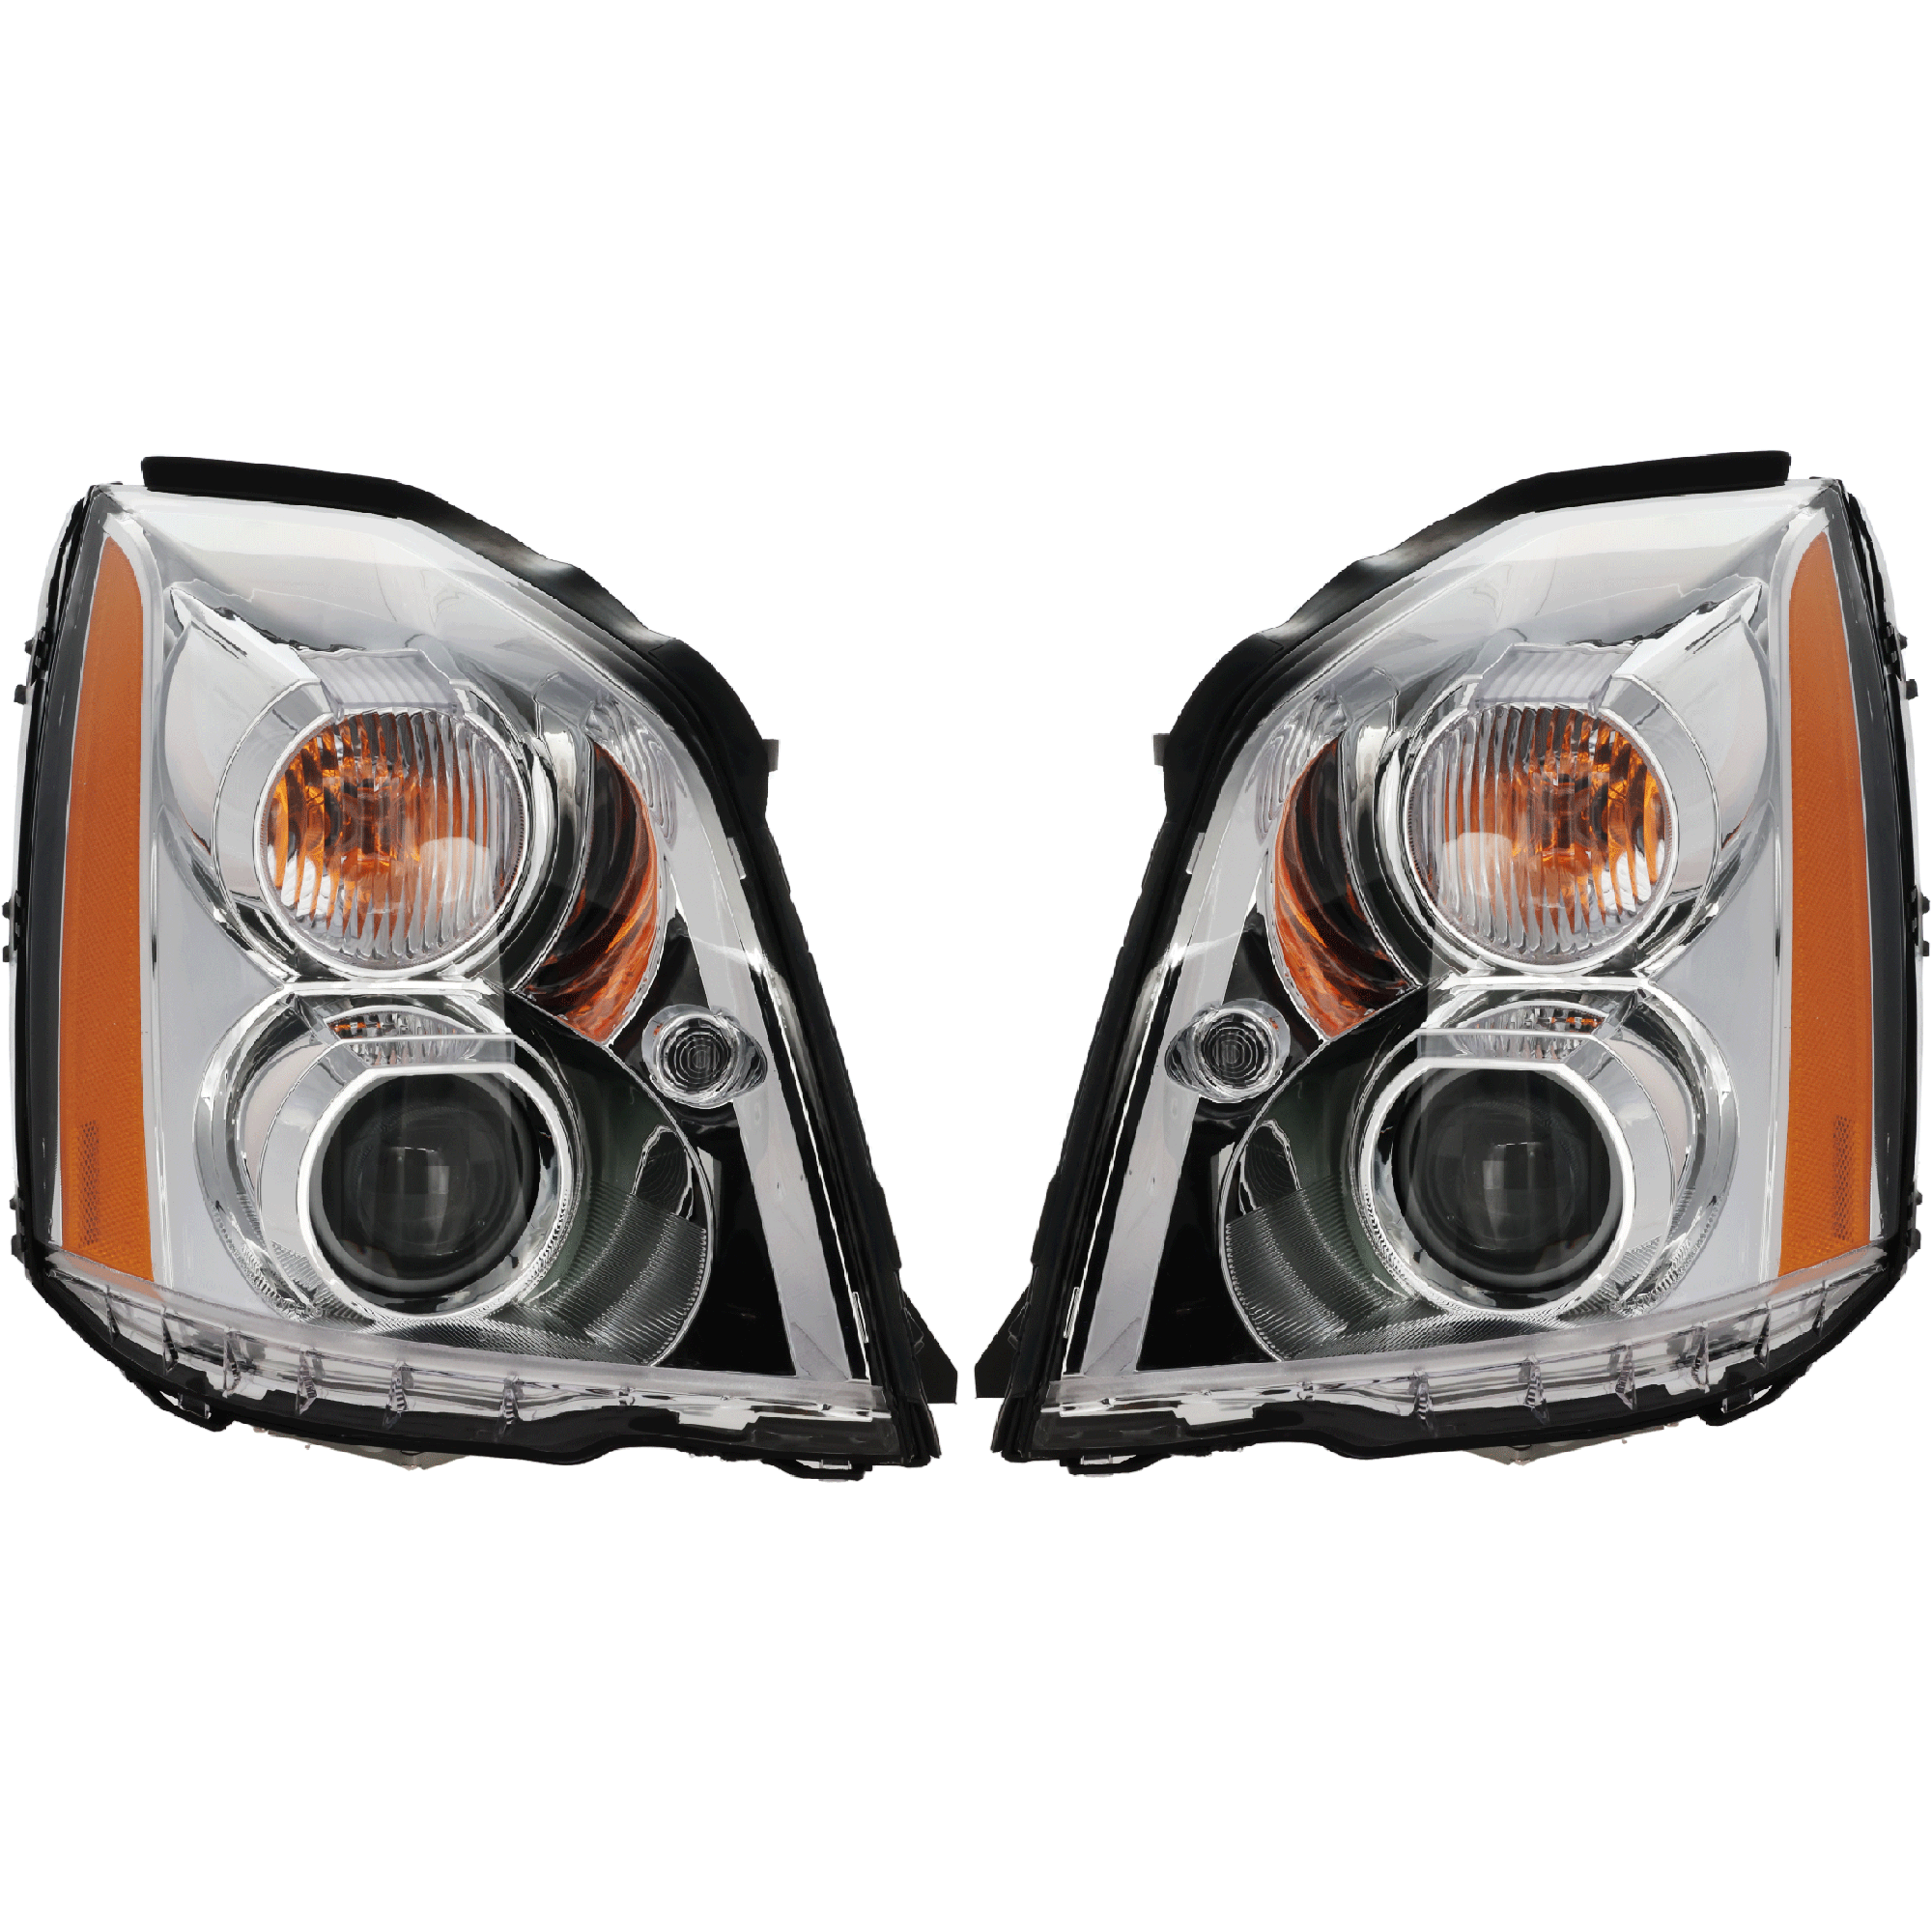
-
$619.99
Price and rating may change from the time content is published.
Keep Reading: Related Posts


Any information provided on this Website is for informational purposes only and is not intended to replace consultation with a professional mechanic. The accuracy and timeliness of the information may change from the time of publication.


