
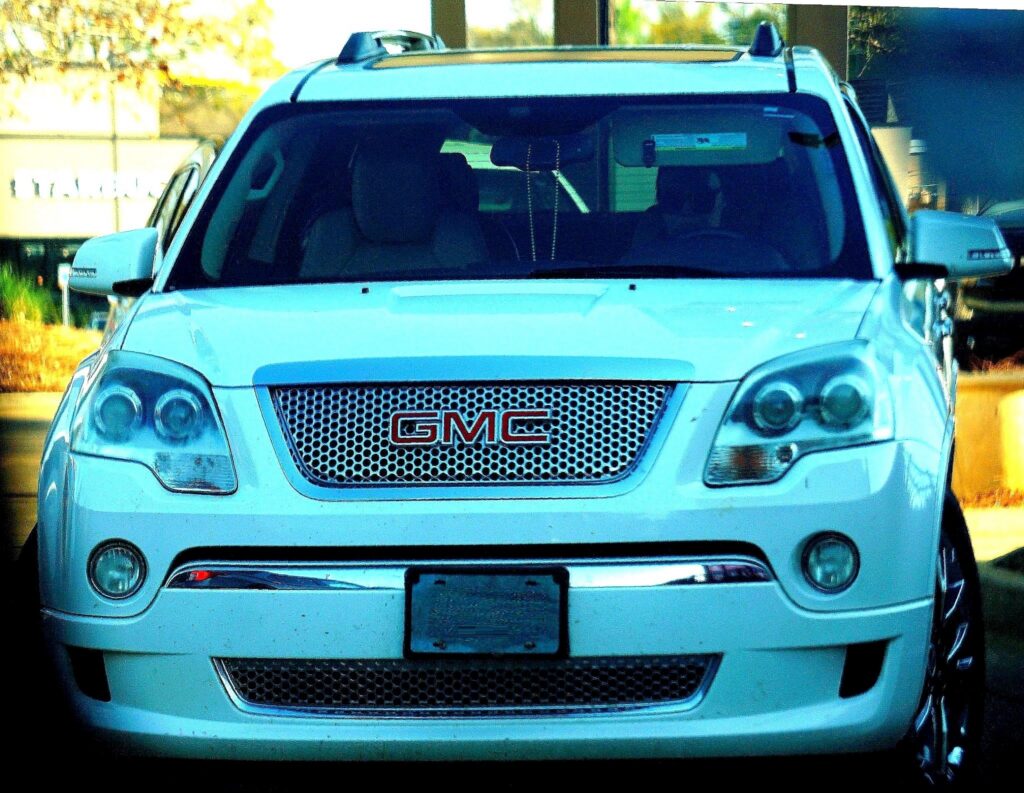
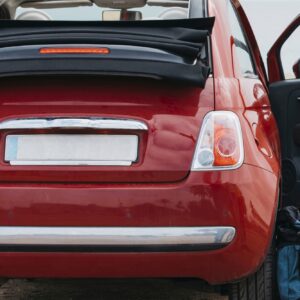
Installing a front license plate bracketis usually a simple DIY job as long as you use the right mounting points, match the bracket to your vehicle, and avoid drilling where clips, sensors, or wiring may sit behind the bumper. Some cars already have factory dimples, threaded inserts, or grille mounting tabs, while others need a no-drill bracket that uses tow hook threads or lower grille hardware. If anything feels forced or the bumper cover flexes too much, stop and confirm fitment before you keep going.
Key takeaways
- Check for factory holes, dimples, inserts, or tow hook mounting points before drilling anything.
- Use a vehicle-specific bracket when possible for the cleanest fit and easiest install.
- No-drill brackets are often the safest option for painted bumpers and newer front fascias.
- Keep the plate centered, level, and clear of lights, sensors, and airflow openings.
Start by checking how your vehicle is set up
The right installation method depends on the front end design. Some vehicles come with small pilot marks in the bumper cover where the bracket should go. Others use screws that thread into clips or inserts already behind the fascia. In many cases, especially on cars sold in states that don’t require a front plate, the dealer installs the bracket only if needed.
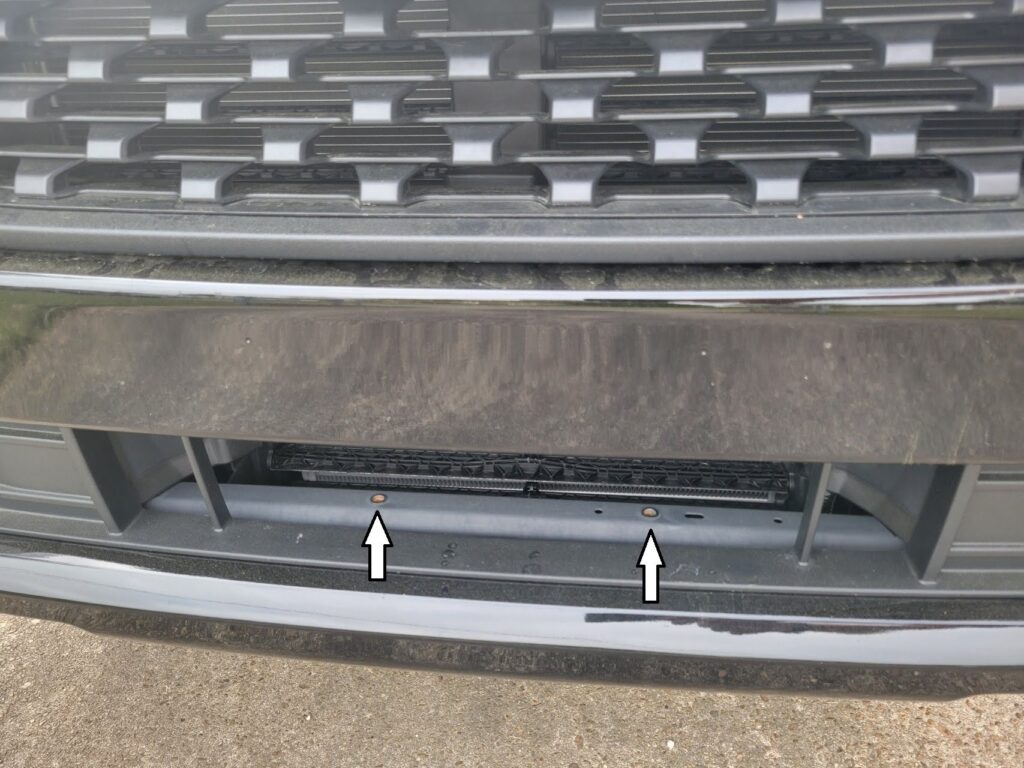
This matters because there isn’t one universal process for every vehicle. A truck with an aftermarket steel bumper may need a completely different setup than a sedan with a painted plastic bumper cover. It’s important to look for the intended mounting location first. Owners often find dimples, small dents in the plastic, grille tabs, or a tow hook receiver that makes drilling unnecessary.
If your bumper already has visible marks or pre-threaded points, use them. If it doesn’t, don’t assume the center of the bumper is the right place.
Gather the right parts and tools before you start
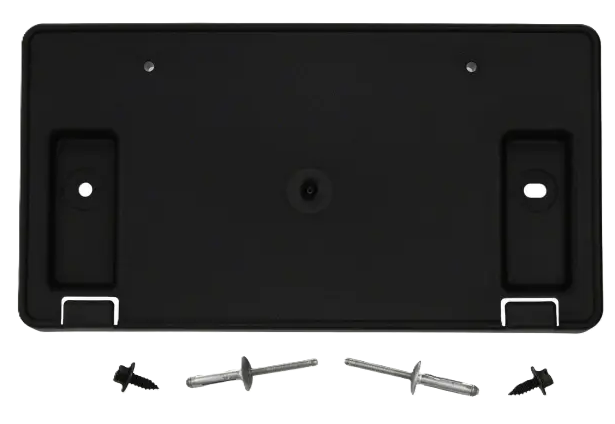
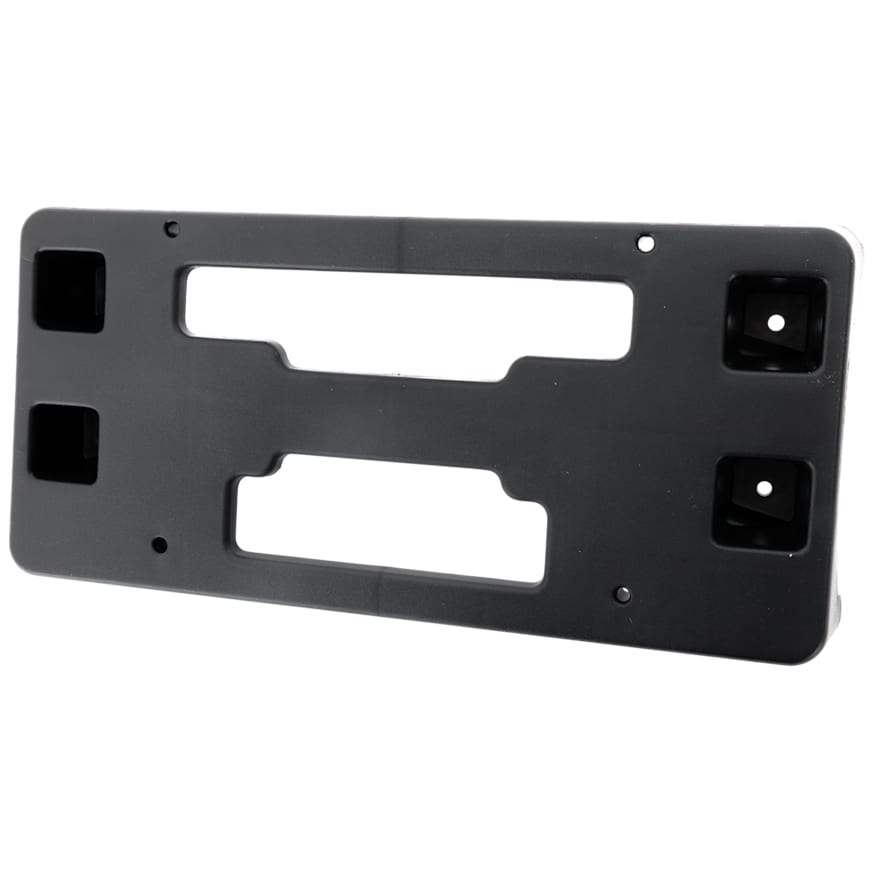
For most installations, you’ll need the bracket, the license plate, mounting screws, and basic hand tools. A screwdriver or socket driver is usually enough. Some kits include self-tapping screws, while others use machine screws with clip nuts, plastic inserts, or dedicated hardware.
A few helpful extras make the job cleaner:
Painter’s tape
Painter’s tape helps you mark centerlines and protects painted surfaces while you position the bracket.
Measuring tape or ruler
This helps you keep the bracket centered and level instead of eyeballing it.
Trim tool or flashlight
A flashlight helps you check behind the bumper or grille for any wiring, sensors, shutters, or supports before you drill or tighten fasteners.
Rust and paint protection
If the installation involves exposed metal, protect the area. On plastic bumper covers, this is less of a concern, but you’ll still want clean holes and snug hardware.
Choose the correct mounting style
Before you start, confirm which of these bracket types fits your vehicle:
Factory bumper bracket
This is the most common setup. The bracket mounts directly to designated spots on the bumper cover. If your car came with mounting dimples or dealer-prep points, this is usually the easiest route.
Tow hook plate mount
Some vehicles have a threaded tow hook opening behind a small cover in the front bumper. A tow hook mount lets you attach the plate without drilling into the painted fascia. This is a popular option when owners want a cleaner look or want to avoid permanent holes.
Grille or lower valance mount
Some trucks and SUVs with aftermarket bumpers or open grille sections use a bracket that bolts to grille bars, support tabs, or lower valance hardware. This can work well, but make sure the plate won’t block lights, airflow, or recovery points.
Universal no-drill bracket
Universal kits can work, but fit varies. They can be fine if adjusted carefully, though a vehicle-specific bracket usually looks better and sits more securely.
How to install a license plate bracket
Start by parking on a flat surface and turning the steering wheel if you need better access to the front fascia. Clean the area so that tape, marks, and the bracket sit flush.
Test-fit the bracket first
Hold the bracket in place before installing anything. Make sure it sits flat and doesn’t rock on the bumper contour. Check that it won’t block front cameras, parking sensors, cooling openings, tow points, or auxiliary lights.
If you’re mounting to the grille or lower bumper, confirm that the plate won’t rattle against trim or flex with road vibration.
Mark the position
Use painter’s tape to mark the center of the bumper and the center of the bracket. Align them. Step back and confirm that the bracket looks level and visually centered relative to the grille, emblem, or bumper opening.
This is the point where many rushed installations go wrong. Once the holes are drilled, there’s no clean reset on a painted bumper.
Install using existing holes if available
If the bumper has factory dimples, pilot points, or inserts, line the bracket up and install the supplied screws. Tighten them evenly so that the bracket stays square. Don’t overtighten and crush the plastic.
If there are threaded inserts or clip nuts, start every fastener by hand first. This helps prevent cross-threading.
Drill only if the design truly requires it
If your vehicle and bracket setup require drilling, double-check behind the mounting area first. Use the smallest correct bit for the hardware and drill carefully through the marked points only. Keep the drill straight so that the bracket doesn’t sit crooked later.
This is also where caution matters most. On modern front ends, hidden sensors, wiring, or active grille components may sit behind the fascia. If you aren’t sure what’s behind the surface, inspect it first or have a shop verify the area.
Attach the plate to the bracket
Once the bracket is secure, mount the plate with the plate screws. Tighten until snug. The plate shouldn’t buzz, twist, or touch painted surfaces. A thin foam pad or anti-rattle backing can help if the setup vibrates.
How to install front license plate bracket
For a front bracket specifically, the biggest mistake is choosing the wrong mounting point just because it looks centered. The correct location is the one designed to support the bracket without damaging the bumper or interfering with front-end components. If your car has a factory front plate option, match that exact position. If it doesn’t, a no-drill or tow hook setup is often the safer choice.
Common problems and how to avoid them
Crooked plate
This usually happens when the bracket wasn’t centered with tape and measurements first. Loosen the hardware and realign before the final tighten.
Loose or rattling plate
Use the right screws and make sure the bracket sits flush. Add anti-rattle pads if needed.
Bracket doesn’t match the bumper shape
That’s a fitment problem, not an installation problem. Don’t force it. Get the correct bracket for the vehicle.
Plate blocks something important
Relocate it before driving. A plate shouldn’t cover a sensor, camera, lamp, or major airflow opening.
How to install a front license plate
Once the bracket is mounted correctly, installing the plate itself is the easy part: line it up with the bracket holes, start the screws by hand, and tighten them evenly so that the plate sits flat. Recheck alignment after a short drive because new hardware can settle slightly.
FAQ
Do all cars have factory mounting points for a front plate?
No. Some do, some don’t. Many cars sold where front plates aren’t always required leave the bracket off unless the dealer installs it.
Is a no-drill mount worth it?
Usually, yes, especially if you want to avoid holes in a painted bumper. Just make sure it’s stable and designed for your vehicle.
Can I mount the plate to the grille?
Sometimes, yes, but only if the grille or support area can hold it securely and the plate won’t block airflow, sensors, or lights.
Should I drill into the bumper myself?
Only if the bracket and vehicle setup truly call for it and you’ve checked what’s behind the surface. If you’re unsure, have a professional install it.
What if I have an aftermarket bumper?
Check the bumper manufacturer’s mounting provisions first. Many steel bumpers already include tabs, holes, or plate mount locations.
A clean front plate installation comes down to fitment, alignment, and not rushing the mounting step. Take a minute to confirm the intended location, use the right hardware, and choose a no-drill option when it makes more sense than forcing holes into the bumper. Done right, the bracket will sit straight, stay secure, and look like it belongs there.
Keep Reading: Related Posts


Any information provided on this Website is for informational purposes only and is not intended to replace consultation with a professional mechanic. The accuracy and timeliness of the information may change from the time of publication.


