
Engines don’t fail because coolant “disappears”; they fail when coolant ages, turns acidic, and slowly eats metals from the inside out. A timely radiator flush restores corrosion inhibitors, clears debris that insulates heat, and protects water pump seals and narrow heater-core passages—things you notice only when they clog. Modern long-life formulas last years, but they’re not immortal, especially in vehicles that tow, idle often, or see short trips.
Intervals depend on chemistry and the vehicle. Many extended-life coolants are rated up to 5 years/100,000–150,000 miles; Toyota’s own guidance notes shorter intervals for silicated blends and up to five years for extended-drain formulas, while GM’s Dex-Cool family is marketed for up to 5 years/150,000 miles when used as specified. Always verify in your owner’s manual before you plan a service.
Do You Really Need a Radiator Flush?
You do when the coolant fails a basic health check or you see symptoms. Check color and clarity (brown, cloudy, or with grit is bad), test freeze/boil protection, and, if possible, measure pH—drift toward acidity accelerates corrosion. Overheating at idle, lukewarm cabin heat, and a “sludgy” reservoir point to deposits in the radiator or heater core that a simple drain won’t remove. Preventatively, follow the interval in the manual; for many vehicles on extended-life formulas, a scheduled drain-and-fill keeps you out of flush territory entirely.

The best way to prevent the “need” for a cooling system flush is to follow the maintenance schedule and replace the coolant at the proper intervals. Don’t wait until the coolant is yucky and brown with rust. If you do that, the inside of the engine block will be damaged and electrolysis will be attacking the metal parts in there, even the aluminum ones.
To test for electrolysis in your coolant, use a digital voltmeter with the negative lead on the battery’s negative terminal and the positive lead submerged in the coolant. Any reading above 0.3 volts indicates stray voltage and potential electrolysis damage.
Pro Tips are nuggets of information direct from ASE-certified automobile technicians working with CarParts.com, which may include unique, personal insights based on their years of experience working in the automotive industry. These can help you make more informed decisions about your car.
Pro Tip: Also, if you have a small coolant leak you can’t find (like past a head gasket), don’t add clear water to top up the cooling system unless you’re 40 miles from nowhere and can’t get coolant. If you keep adding water, eventually that’s all you’ll have in the system and that’s not a good thing.
If you bought the vehicle used, check the cooling system and flush it right away unless it has recently been done.
What a Radiator Flush Does And What It Doesn’t
A proper flush exchanges nearly all fluid in the radiator, block, and heater core, dissolving scale and rust that a gravity drain leaves behind. It restores the corrosion inhibitors that protect aluminum, steel, solder, and pump components and reestablishes correct water-to-coolant concentration. It will not fix external leaks, a failing thermostat, a weak cap, or a clogged catalytic-converter-hot engine; those are separate repairs. GM and major coolant makers stress service life claims assume a complete flush and refill with the correct chemistry.
How to Flush a Car Radiator at Home (Step-By-Step)
Tools and supplies:
- Spill-free fill funnel; drain pan; gloves and eyewear
- Pliers/sockets for splash shields and drain cocks
- Distilled or deionized water (if mixing concentrate)
- Correct coolant type (premix or concentrate)
- Optional: OEM-safe flush chemical; cooling-system air-bleed funnel or vacuum filler
Steps:
- Verify chemistry and interval: Confirm the required coolant spec in the owner’s manual. Extended-life formulas (OAT/HOAT) are not interchangeable with older silicated blends in some vehicles.
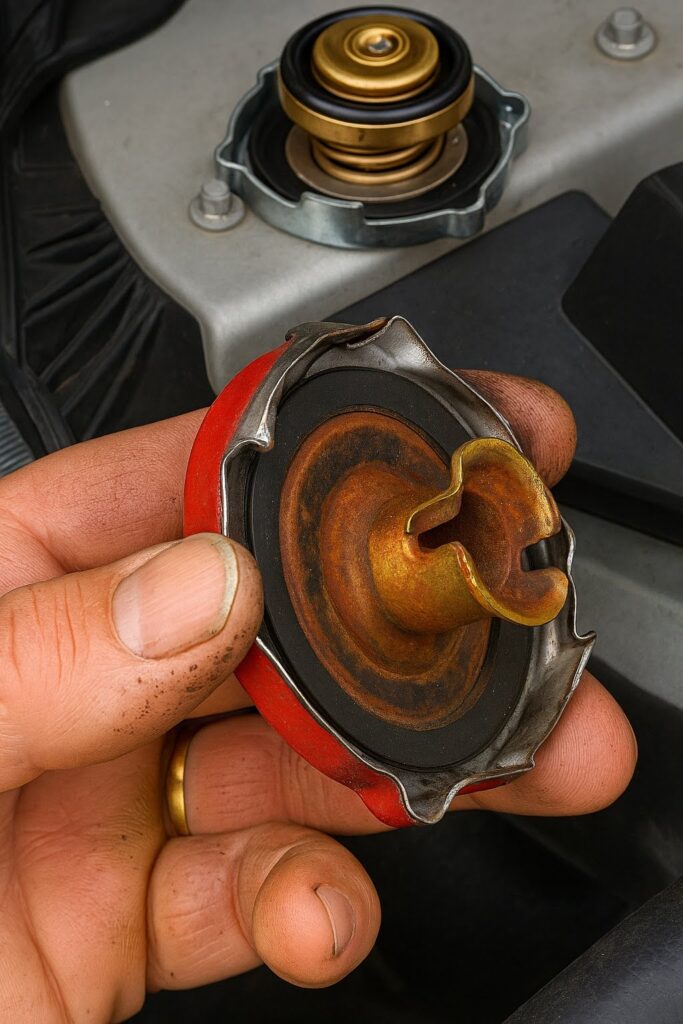
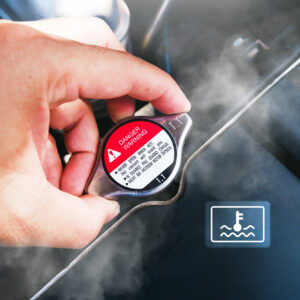
- Work cold and safe: Park on level ground, engine stone-cold. Remove the cap only when the upper hose is cool to the touch and has no internal pressure. Capture all drained coolant; it’s highly toxic to pets.
- Drain system: Open the radiator petcock or lower hose into a pan. If your engine has a block drain, open it briefly to increase exchange percentage.
- Optional chemical flush: Reinstall drains. Fill with water plus an OEM-safe flush product per label. Run the engine with the heater on high until the thermostat opens, then cool fully and drain again. This mobilizes solder bloom, rust, and scale that cling to tubes and the heater core.
- Rinse until clear: Refill with clean water, run to operating temp with the heater on, cool, and drain. Repeat until the outflow runs clear.
- Refill correctly: Use premixed 50/50 or mix concentrate with distilled/deionized water to the ratio recommended (commonly 50/50; never weaker than 50/50, rarely richer than 70/30). Many product data sheets explicitly call for demineralized water when using concentrate.
- Bleed air: Open any bleeder screws. Squeeze upper hoses to purge trapped bubbles. Idling with the heater on high and the cap off a spill-free funnel helps burp air; a vacuum fill tool is best if available.
8. Pressure-test and inspect: Once cool, top off the radiator and reservoir to the marks, pressure-test if you can, and check for leaks on the next few heat cycles.
Tip: Use a refractometer or quality test strips to verify freeze protection and reserve alkalinity after refill. Keeping protection in the −34°F range typically indicates a ~50/50 mix.
How to Choose the Right Coolant and Water
Match the coolant technology the car was designed for: OAT (Dex-Cool and similar) in many GM vehicles, HOAT in many European/Ford/Chrysler, and manufacturer-specific Asian P-HOAT for Toyota/Honda/Nissan families. If you’re using concentrate, mix only with distilled or deionized water to avoid mineral scale and electrolysis; premixes already contain deionized water. Avoid “universal” assumptions—when in doubt, use a product that explicitly meets your vehicle’s spec.
How to Drain Radiator Fluid Without Making a Mess
Use a low, wide drain pan positioned under the petcock or lower hose. Some coolant drain cocks will have a nipple where you can attach a hose long enough to extend down into your drain pain.
Crack the cap first to break vacuum, then open the drain slowly. Some radiators drain unevenly; tilting the pan and shielding the subframe with cardboard helps. Remember: a drain typically removes only 40–60% of total capacity; that’s why repeated rinses or a vacuum exchanger are effective.
Coolant Flush Cost: DIY vs Shop
National estimates for a professional coolant change range from roughly the mid-$100s to upper $400s depending on vehicle, shop rate, and whether a machine exchange and chemical cleaner are used. Recent nationwide data pegs the average shop price for a coolant change around $418–$487; simpler drain-and-fills run lower. DIY costs are primarily coolant and possibly a flush chemical and funnel.
Don’t Skip the Environmentally Responsible Finish
Used antifreeze (ethylene glycol or propylene glycol) is a hazardous waste but widely recyclable. Many municipalities and county S.A.F.E. centers accept it alongside used oil; call before you go. The EPA highlights on-site, mobile, and off-site recycling options that keep glycols out of waterways. Never dump coolant on the ground or into storm drains.
Extra Radiator Flushing Tips
- Heater performance matters: Lukewarm heat with a normal-temp gauge often points to a partially clogged heater core—keep the heater on during rinses to exchange fluid through that circuit.
- Cap and thermostat: A weak cap lowers boiling margin; a sticky thermostat causes erratic temperatures. Replace if age or symptoms suggest.
- Don’t mix chemistries: Switching from one technology to another? Fully flush before changing types to avoid gel and inhibitor conflict. When in doubt, stay with the OE chemistry.
- Protect pets: Ethylene glycol is sweet-tasting and deadly in small amounts; clean spills immediately and store jugs out of reach. Propylene-glycol “pet safer” formulas reduce risk but are not harmless.
By treating a radiator flush as precise preventive maintenance—matching chemistry, flushing thoroughly, bleeding air, and disposing responsibly—you restore thermal efficiency and corrosion protection the way the engineers intended, extending the life of everything from the head gasket to the heater core.
Keep Reading: Related Posts


Any information provided on this Website is for informational purposes only and is not intended to replace consultation with a professional mechanic. The accuracy and timeliness of the information may change from the time of publication.


