
Fog light trims don’t just frame the lamp. They keep water and dirt out, steady the housing, and finish off the look of your vehicle’s front end. A snug trim makes the whole bumper look cleaner while protecting the light’s edges.
The good news? Installing them isn’t rocket science. With the right prep and a little patience, you can get results that look like they came from the factory. Let’s break it down.
Tips on How To Install Fog Light Trims
- Clean space, clean parts – Dust or grit trapped behind the trim shows up as bumps or keeps the trim from sticking right.
- Soapy water trick – A light mist of water with a drop of soap lets you slide the trim slightly before it settles.
- Gentle heat – Use a hair dryer or heat gun on low to soften curves without warping the plastic.
- Work from the center out – Press from the middle toward the edges with a soft squeegee or microfiber-wrapped card.
- Corners need patience – Go slow around curves so you don’t crease or wrinkle.
- Set it and forget it – Once it’s pressed in, leave it alone to cure properly.
Pro Tip: If you’re nervous about trimming film, practice on a scrap piece first. It’s much easier to learn the feel before working on the actual part.
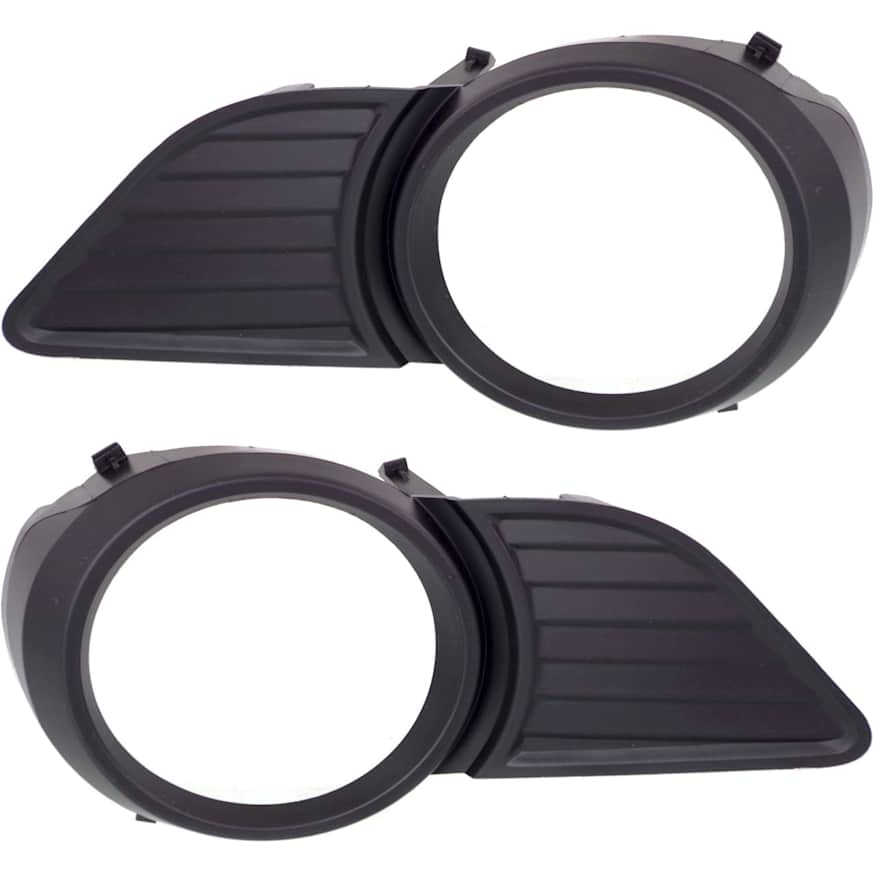
What Is a Fog Light Trim?
Think of a fog light trim as the finishing ring or bezel around the lamp. It locks the light into the bumper opening, hides rough edges, and seals out grime. Some are plain black plastic, others have chrome or painted finishes, but they all keep your fog light fitting safe and secured.
Universal vs. Precut Trims
- Universal: Sheets or rings you cut yourself. Flexible and customizable, but they take more effort and trimming.
- Precut: Shaped for your car’s exact make and model. Faster, cleaner, and usually worth it if you don’t want the extra hassle.
Watch Out For: Universal trims can look uneven if cut in a rush. Take your time measuring before you cut.
How a Fog Light Trim Works
A trim is part clip, part seal, and part cover.
- Clips and tabs snap into the bumper or housing.
- Adhesive strips or gaskets block out water and dust.
- The bezel gives the polished look you see from the outside.
Together, these pieces stop rattles, keep out moisture, and tie the light visually into the rest of the bumper.
Fog Light Trim Parts
- Bezel ring – The outer face you actually see.
- Clips or tabs – Snap into place to keep the trim secure.
- Adhesive strip or gasket – Creates a snug, sealed fit.
- Seal lips or flanges – Flexible edges pressing against the lens.
- Backer plate – Adds rigidity to prevent flexing (not on every trim).
- Fasteners – Screws or bolts for designs that need extra hold.
Pro Tip: If your trim has both clips and adhesive, seat the clips first. That way the adhesive doesn’t grab before the trim is aligned.
Common Signs of a Failing Fog Light Trim
- Edges lifting – Corners peel away and catch dirt.
- Moisture in the lens – Condensation inside the lamp means the seal is broken.
- Rattling or buzzing – Loose clips vibrate while driving.
- Cracks or broken tabs – Common after road debris hits.
- Crooked fit – The trim no longer sits flush with the bumper.
Watch Out For: Small cracks around tabs grow fast. Once the clips give way, the trim won’t stay put.
FAQ About Fog Light Trims
Can I reuse old fog light trims?
No. Once they’ve been pried off, clips or adhesive don’t hold as well the second time.
How long do trims last?
Several years, depending on weather and road conditions. Check them seasonally if you deal with salt or heavy rain.
Do trims change light output?
No. They don’t cover the bulb, but if they fail, moisture fogs the lens and cuts brightness.
What tools do I need?
Usually just a trim tool or screwdriver. For film-style trims, add a squeegee, heat gun, and sharp blade.
Can I drive without trims?
Yes, but it leaves the housing exposed. Without trims, the lamp can rattle loose or get damaged faster.
Installing fog light trims is a straightforward job if you prep properly and take your time. A well-fitted trim keeps your lights sharp-looking, secure, and clear of moisture.
Keep Reading: Related Posts


Any information provided on this Website is for informational purposes only and is not intended to replace consultation with a professional mechanic. The accuracy and timeliness of the information may change from the time of publication.


