
UTV
Wear Parts
How To Know
When To Replace Them
A side by side works harder than almost anything else in your garage. It hauls passengers and cargo, tows a trailer, crawls through mud, and takes hits from rocks and ruts that a street vehicle never sees. This workload can rapidly wear parts. Don't rely on the odometer, because hours, terrain, and load drive UTV wear far more than miles do.
The good news is that side by side wear parts announce themselves before they quit. A belt slips before it snaps. A boot tears before the joint grenades. A bushing knocks before the geometry goes. This guide covers the core wear parts on a UTV, the signs that tell you each one is finished, and when to replace it. Use it as the foundation for keeping any side by side trail-ready.
Drive Belt and Clutches
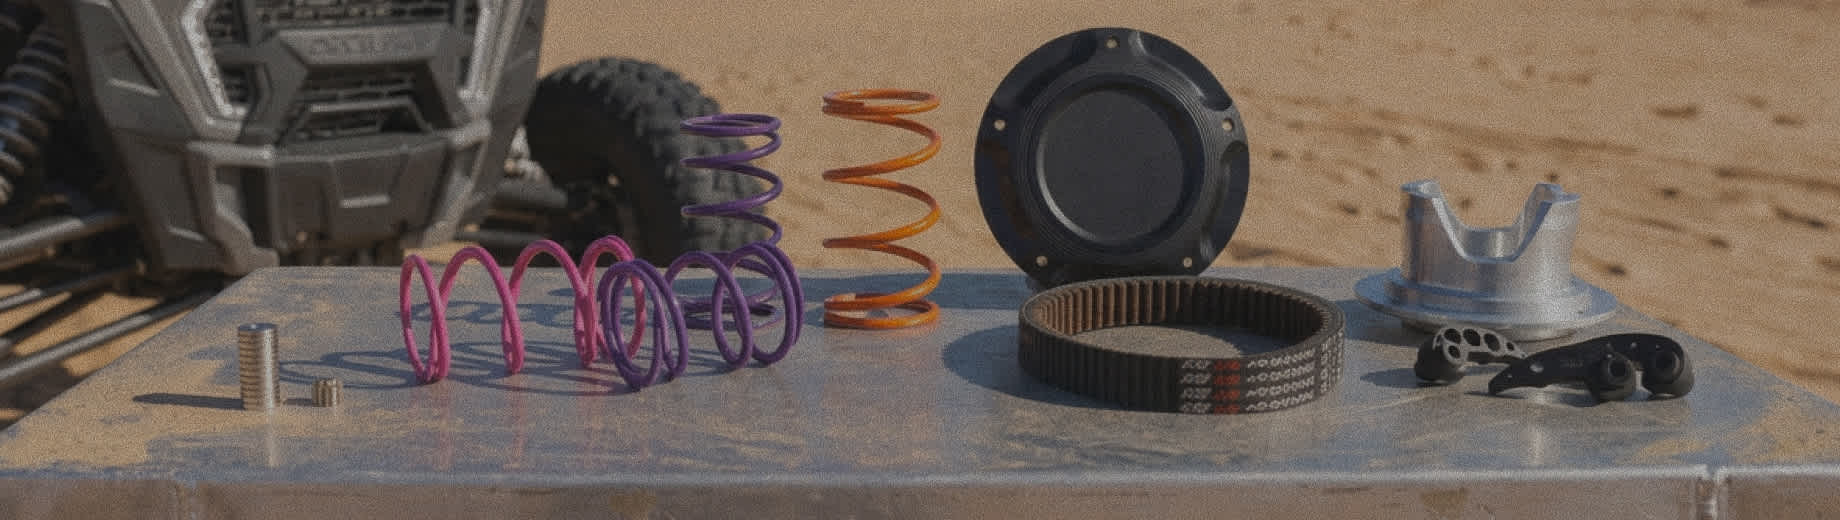
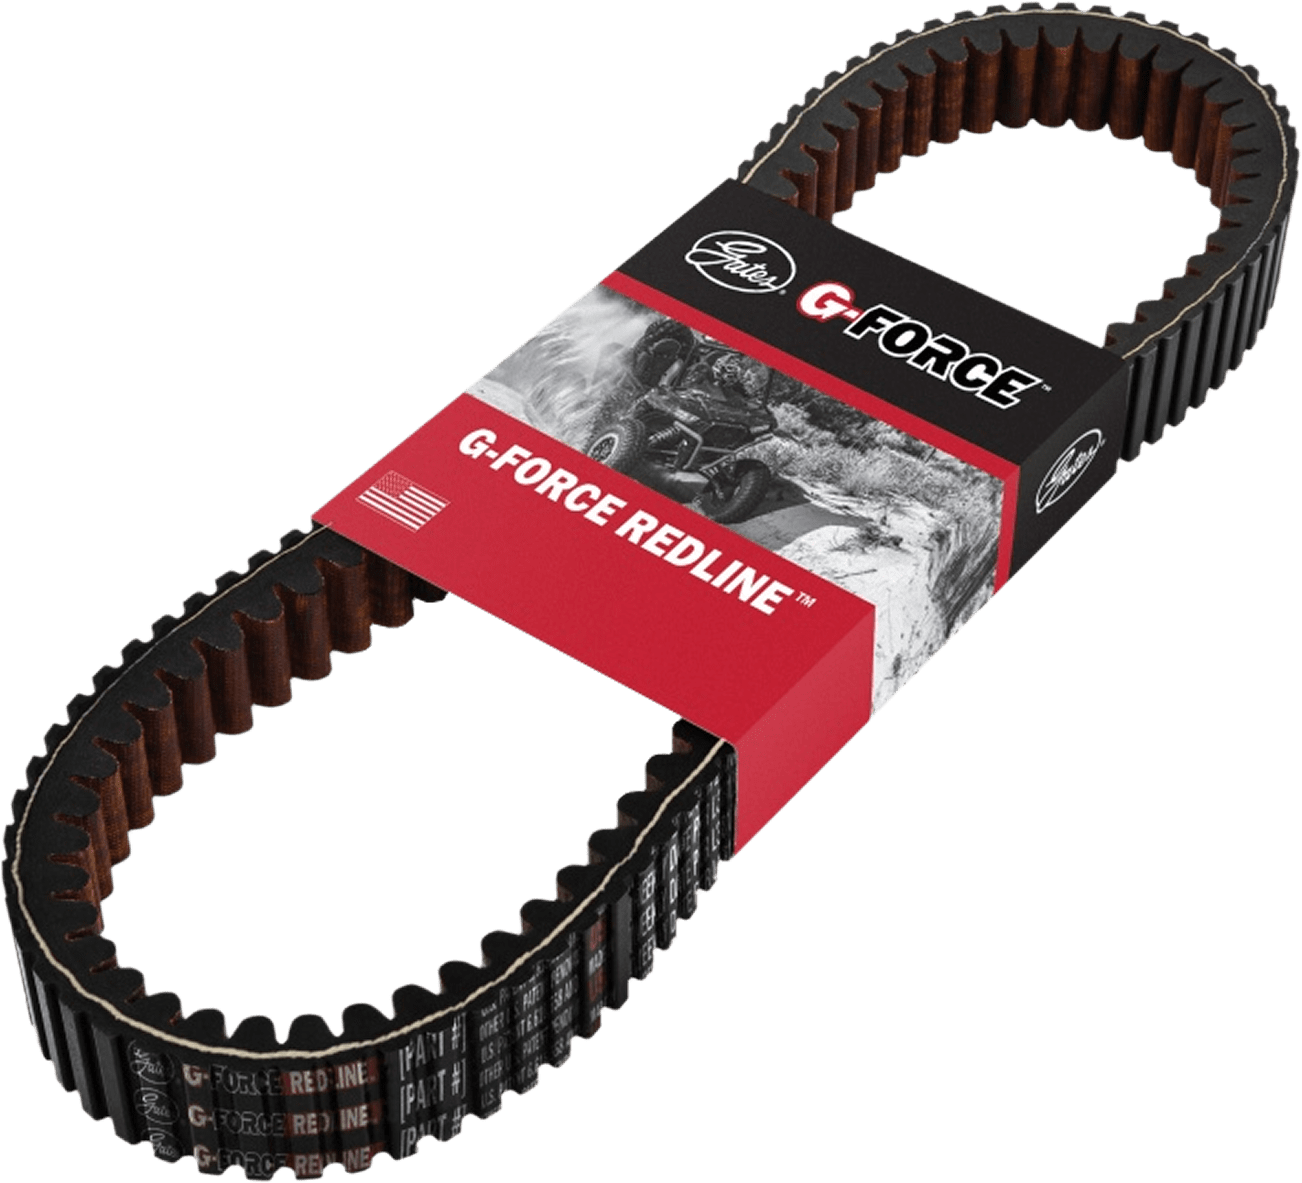
The CVT drive belt is the single most UTV-specific wear part on the machine, and it's the one most likely to end a ride early. Every launch, every hill climb, and every low-gear crawl loads that belt, and a stock belt lives a hard life once you add a winch, a plow, or oversized tires.
Warning Signs
A slipping belt shows up first under load. You'll feel the engine climb in rpm while your machine hesitates, especially on a steep pull or with a loaded bed. A burnt rubber smell after a hard session means the belt is cooking. Pull the cover and look for glazed, shiny belt faces, frayed edges, cracks between the cogs, or missing cogs outright. Heavy belt dust packed inside the clutch housing tells you the belt is shedding material fast. A UTV that creeps forward at idle points to a clutch or belt deflection problem rather than the engine.
When To Replace
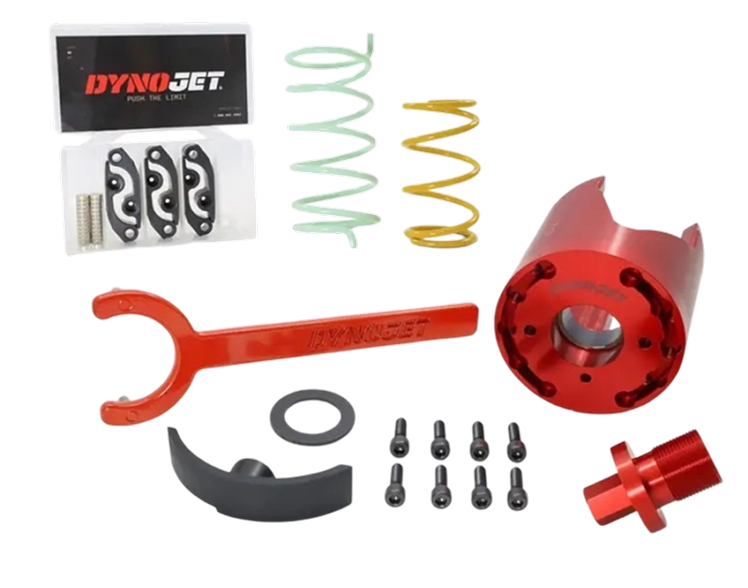
Measure the belt width against your manual's spec instead of judging by eye, since a belt can look fine and still sit below the minimum. Replace the belt any time it slips under load, and replace it after a deep water crossing even if it survived, because water and grit between the sheaves ruin a belt quickly. Shop Powersports drive belts sized for your exact machine, and inspect the primary and secondary clutches at the same time. Worn sheaves, tired springs, and grooved clutch weights chew through new belts, so a fresh belt on worn clutches won't last.
Carry a spare belt and the tools to swap it. No other Powersports machine strands you as reliably over a single consumable.
Shop drivetrain parts for your UTV:

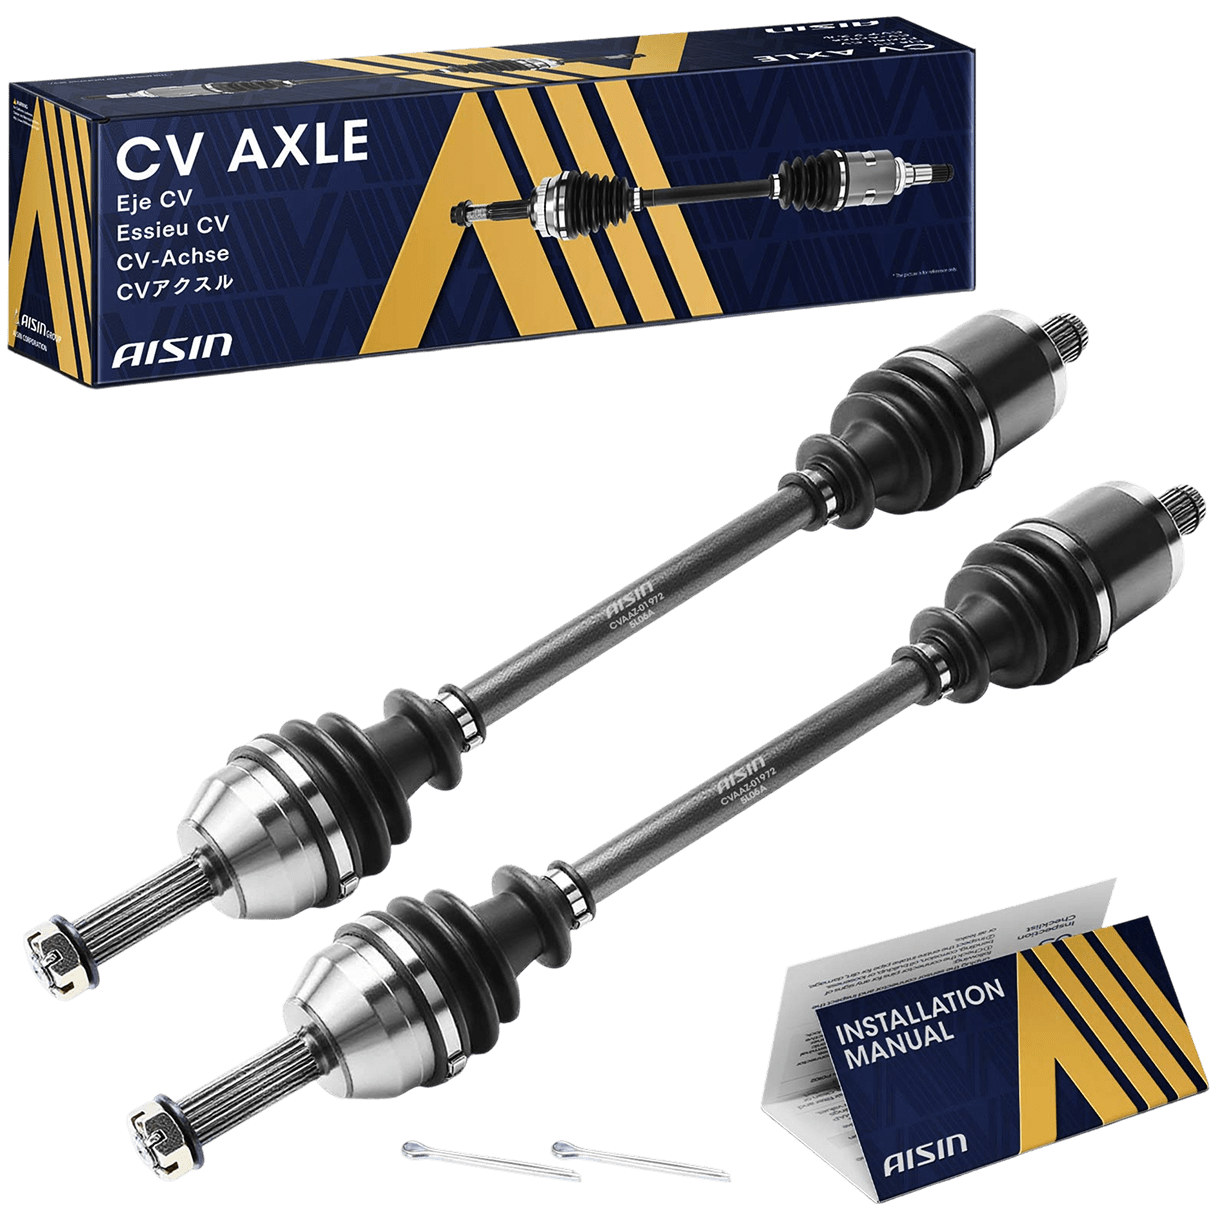
CV Axles
and Boots
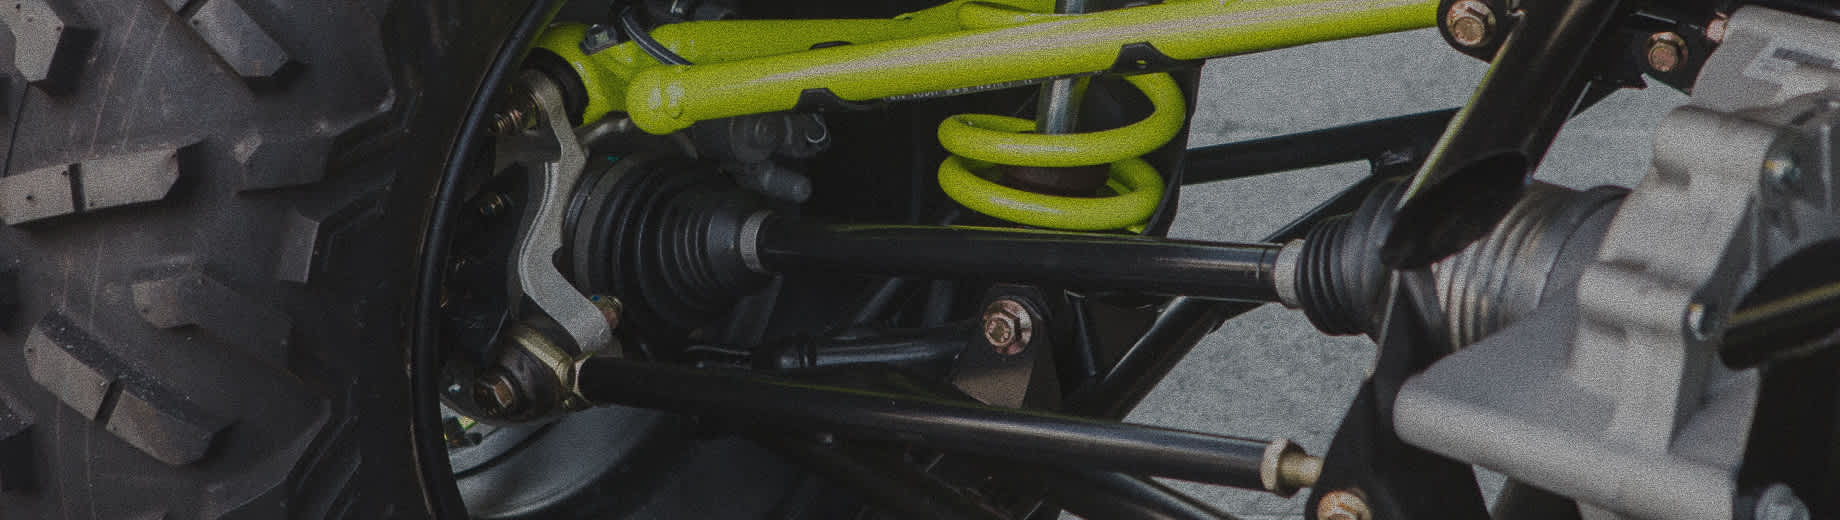
Independent suspension gives a UTV its ride quality, and CV axles pay the price. Every inch of wheel travel flexes these joints, and lifted machines running big tires work them at angles the factory never intended.
Warning Signs
A clicking or popping noise during tight turns is the classic bad CV joint symptom, and it usually gets louder as the joint wears. Look for grease slung across the inside of the wheel well or the frame, which means a boot split open. Check the boots directly for tears, cracks, and loose clamps. A vibration under acceleration or a clunk when you get on and off the throttle points to a worn joint or a failing axle shaft.
When To Replace
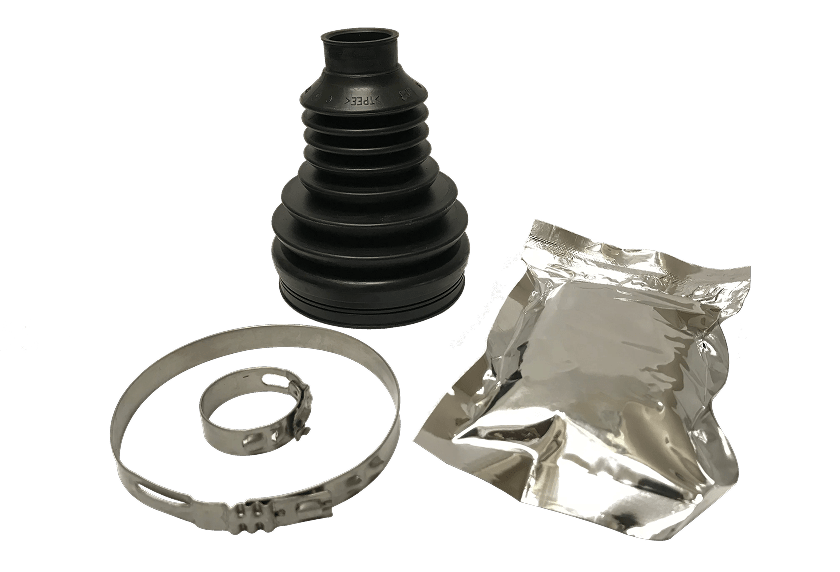
Treat a torn boot as an immediate job. Once dirt and water get inside, grit destroys the joint in a matter of hours, and a cheap boot repair turns into a full axle. If the joint already clicks, replace the complete CV axle assembly rather than rebuilding, since most side by side axles cost less to replace outright. Inspect the opposite side while you're in there, because axles usually wear at similar rates.
If you've lifted the machine or gone up in tire size, expect shorter axle life and inspect the boots after every muddy ride.
Shop Axle parts for your UTV:
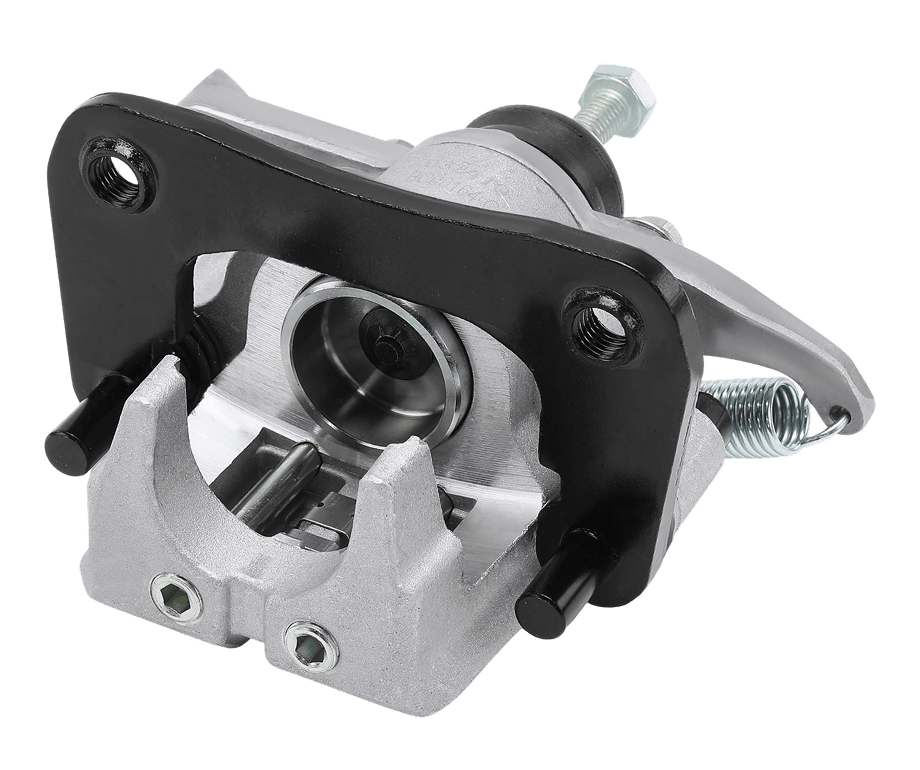
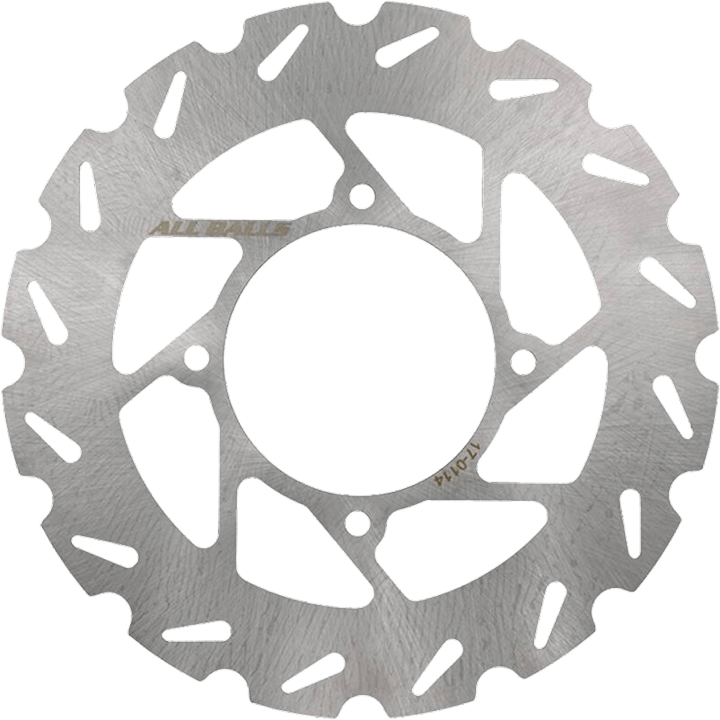
Brakes: Pads, Discs, and Calipers
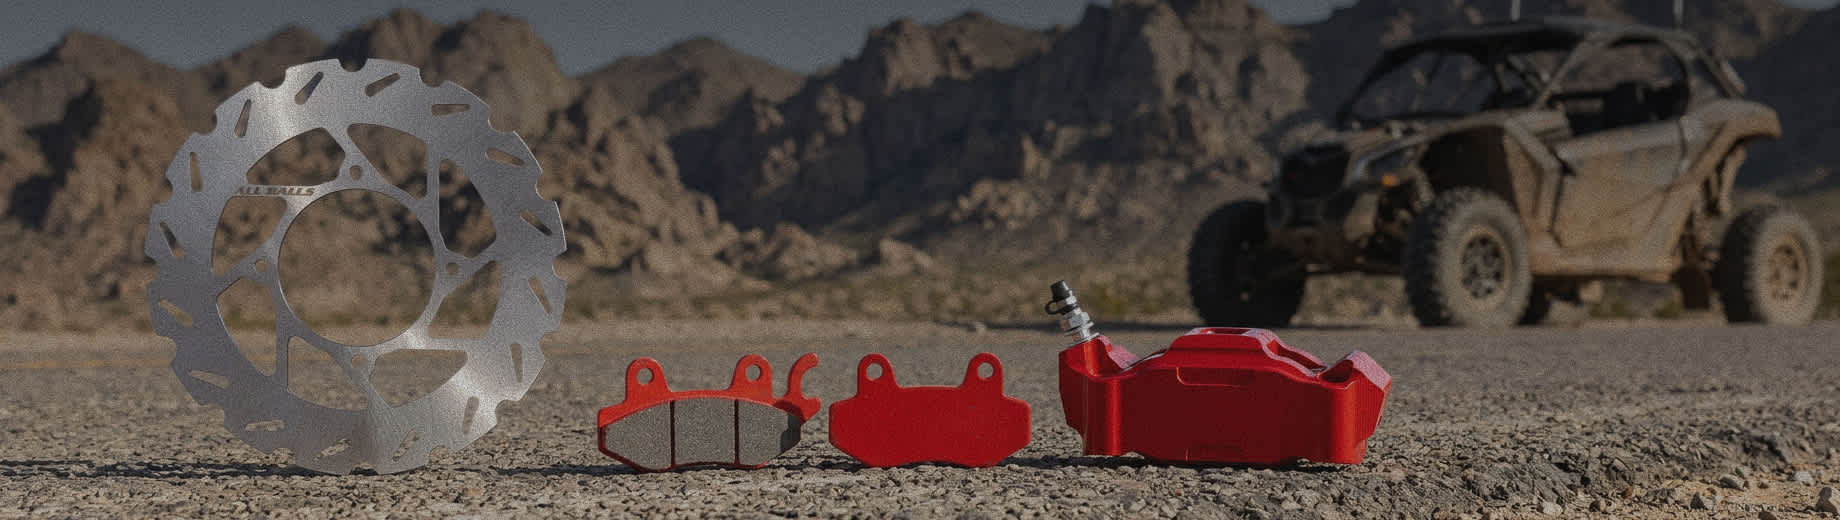
UTV brakes wear differently than street brakes. Mud, sand, and water act like grinding paste between the pad and the disc, so a machine that sees wet trails can burn through a set of pads in a fraction of the time a street vehicle would.
Warning Signs
Grinding, squealing, and a long or spongy pedal all point to worn friction material. Check for uneven wear between the inner and outer pad, which usually means a caliper piston or slide pin is sticking. A machine that pulls to one side under braking, or a wheel that stays hot after a ride, confirms a dragging caliper. Deep scoring and grooves on the disc mean the pads went to the backing plate at some point.
When To Replace
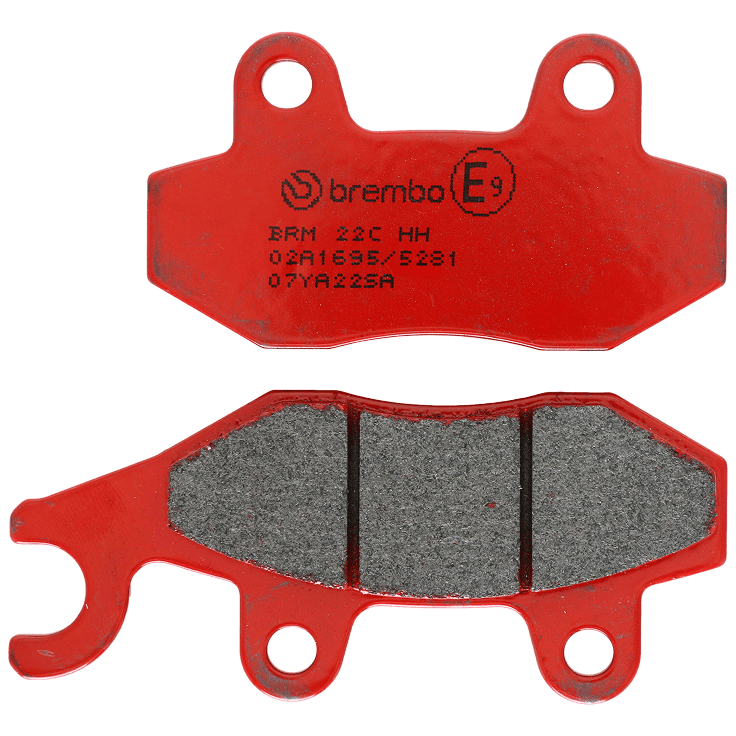
Replace the pads once the friction material wears thin, and replace them in axle sets so braking stays balanced. Shop UTV brake pad sets and matching brake discs for your machine, and replace a disc that's warped, scored, or worn past its minimum thickness. Rebuild or replace a caliper whose pistons stick, since a dragging caliper will destroy the next set of pads.
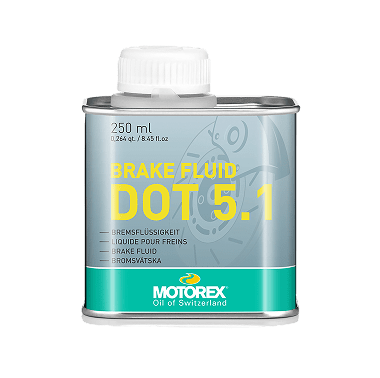
Flush the brake fluid on schedule. Water crossings push moisture past aging seals, and contaminated fluid drops the boiling point right when you need the pedal most.
Shop Brake parts for your UTV:
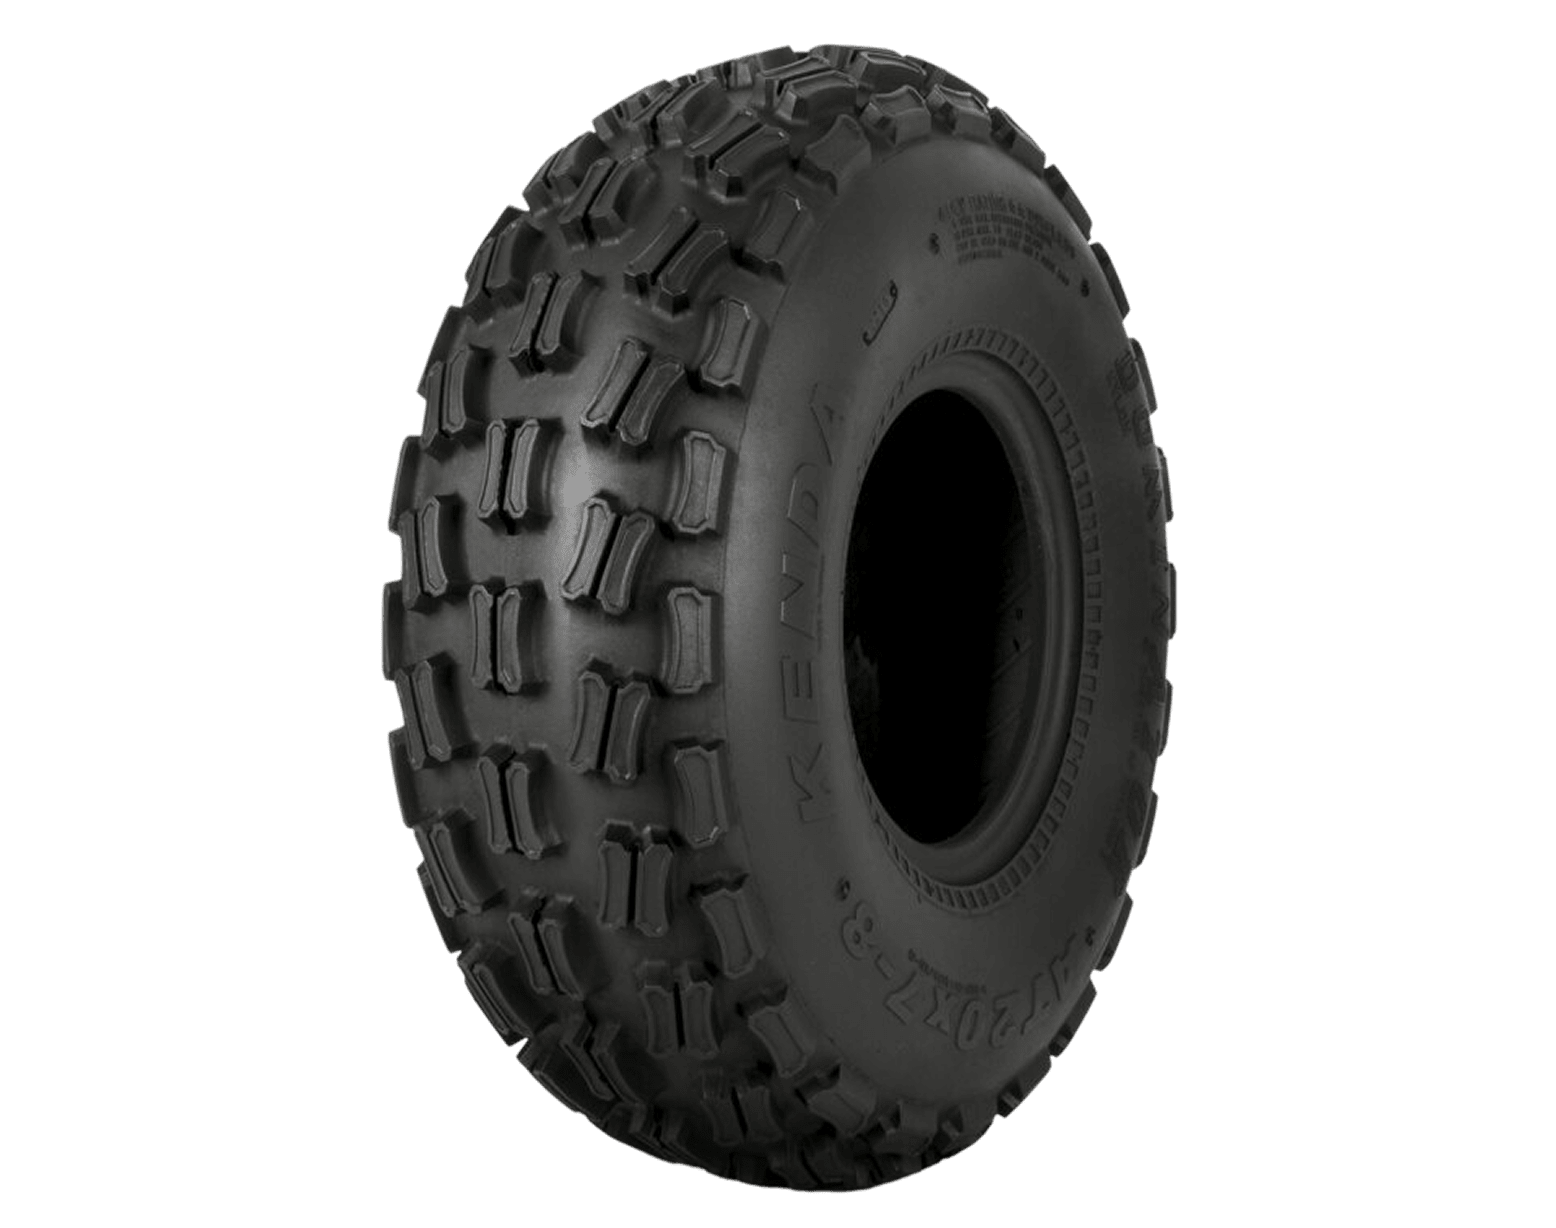
Tires, Wheels, and Wheel Bearings
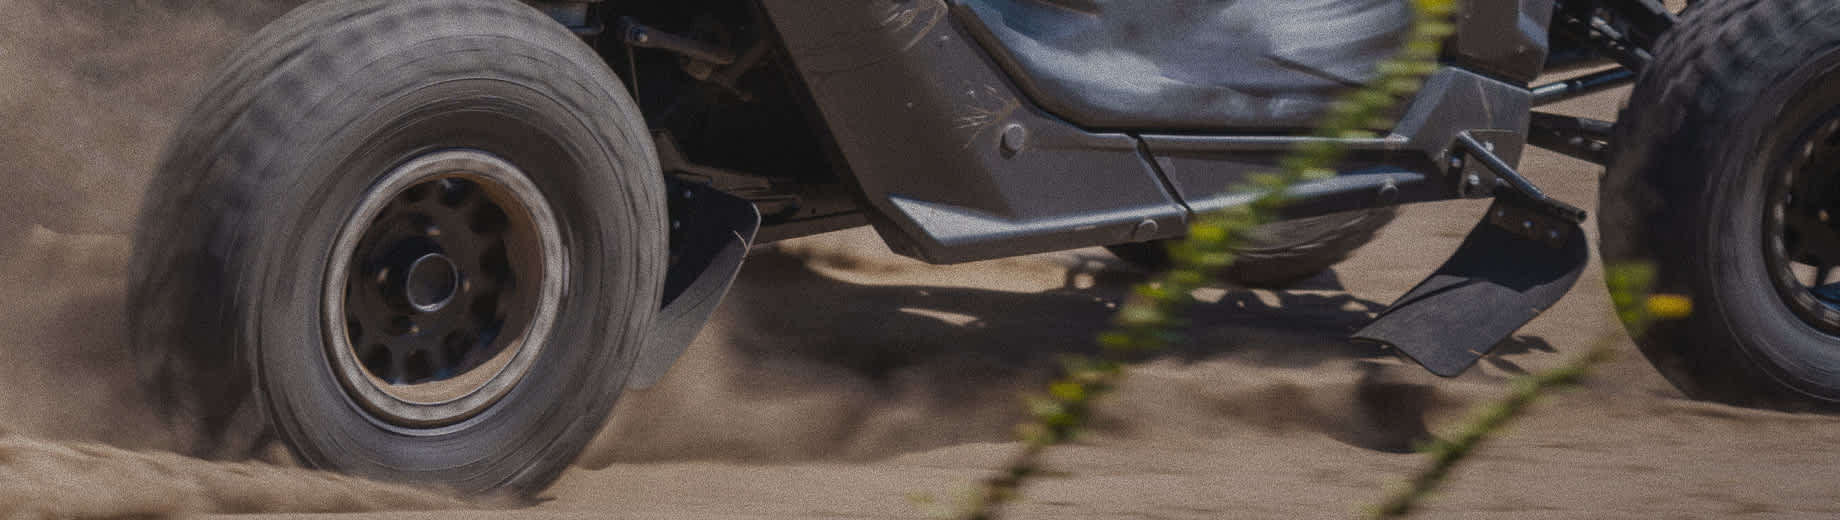
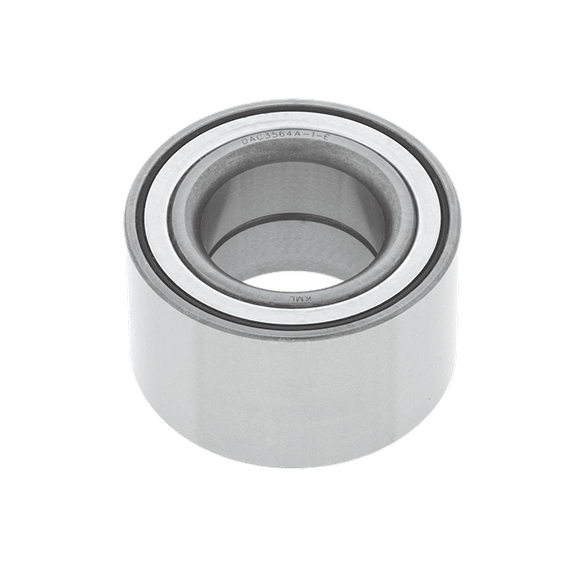
Tires carry every impact the trail delivers, and the wheel bearings behind them absorb the side loads that come with hard cornering, side hills, and deep ruts.
Warning Signs
Rounded or chunked lugs, cuts in the sidewall, and a growing collection of plugs all say the tire is done. A tire that won't hold pressure overnight has a leak worth chasing before it strands you. For bearings, listen for a growl or hum that changes pitch as you turn, and grab the tire at 12 and 6 o'clock to check for play. Any wobble means the bearing or the hub needs attention.
When To Replace
Replace UTV tires once the lugs round off or the sidewall shows damage, and match the tread pattern to where you actually ride. A mud tire on hard-pack wears fast and handles poorly, and an all-terrain tire in deep mud just packs solid. Replace wheel bearings in pairs so the axle wears evenly, and inspect the seals at the same time.
Check lug nuts and wheel studs regularly. Off-road impacts loosen hardware that would stay tight for years on pavement. Going wider or taller than stock also increases the load on bearings, hubs, and axles, so inspect more often after a tire upgrade.
Shop Wheel parts for your UTV:
Suspension and Steering Components
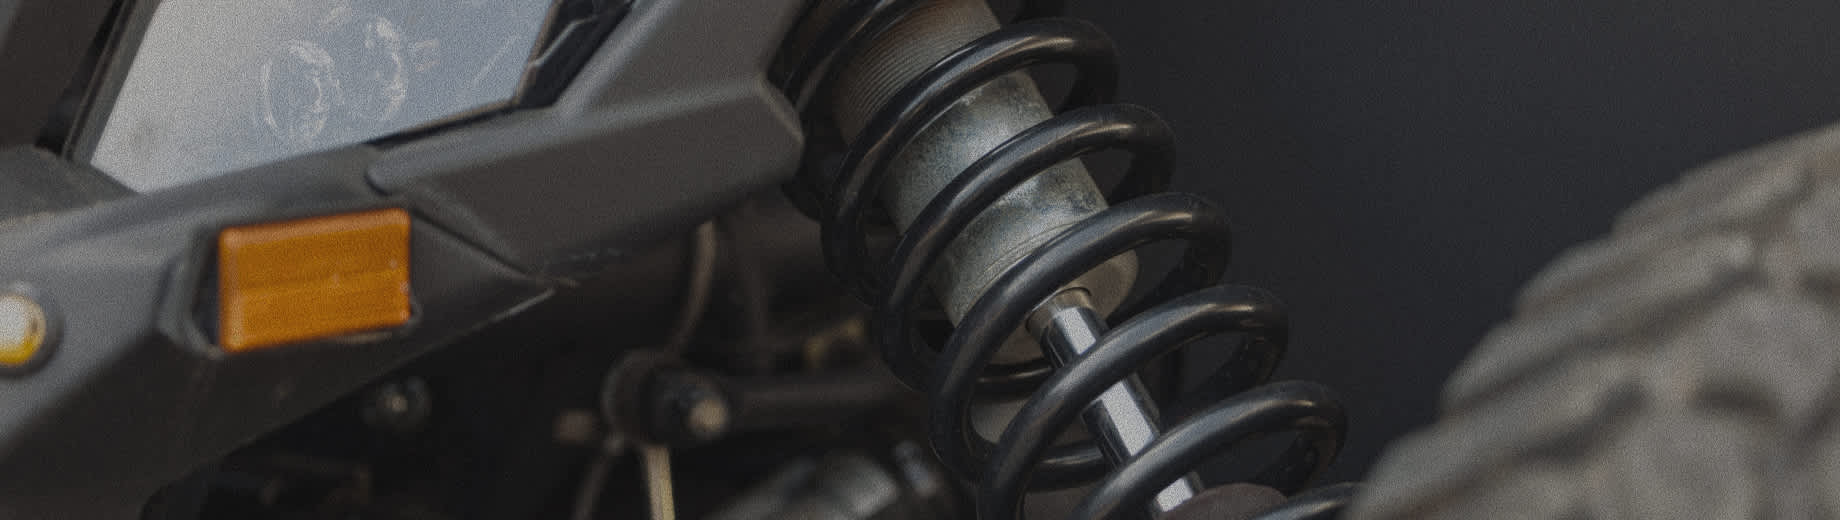
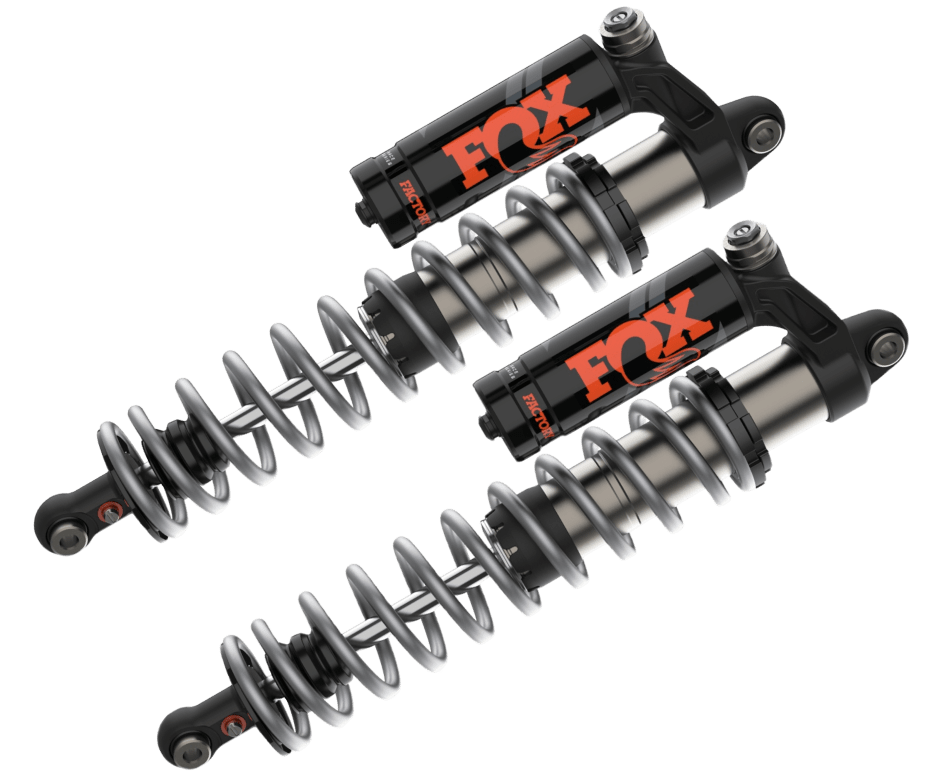
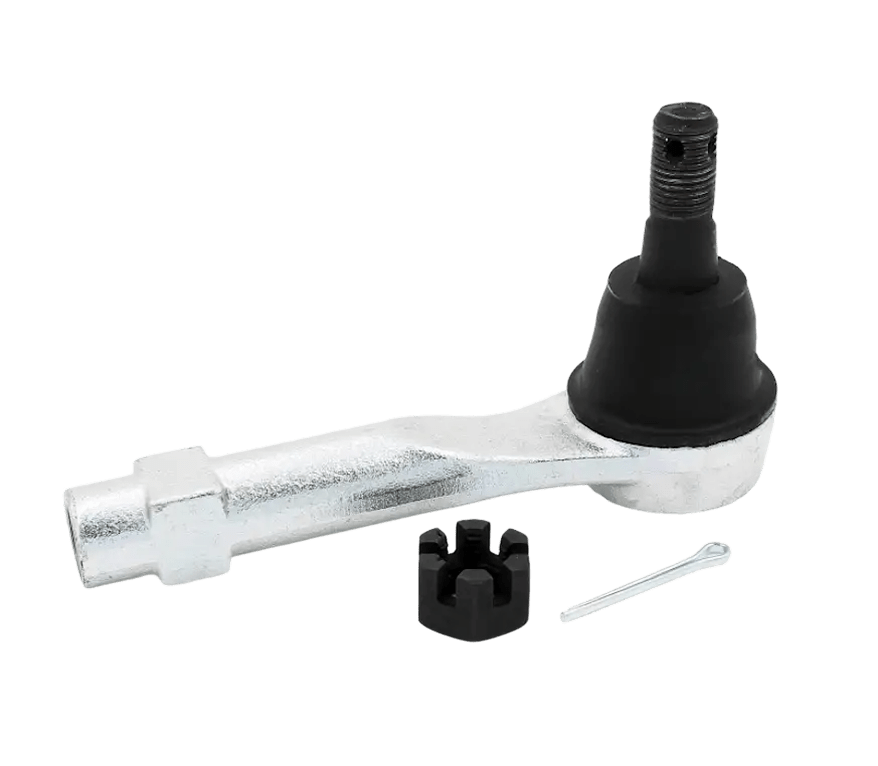
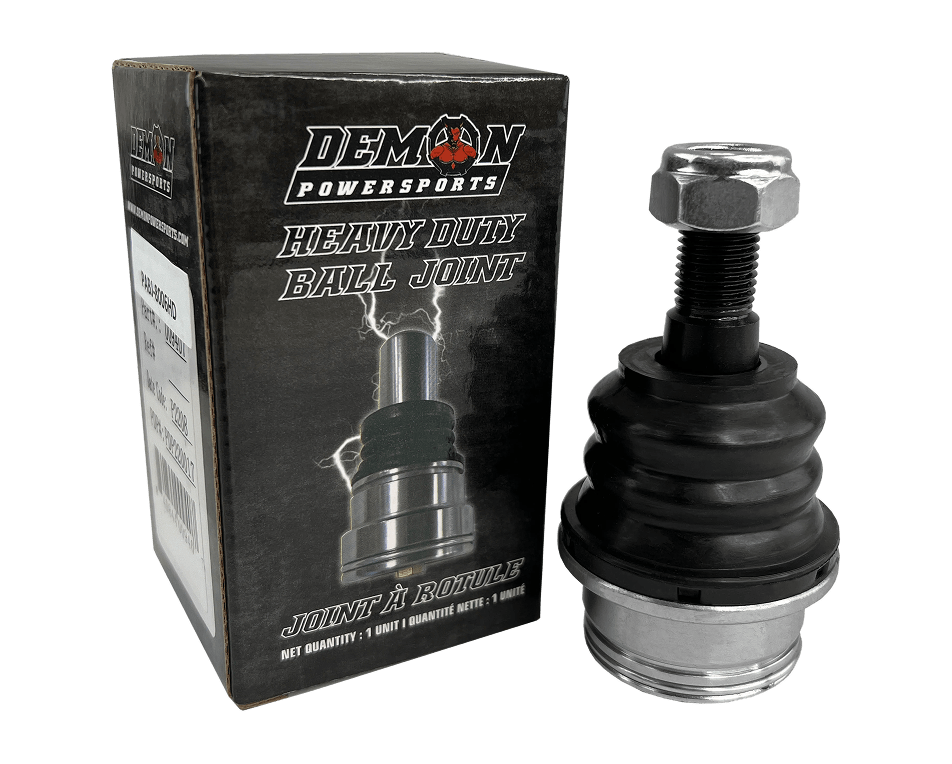
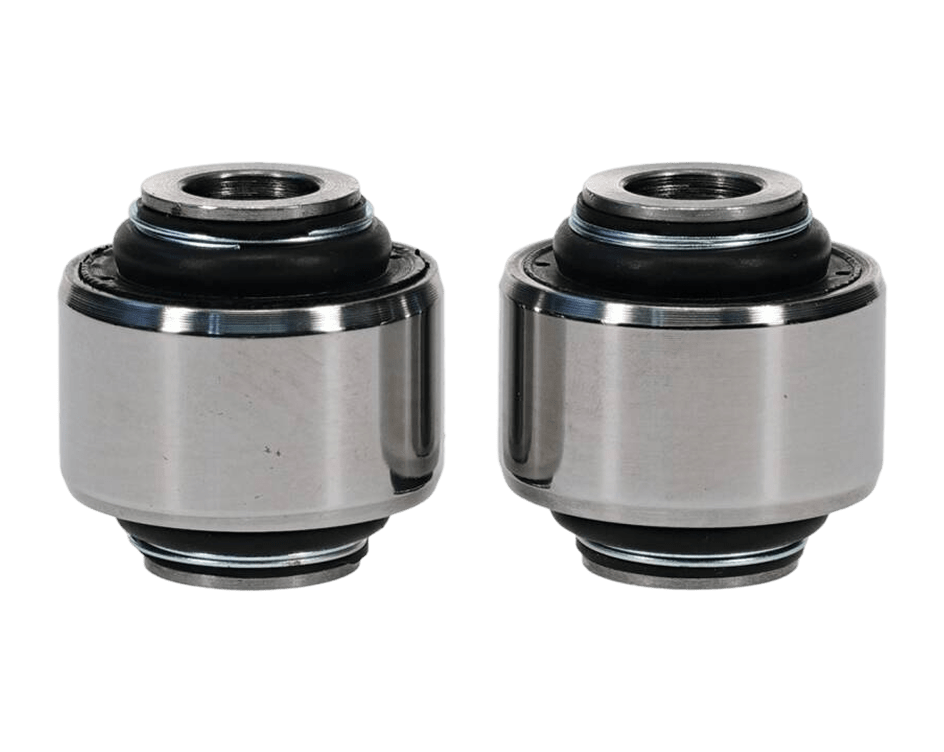
This is where a side by side differs most from anything on two wheels. A UTV carries a full suspension system with control arms, ball joints, tie rod ends, bushings, and shocks at all four corners, and every one of these pieces is a wear item.
Warning Signs
Clunking over bumps usually traces back to worn bushings, loose ball joints, or a sway bar link that's given up. Wandering steering and uneven tire wear point to tie rod ends or a ball joint with play. Look for torn ball joint boots, cracked or collapsed A-arm bushings, and shocks that weep oil down the body. A rear end that sags under load or bounces repeatedly after a bump means the shocks have lost their damping.
When To Replace
Replace ball joints and tie rod ends at the first sign of play. These are safety parts, and a failure at speed puts the machine on its side. Bushings wear quietly and degrade handling long before they break, so replace them as a set when the ride gets sloppy. Rebuild or replace shocks once damping fades or the shafts show pitting.
If you tow or haul regularly, expect the rear suspension to wear faster than the front and inspect it accordingly.
Shop Suspension parts for your UTV:
Cooling System
Side by sides overheat for a reason no street vehicle deals with: mud packs the radiator solid. Low-speed trail work also means less airflow, so the cooling system does most of its job through the fan.
Warning Signs
A rising temp gauge or an overheat light during slow trail riding is the obvious one. Check the radiator fins for packed mud, grass, and debris. A fan that runs constantly signals restricted airflow or a system losing capacity. Look for coolant weeping at hose clamps, hoses that feel soft or swollen, and any sweet smell or steam after a hard run.
When To Replace
Treat radiator cleaning as routine maintenance instead of a repair. Rinse the fins after every muddy ride, working from the clean side outward. Replace hoses and the cap based on age rather than waiting for a leak, and flush the coolant following the schedule in your manual since the corrosion inhibitors wear out. Straighten bent fins carefully, and plan on replacing the radiator once tubes leak or a rock puts a hole in the core.
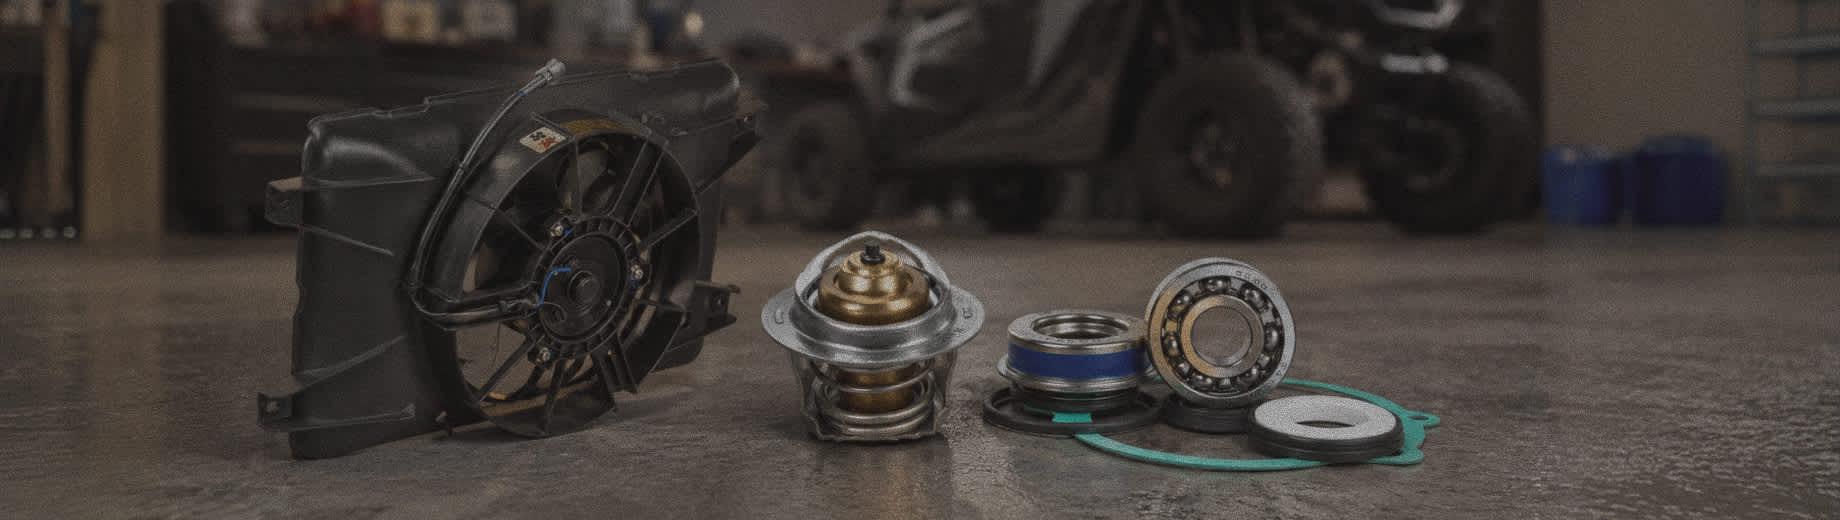
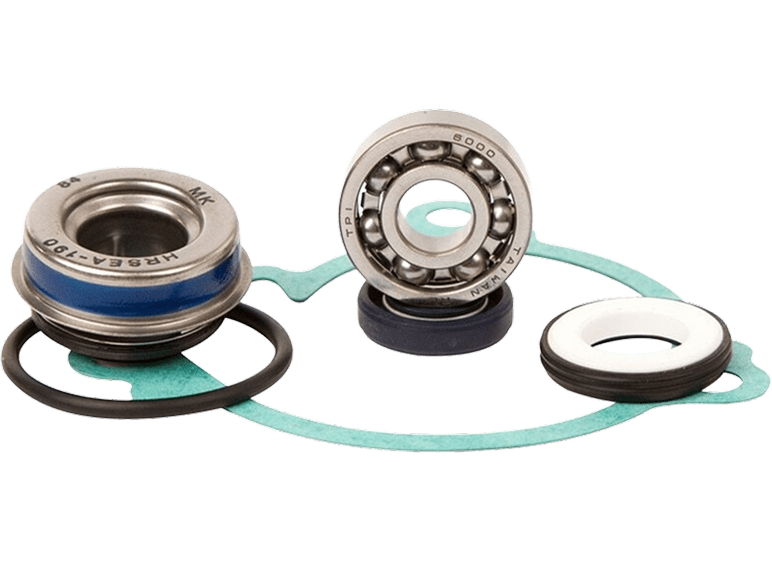
Watch the water pump too. A drip from the weep hole, a whine that rises with engine speed, or coolant loss with no visible external leak all point to worn seals or a failing impeller. A water pump repair kit covers the seals, bearing, and impeller in one go, and a pump that quits will cook the engine in minutes.
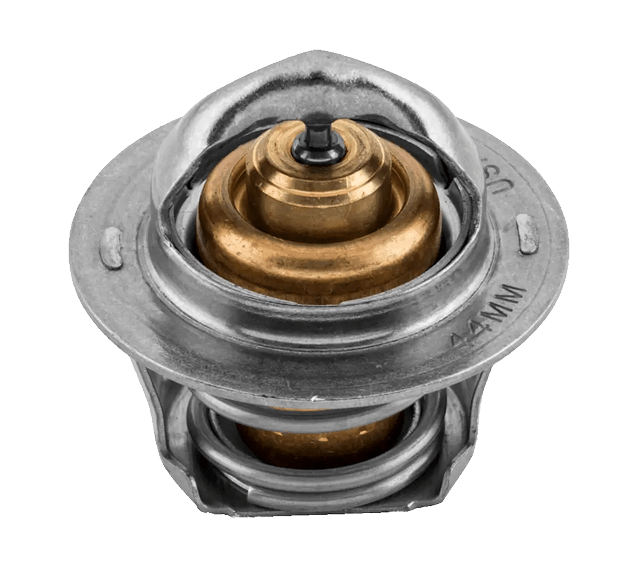
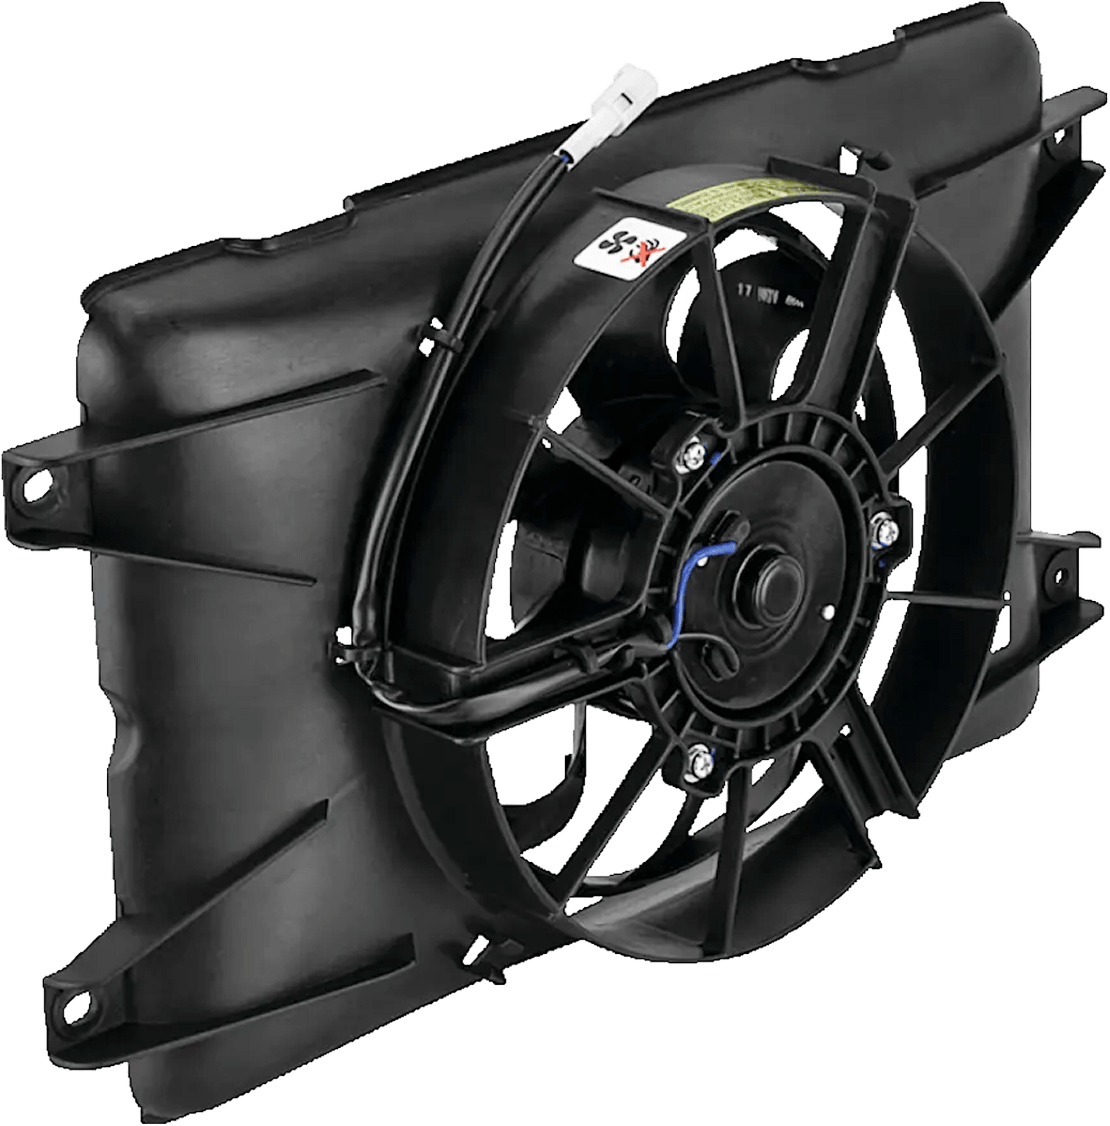
Machines with a rear-mounted or roof-mounted radiator need the same cleaning attention, just from a different angle. If temps creep up on a clean core, test the cooling fan assembly and the thermostat. A fan that never kicks on, or one with a worn motor that spins slowly, leaves the machine with almost no cooling at trail speed. A thermostat stuck closed overheats the engine in short order, while one stuck open keeps the machine from ever reaching operating temperature.
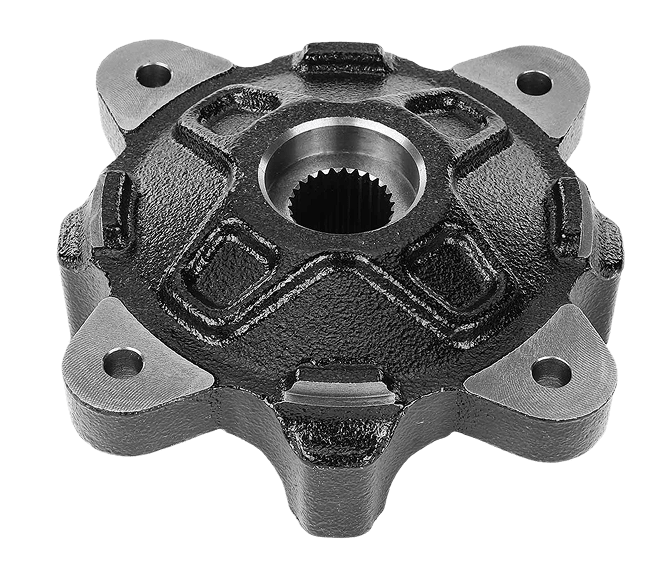
Shop Cooling parts for your UTV:
Air Filter, Prefilter, and Intake
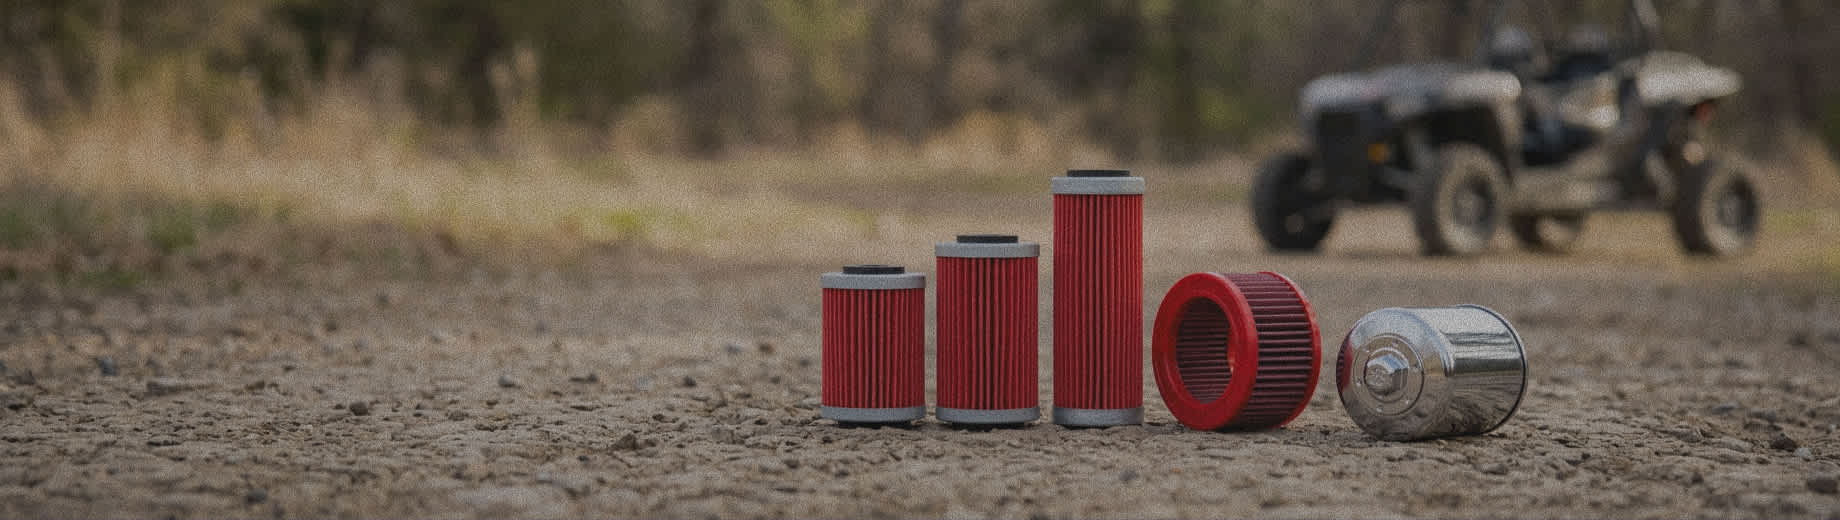
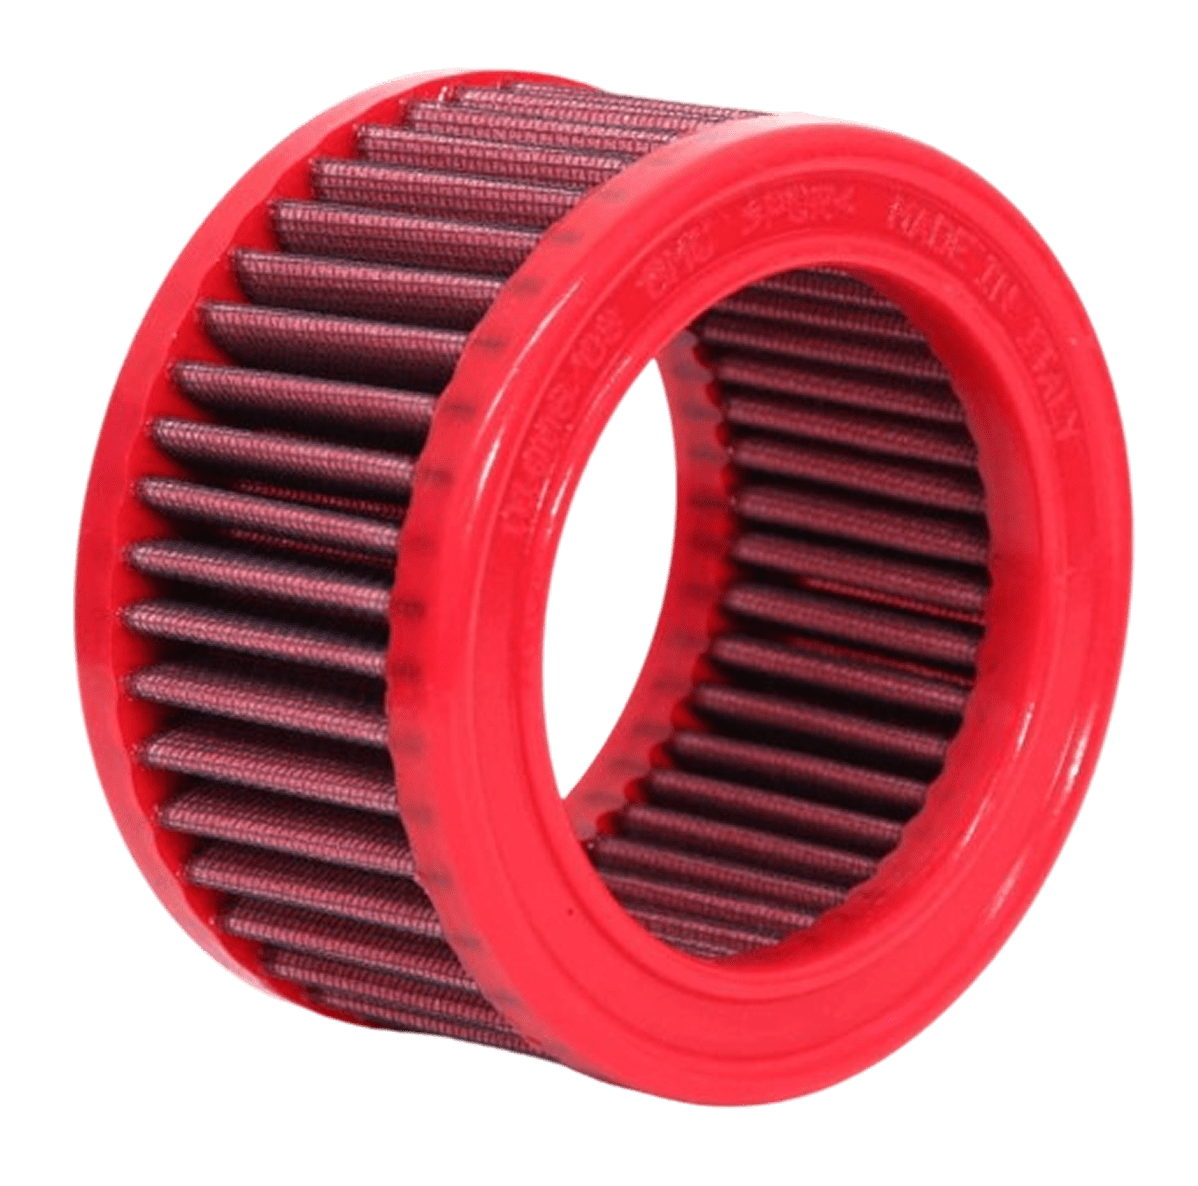
A UTV eats more dust in one afternoon than a street vehicle sees in a year, especially riding in a group. The air filter is the only thing standing between this dust and your machine's cylinder walls.
Warning Signs
Pull the airbox and look. A visibly loaded element, a prefilter caked solid, or any dust on the clean side of the filter all mean it's time to act. Dust downstream is the serious one, because it says the filter or the airbox seal has failed and abrasives are already reaching the engine. Sluggish throttle response, hard starting, and falling fuel economy back up what the filter looks like.
When To Replace
Inspect by conditions rather than by the manual alone. One dusty group ride can load a filter more than a month of solo trail time. Clean reusable foam and gauze elements on schedule and re-oil them correctly, and replace air filters that are torn, oil-soaked, or too dark to clean. Check the airbox seals, lid latches, and intake clamps every time you're in there, since a bypass leak makes a perfect filter useless.
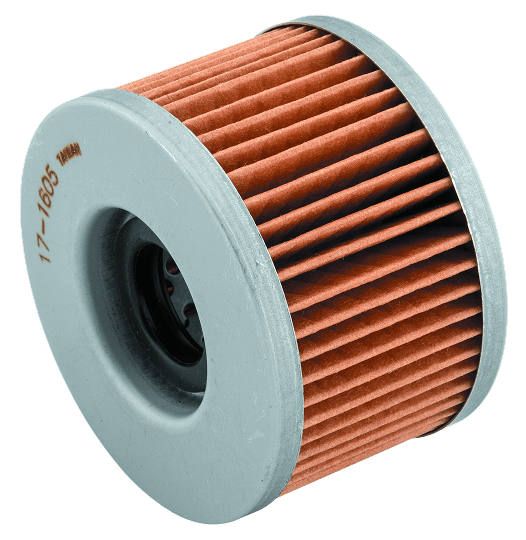
Pair a fresh air filter with a new oil filter at every service, and inspect the spark arrestor while you're at it.
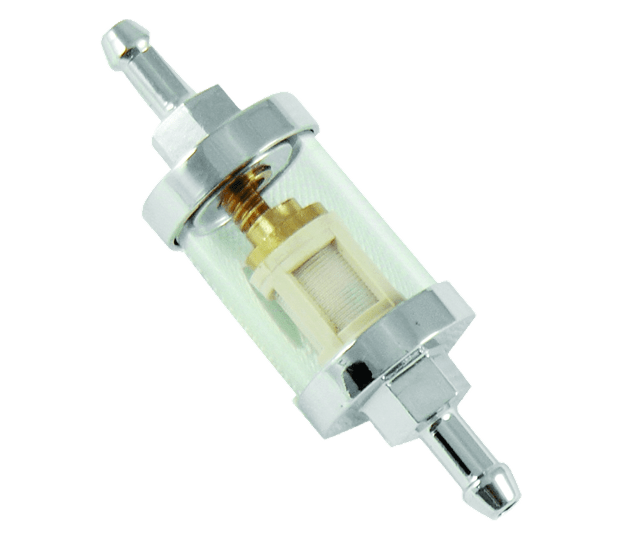
Shop Filters for your UTV:
Battery and Electrical
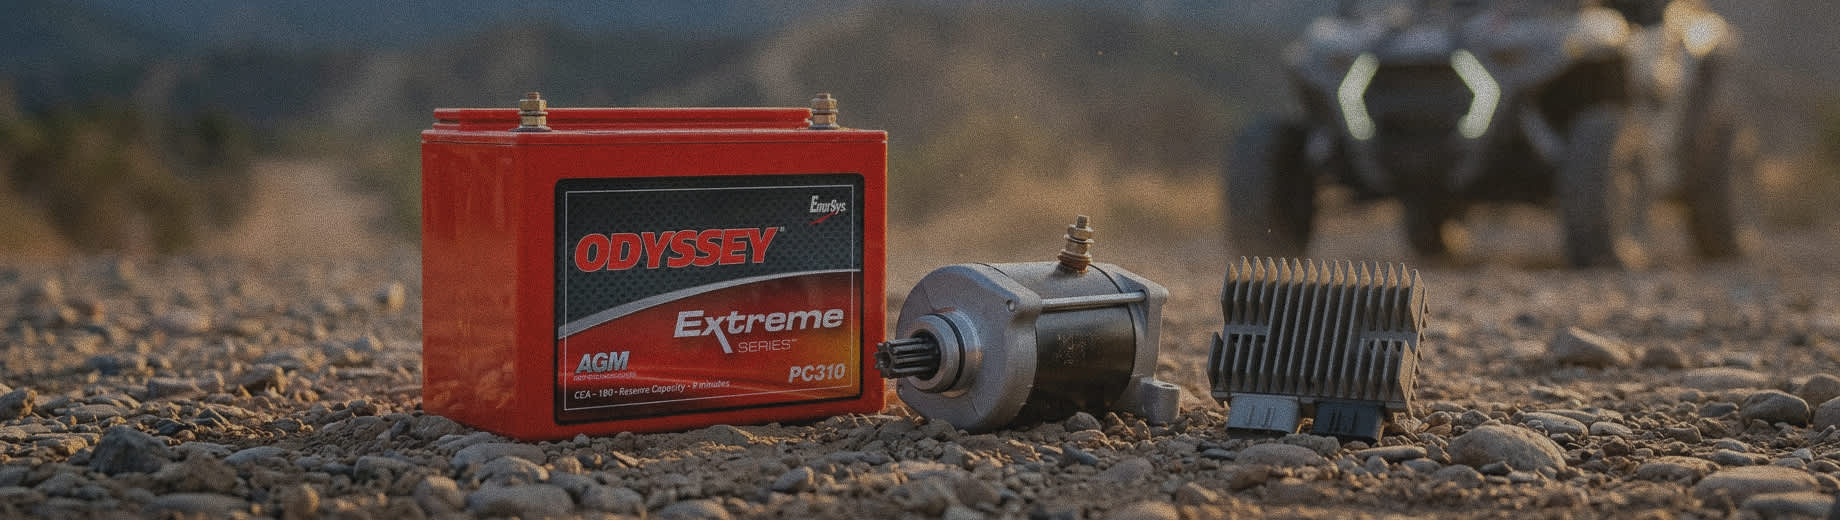
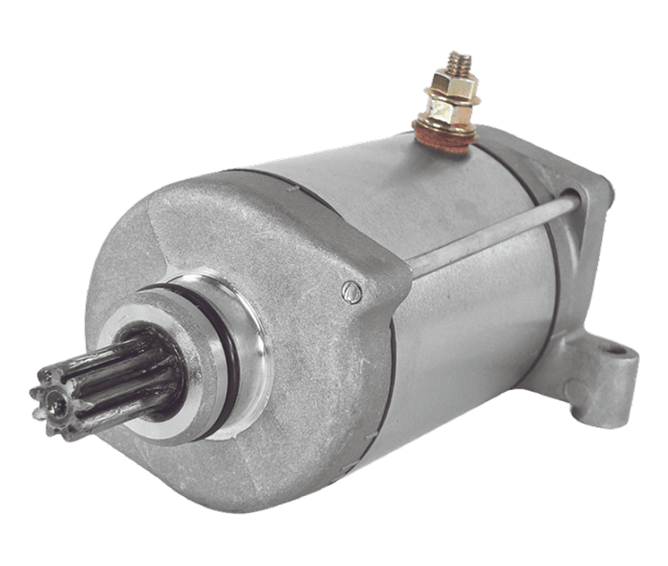
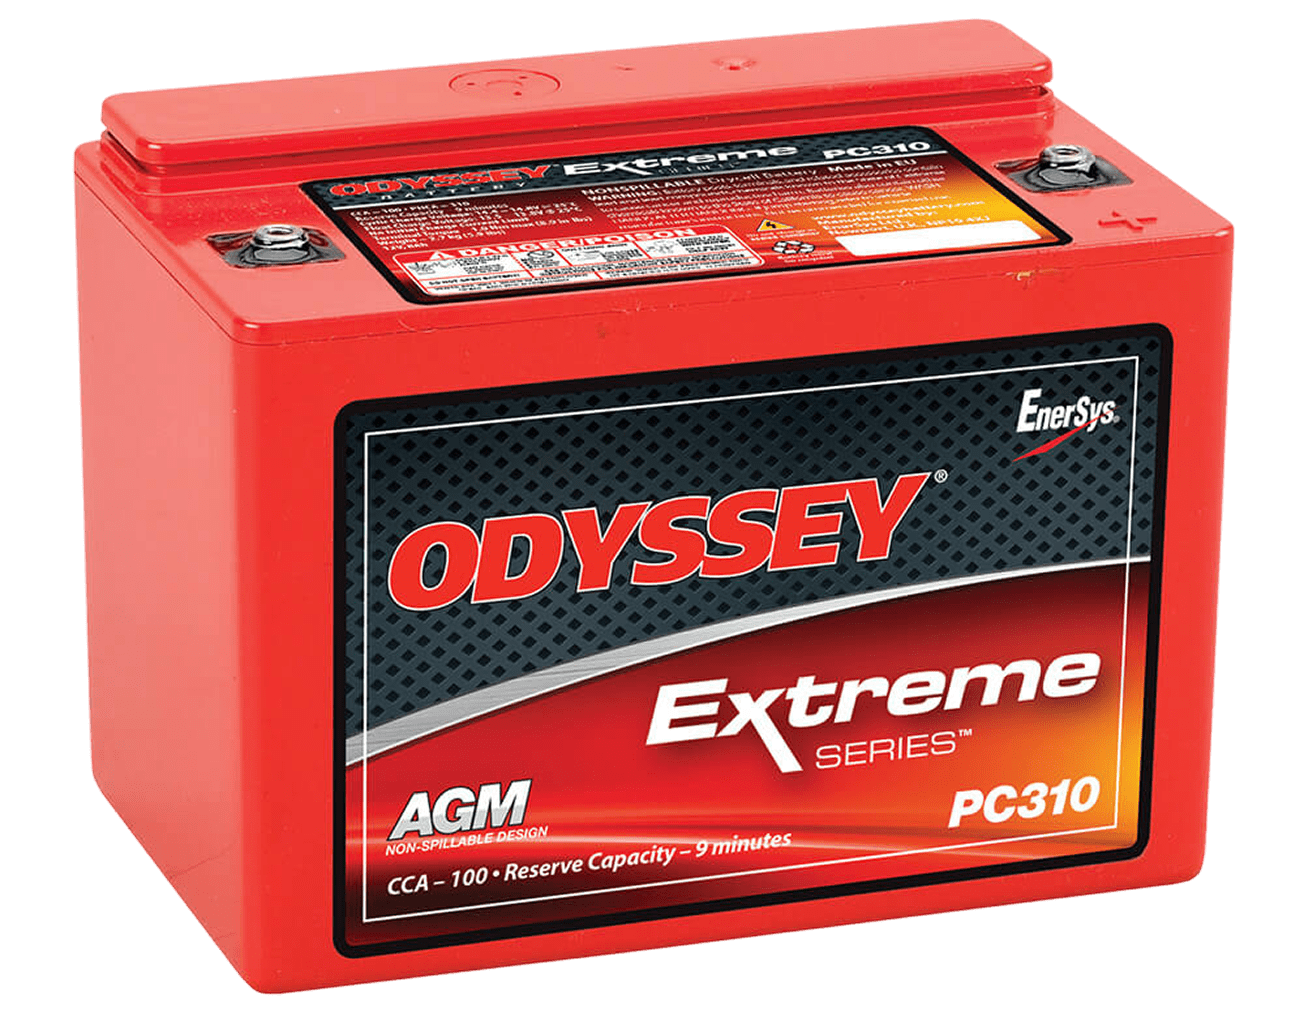
Most UTVs leave the factory with a charging system sized for a stock machine. Then owners add a winch, a light bar, a heater, and a stereo, and the battery takes the hit.
Warning Signs
Slow cranking, dim lights at idle, and a winch that visibly bogs your machine all point to a battery or charging system that can't keep up. Corroded terminals, a swollen case, and a battery that goes flat over a few weeks of storage confirm it. Vibration and heat also loosen connections, so check the grounds when electrical gremlins show up.
When To Replace
Load-test the battery instead of trusting a resting voltage reading, since a battery can read 12.6 volts and still fail to crank. Replace any battery that fails under load, and size the replacement for your accessory load rather than just matching the factory part. Keep a tender connected during storage, because sitting flat is what kills most Powersports batteries.
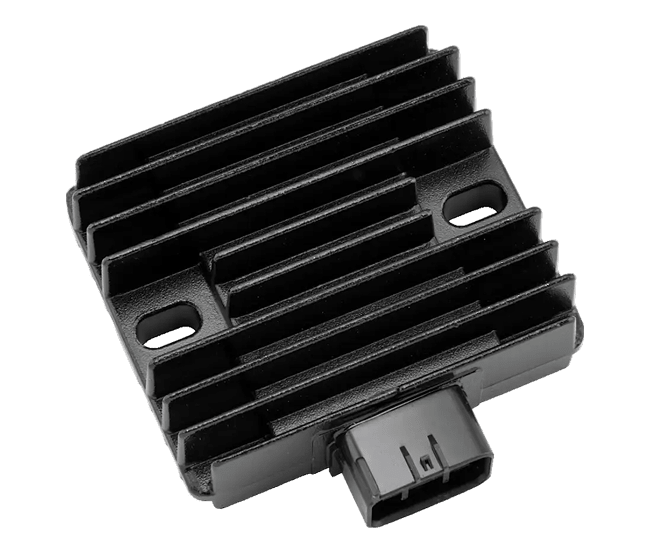
If a battery dies early, check the voltage regulator and the stator before you blame the battery. A charging fault will eat every battery you install.
Shop Electrical Parts for your UTV:
Fluids and Spark Plugs
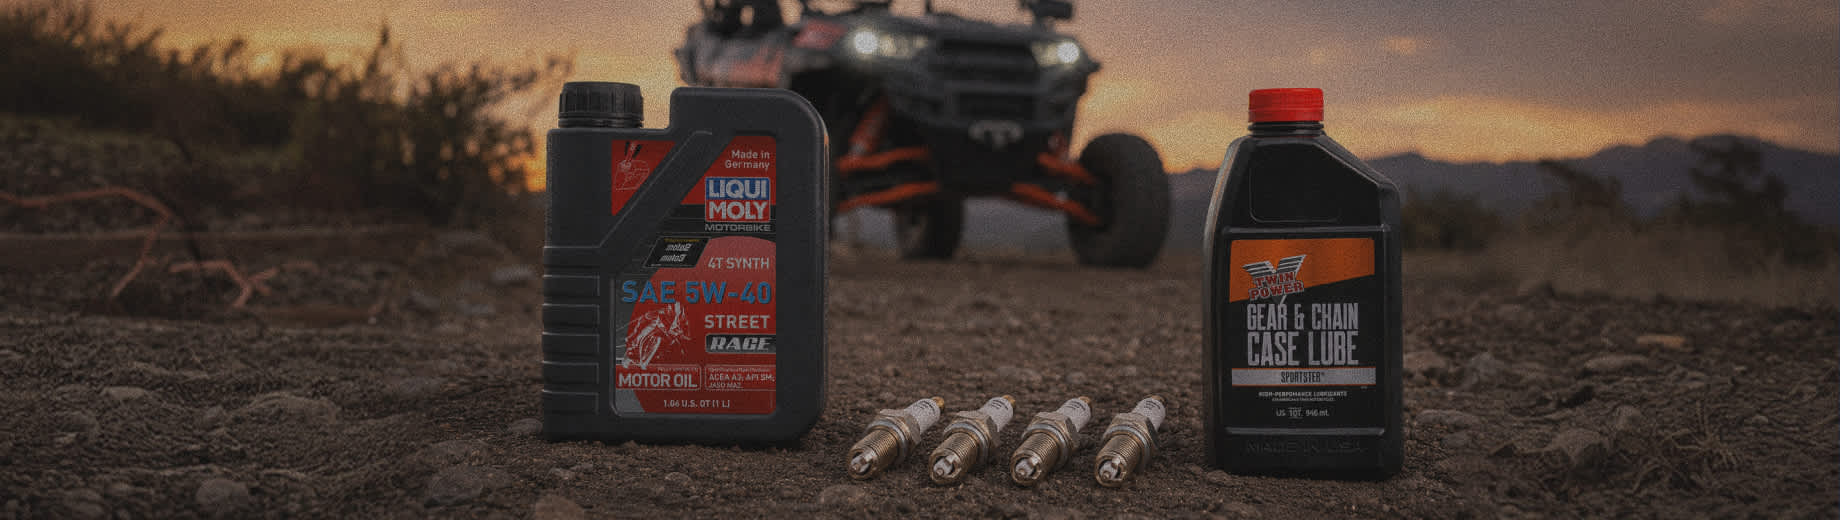
Fluids and plugs are consumables rather than hard parts, but skipping them wears out every expensive component around them.
Warning Signs
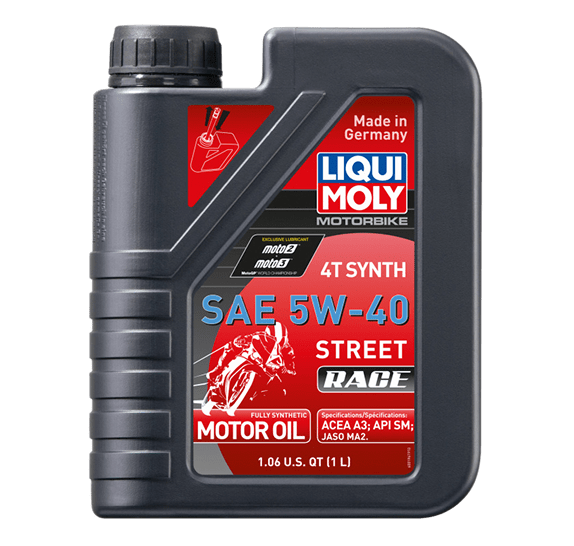
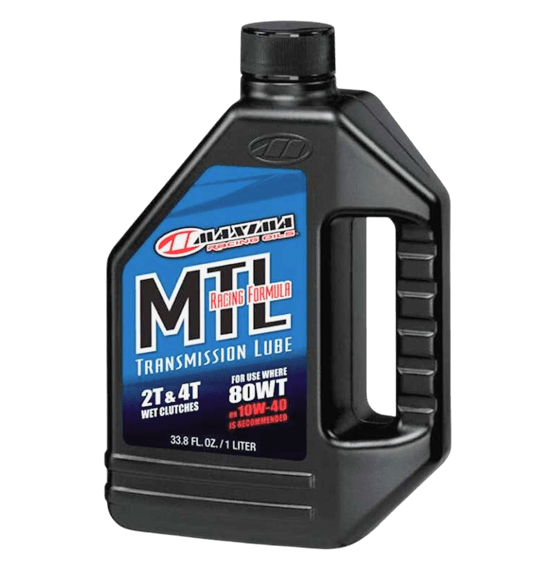
Engine oil breaks down and collects contaminants, so change it and the filter on schedule. The fluids most UTV owners forget sit in the front differential and the rear gearcase, and they matter just as much. Water intrusion turns this gear oil milky after a deep crossing, and milky gear oil means the seals need attention along with the fluid. Check both after any ride where water came over the hubs.
When To Replace
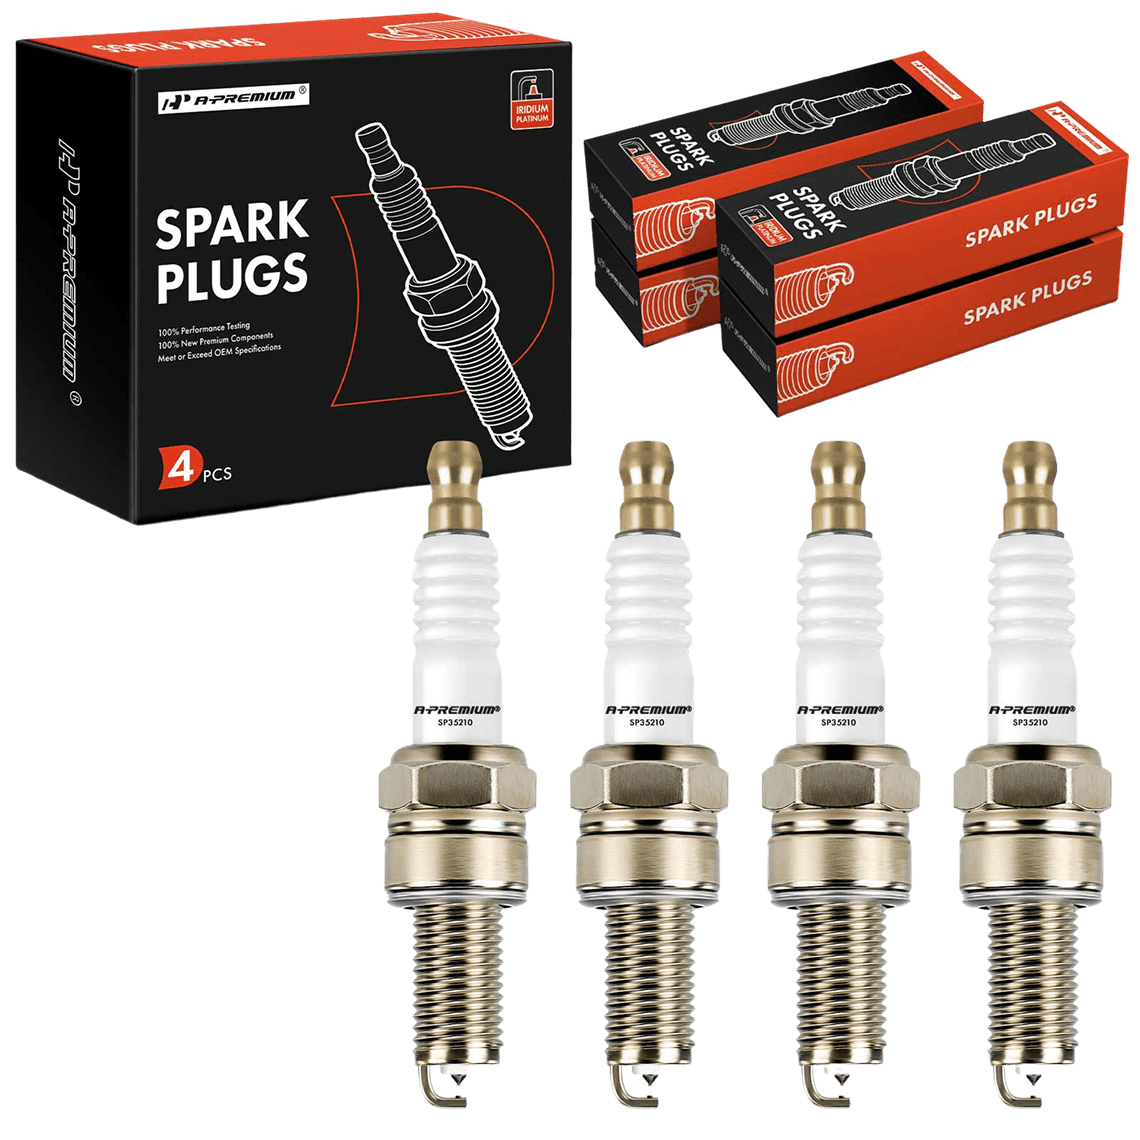
Brake fluid absorbs moisture, coolant loses its additives, and transmission fluid degrades under heavy towing. Spark plugs foul, erode, and open their gap, which shows up as hard starting, misfires, and weak power under load. Replace the plugs at the recommended interval and read them whenever your machine runs rough, since plug color tells you a lot about how the engine is running.
Shop Fluids and ignition Parts for your UTV:
Build a UTV Wear-Parts Routine
Inspect regularly and you'll catch nearly everything on this list before it costs you a ride. Start with a pre-ride walkaround: tire pressure, lug nuts, brake pedal feel, fluid levels, and a quick look under your machine for anything hanging or leaking.
Build a post-ride habit next, because this is where UTV ownership really differs. Wash your machine, then clean the radiator, blow out the clutch housing vents, and check the CV boots while everything is still visible. Mud that dries in place hides problems and packs cooling fins.
Go deeper every 25 to 50 hours. Pull the clutch cover and measure the belt, grab each wheel and check for bearing play, inspect the ball joints and bushings, and pull the air filter. Log everything by hours rather than miles, because that's the number that actually tracks UTV wear.
Stock the consumables you know you'll need. A shelf holding a spare drive belt, a set of brake pads, an air filter, and the right fluids turns a failed part into an evening job instead of a week of waiting. Buy quality parts that match your exact machine, and let the condition of each part drive the replacement decision rather than the calendar alone.

-
-
Find Your UTV Parts at the JC Whitney Performance Hub
Ready to stay ahead of wear before it ends a ride? The JC Whitney Performance Hub puts drive belts, CV axles, brake pads, suspension components, filters, and the rest of the UTV parts your side by side needs in one place. Shop by your exact machine so every part fits the first time, and stock the consumables you'll reach for on a trail day. Browse the JC Whitney Performance Hub today and keep your UTV working as hard as you do.
Browse the JC Whitney Performance Hub


