Shopping for an instrument panel cover sounds simple until your cart is open and three different parts all call themselves the same thing. One listing shows a clear plastic lens. Another shows a structural bezel that frames the gauge cluster. A third shows a much larger dash-top piece. They aren’t interchangeable, and ordering by thumbnail is how shoppers end up with a cover that doesn’t match the cluster cutout, the trim level, or even the right area of the dashboard.
The smarter starting point isn’t “What’s cheapest?” or “What looks close?” It’s “What exactly needs to go in the cart so this job actually finishes?” An instrument panel cover sits in a fragile, color-matched, clip-fed interior zone. The cover itself is usually the cheap part. The expensive part is having to reopen the dash because a clip snapped, a finish didn’t match, or the cutouts were sized for a different trim.
This guide tackles the real ordering logic so that you can build a complete cart the first time.
The Job in One Sentence
The job is to restore the fit, finish, and protective function of the trim that frames or shields your vehicle’s gauge cluster, with the right cutouts, the right color, and the right hardware to put the dash back together cleanly.
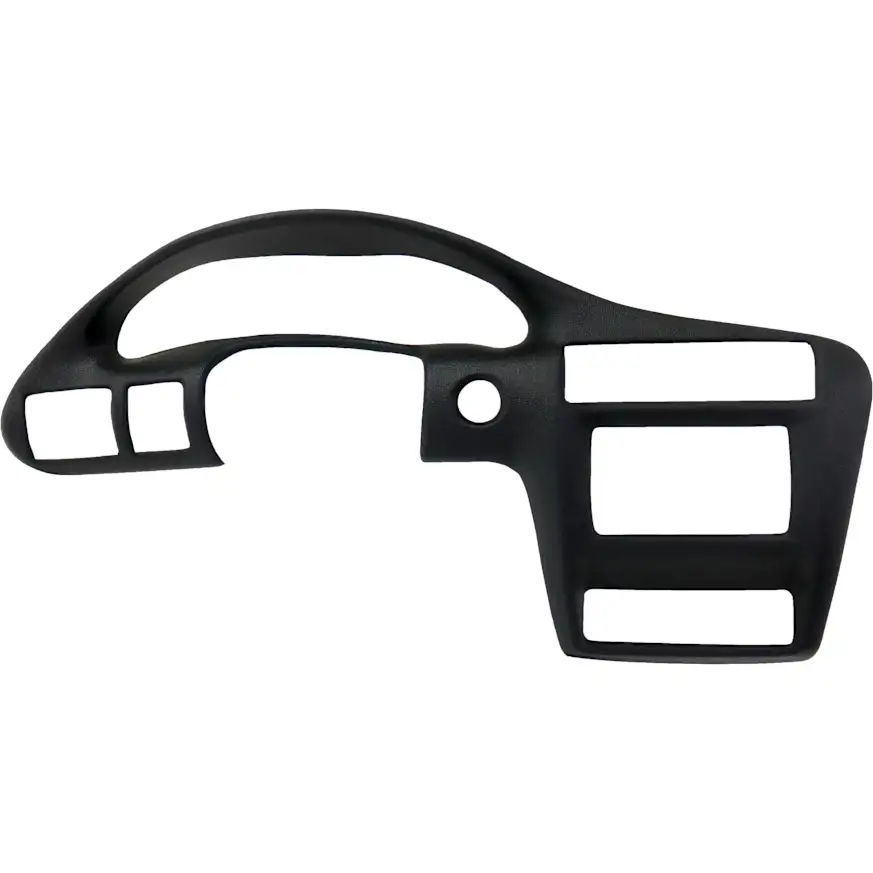
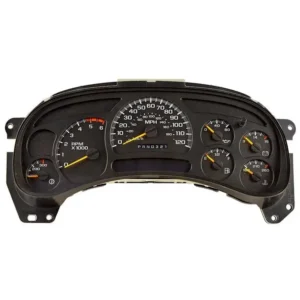
An instrument panel cover isn’t a mechanical wear part. It’s a fit-and-finish piece that sits in a high-visibility zone and lives behind a network of fragile plastic clips. Some are sold as a clear lens that protects the gauge faces. Some are sold as the structural bezel that surrounds the cluster. Some come as a complete assembly with the lens, bezel, and integrated trim already joined. Knowing which version your vehicle uses, and which version the listing actually ships, is most of the ordering battle.
Because this part sits behind other dash trim, replacement usually opens up adjacent pieces too. That’s why the right cart depends less on the part number and more on how much of the dash you’re willing to touch once.
Choose Your Cart Size
Not every shopper needs the same order. Pick the cart that matches your repair scope.
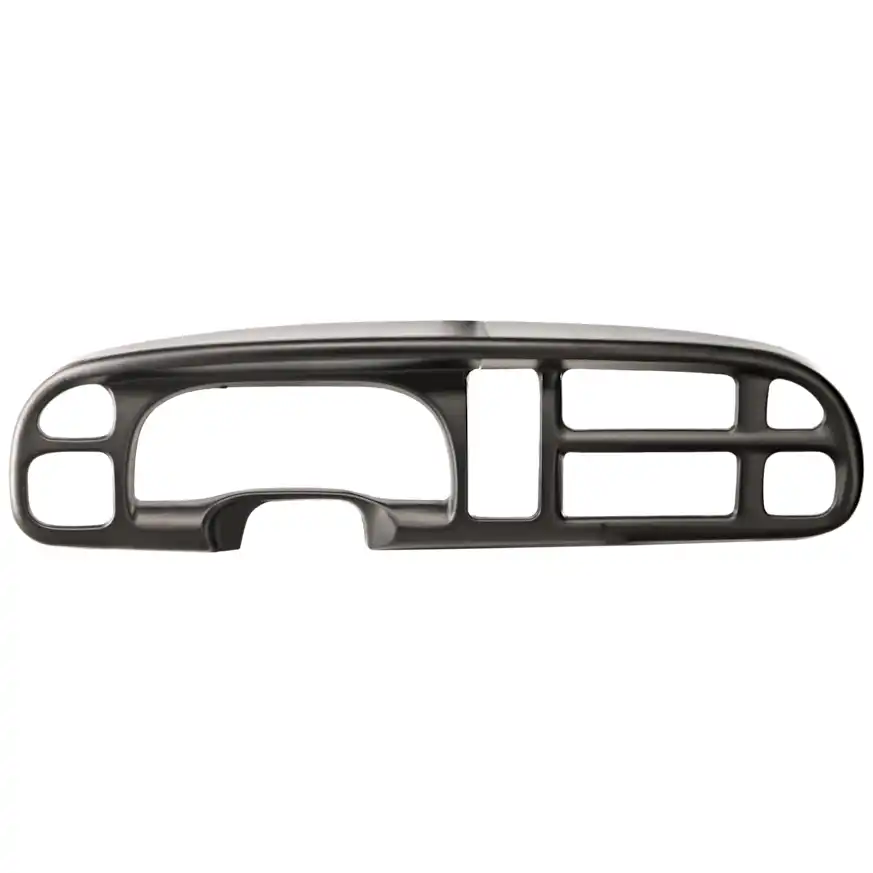
Minimum Viable Repair
You’ve got a single damaged cover, the rest of the dash is intact, and you want to swap one piece and move on.
Choose it if:
- The surrounding trim is in good condition
- Mounting clips on adjacent pieces are still firm
- Only the cover itself is cracked, scratched, hazed, or sun-faded
- Color match across the rest of the dash is still acceptable
Typical cart:
- The exact replacement instrument panel cover for your vehicle’s year, make, model, and trim
- A small set of spare retaining clips for that cover
- A plastic trim tool set if you don’t already own one
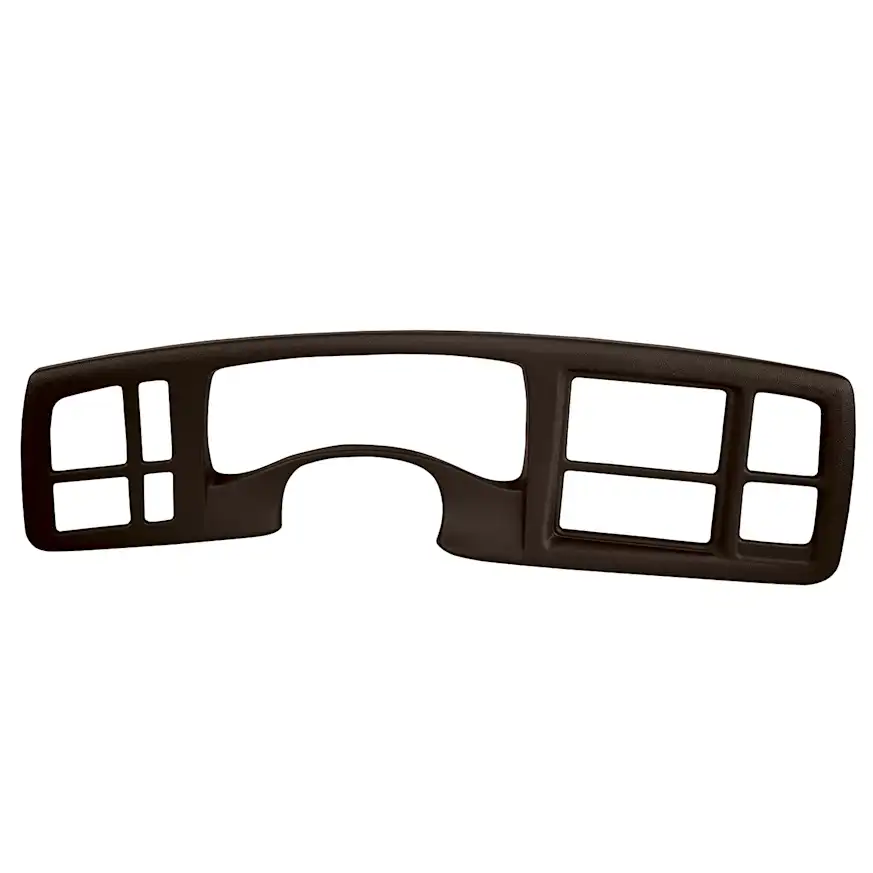
Smart Same-Access Refresh
The dash is coming apart anyway, so address the adjacent items that share access while you’re in there.
Choose it if:
- You’re already pulling the cluster bezel to reach the cover
- Nearby vent bezels, switch panels, or radio surrounds are scratched or loose
- Cluster bulbs are dim or out on an older vehicle
- The dimmer or trip-reset stalk feels flaky and shares the same teardown path
Typical cart:
- Instrument panel cover that matches trim and cluster type
- Adjacent dash trim pieces in the same finish family
- A full retaining clip kit covering every piece you’ll disturb
- Cluster bulbs if the vehicle uses bulb-style backlighting
- An interior-safe cleaner to clean the lens and bezel before reassembly
High-Mileage Do-It-Once Reset
The dash has years of UV exposure, multiple pieces are faded or warped, and you’re keeping the vehicle long enough to want it uniform.
Choose it if:
- Sun damage shows on the cluster cover, dash pad, and adjacent trim
- You want a cohesive restored look across the whole dash zone
- You’re done reopening the same area every few years
- Your vehicle is a long-term keeper or a resale prep
Typical cart:
- Complete bezel and cover assembly when offered, or matched bezel plus lens
- Replacement dash pad or top cover if also faded or cracked
- All surrounding trim pieces in the same color and finish
- Fresh retaining clips and any one-time-use fasteners
- A UV protectant rated for automotive interiors

What Is Commonly Ordered Together on This Job
The cover almost never ships with everything the job needs. Plan the supporting items now, not on the bench.
Hardware, Clips, and Fasteners
Dash clips age out. Even when they survive removal, they often lose their grip after one cycle, and listings rarely include the screws that hold the cover or cluster. A small clip kit is one of the most under-ordered items for this job. Confirm what holds your old cover before assuming that the new one ships with hardware.
Trim Pieces in the Same Access Zone
Vent surrounds, switch plates, and the upper steering column shroud often share the same removal path as the cluster cover. If any of them are damaged or faded, ordering them now saves a second teardown later. Aftermarket trim doesn’t always match factory finishes exactly, so refreshing multiple pieces from the same line at the same time gives the best chance at a consistent look.
Cluster Lighting and Bulbs
For older vehicles with bulb-based cluster lighting, the easiest time to replace these bulbs is when the cover is already off. The same goes for an intermittent dimmer wheel or sloppy trip-reset stalk, since the cluster usually has to come out for either repair.
Full Assembly vs. Bare Cover
A bare cover is cheaper but assumes your existing bezel, lens, and any integrated trim are still good. A complete assembly costs more but eliminates the risk of mismatched aging between pieces and saves the labor of transferring trim. Pick based on the condition of the parts you’d otherwise reuse.
Cleaning and UV Protection
Avoid ammonia-based cleaners on the clear lens; a plastic-safe cleaner protects the finish from clouding. A quick application of UV protectant after installing the new pieces helps the finish hold up to sun exposure, especially on dark interiors.
What People Forget Until the Vehicle Is Already Apart
A short list of the questions that trip up shoppers when the dash is already half open.
- Whether the listing is a clear lens, a structural bezel, or a full dash-top cover, since all three get called “instrument panel cover” in different contexts.
- Whether the cutout pattern matches your vehicle’s trim level, including any tachometer window, message center display, or heads-up display provision.
- Whether the cover includes a clear lens or whether you have to transfer your old one.
- Whether the old retaining clips will survive removal, or whether new ones need to be in the cart.
- Whether the color code matches the rest of your dash in natural light, not just under shop lighting.
- Whether the screws that come out belong to the cover, the cluster, or both.
- Whether your vehicle has a production-date split for that part, which is common for long-running models.
- Whether the bezel includes the small switches, buttons, or sensors that live in its surface.
- Whether nearby trim will come out without breaking, or whether you’ll be adding parts to the order mid-job.
When Replacing Only the Instrument Panel Cover Is False Economy
A bare cover swap is sometimes exactly the right call. If the dash is otherwise clean, the clips are healthy, and the colors still match, there’s no reason to expand the order.
Where the minimalist cart gets expensive is with older vehicles with broad UV damage. The new piece sits next to faded vent surrounds and a sun-bleached dash pad, and the contrast makes the repair look worse than before. The same is true for a dash where the clips have already lost their tension: the cover gets replaced, the surrounding trim feels looser than it did, and a rattle shows up on the first drive.
Labor overlap also matters. Reaching an instrument panel cover means working through fragile, age-hardened clips on every piece in the path. Doing this once and refreshing the clip set and adjacent trim is much cheaper than going back in six months. The honest answer: minimal cart when the rest of the dash is healthy, bigger cart when sun, age, or earlier teardowns have softened the surrounding parts.
The Fitment Splits That Break Instrument Panel Cover Orders
This is the section where most wrong-part orders start. Even within one vehicle, multiple covers can exist for the same year and model.
Cover Type
The single biggest source of confusion. A clear lens cover, a structural cluster bezel, and a dash top pad are three different parts. Make sure the listing photo and the title agree, and that both match what you’re actually replacing.
Trim Level and Cluster Configuration
Higher trims often add a tachometer, a larger message center, a digital display, or a heads-up display pass-through. Each adds or removes cutouts in the cover. Two vehicles built the same week with different trims can need different covers.
Interior Color
Tan, gray, black, beige, and shade variants within each color all exist. Aftermarket finishes drift between production runs. If you’re matching to existing trim, factory color codes are the safest reference.
Material and Finish
Matte, semi-gloss, leather-grain texture, and gloss carbon-look finishes are all common. The wrong finish stands out immediately next to original trim.
Sensor and Button Provisions
Some covers have cutouts for light sensors, defrost-area sensors, info buttons, or HUD windows. A cover without these openings won’t work for a vehicle that has them, and vice versa.
Production-Date Split
Long-running models often change the cover mid-cycle. A VIN-based or build-date lookup is more reliable than year alone for these vehicles.
Body Style
For vehicles offered as sedan, coupe, hatchback, or convertible from the same platform, dashboards sometimes share parts and sometimes don’t. Confirm body style on the listing, not just year and model.
Bare vs. Assembly
A bare cover assumes you’ll reuse your lens, bezel hardware, or integrated trim. A complete assembly ships ready to mount. Order the version that matches the condition of the parts you’d otherwise transfer.
Delivery-Day Inspection Checklist
Before any teardown, lay the new cover next to a photo of the old one or alongside the original if it’s already accessible. Confirm the following:
- Cluster cutout shape, size, and position
- All button, switch, and sensor openings present and correctly placed
- Mounting clip locations matched to the original
- Screw boss positions and depths
- Color and finish compared in natural daylight
- Lens clarity with no scratches, hazing, or shipping cracks
- Any included trim pieces, gaskets, or light pipes present
- Packaging intact, with no warped or stressed corners
- Part number on the piece matching the listing
Your One-Job Order Sheet for an Instrument Panel Cover
Here’s a six-step pre-purchase checklist:
1. Confirm the Vehicle
Year, make, model, trim, body style, and build date when applicable. For long-running models, VIN-based lookup beats year alone.
2. Confirm Which Cover You Actually Need
Clear lens, structural bezel, or full dash-top cover. Match the listing to the exact piece you’re replacing, not the search term.
3. Confirm What the Listing Includes
Lens with bezel or bezel only. Hardware in the box or not. Included trim or sold separately. Read the description, not just the title.
4. Add Clips, Hardware, and Adjacent Trim
Order a clip kit, plus any nearby trim or cluster lighting that’s already showing wear. The dash will be open anyway.
5. Bench-Check Before Teardown
Verify cutouts, color, finish, and hardware against the old part before pulling a single piece of dash trim.
6. Choose Your Ownership Logic
Minimum viable repair for a healthy dash with one damaged cover. Same-access refresh when adjacent trim is worn. Do-it-once reset for high-mileage vehicles with broad UV damage.
The Smart Way To Shop Instrument Panel Covers
The cheap-looking order is the one that ships fast, costs the least, and ends with a half-finished dash. The correct order is the one that finishes the job once: right cover type, right cutouts, right color, right clips, and the right adjacent pieces if the surrounding trim is already worn.
Cart logic depends on the vehicle, the trim level, and how long you plan to own your vehicle. A single cover swap is fine when the dash is healthy. A broader refresh is the better buy when sun damage, clip fatigue, or earlier repairs have softened the surrounding parts.
Build the order around what the job actually needs, not what’s at the top of the search results. If you do it right, the dash only has to come apart once.
Keep Reading: Related Posts





Any information provided on this Website is for informational purposes only and is not intended to replace consultation with a professional mechanic. The accuracy and timeliness of the information may change from the time of publication.