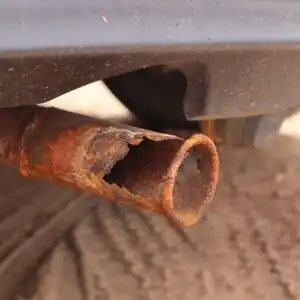
Replacing your vehicle’s exhaust pipe is a must once it has become rusty. Rust can cause the pipe to crack and leak, making the pipe flimsy and the exhaust noise louder. Planning on replacing your vehicle’s exhaust system? Here are some tips for exhaust system installation:
Vehicle Exhaust Installation: An Overview
The exhaust system typically has a pipe supported by several hangers. If you’re a DIY enthusiast, you can do the replacement if you know how to install an exhaust system.
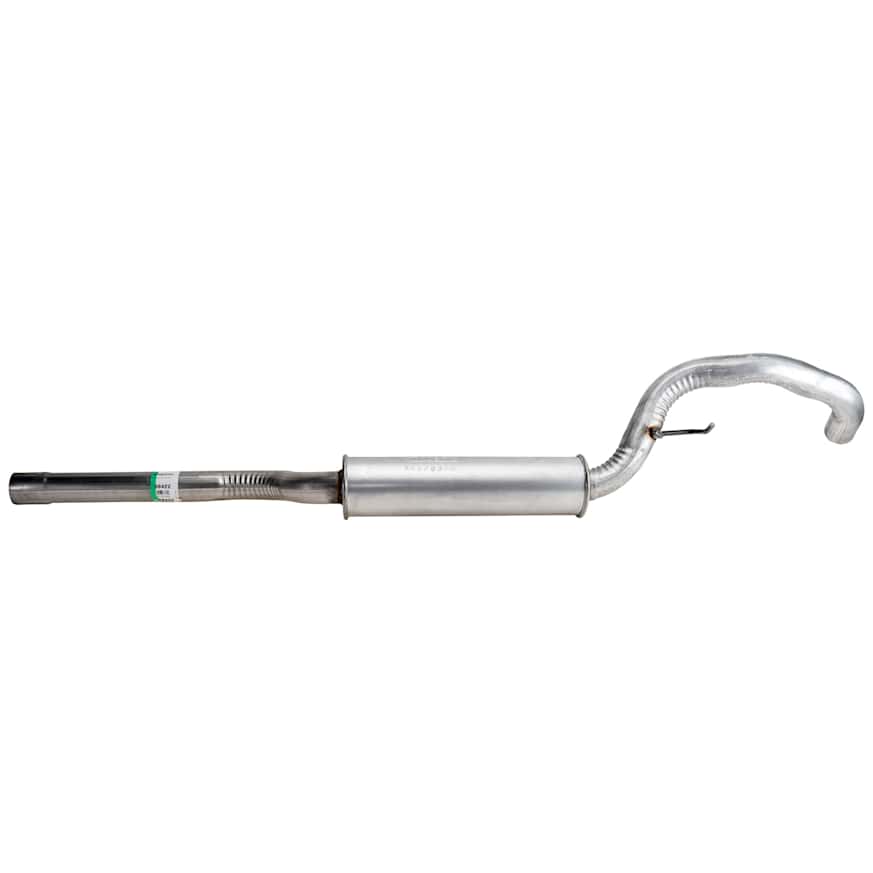
You’ll need a wrench or socket set, a jack, jack stands, penetrating oil, and the replacement exhaust system components. These parts include the exhaust pipes, clamps, hangers, and gaskets.
Having a rubber mallet, rotary tool, pry bars, and locking pliers might also be necessary if you encounter difficulty removing rusted parts.
To access the exhaust system, you must first raise your vehicle, place it on jack stands, and let the exhaust cool.
Unscrew the nuts that hold the pipe to the hanger to remove it. Unplug the oxygen sensors and carefully lower the pipe off the vehicle. If the nuts and bolts are seized, use penetrants to loosen them.
To reinstall the new exhaust system, lift the pipes, secure the pipe to the engine with bolts, and secure the tubes to the exhaust hangers.
Tips On Installing A New Exhaust System
Every vehicle model has a unique exhaust layout. You’ll need an exhaust system that’s made for your specific vehicle so that the pipes, catalytic converter, and tailpipes line up with its exhaust route.
Once you have a compatible exhaust system, here are some tips to take note of when you’re installing the system:
Safety First
Having the right tools and equipment is a must if you’re working on your vehicle’s undercarriage.
Some tools that you should have include gloves and safety glasses. The gloves will protect your hands from sharp pieces of rust. At the same time, you’ll be working with the vehicle overhead. The goggles can protect your eyes from falling rust bits or dirt.
If you’re removing exhaust pipe sections with a rotary tool or grinder, have a fire extinguisher on hand, as sparks can set things on fire.
Lift the Vehicle Properly
Most auto shops are going to have a vehicle lift. These lifts can safely raise the entire vehicle overhead. However, if you’re doing the installation yourself, then you’ll probably just have a jack and some jack stands.
Remember that you must lift the vehicle on a level surface. Ensure the jack is on the vehicle’s jacking points. Then, use the jack to raise the vehicle and lower it on the jack stand. Repeat this for the other side. Jack stands are crucial because you’re not supposed to use a jack for extended vehicle repairs.
Install additional safety measures in case the jack stands fall. You can also put tires to stop the vehicle from falling.
Organized Parts and Tools Nearby
Having your tools neatly laid out near your work area is going to save you a lot of time. Laying out the parts and tools will also allow you to inspect if you have everything you need before beginning the repair.
Imagine being halfway done only to realize you’re missing a crucial tool or have a missing part. This step will also help you conceptualize the proper installation order.
Ask for Help
Raising or lowering the heavy pipes is going to be challenging. The long lengths of pipes will be easier to position when you have another person helping you carry the weight.
Leave Some Clearance
When positioning the exhaust system, the metal pipes must not come into direct contact with other components like the chassis. The pipe will vibrate, move, and heat up during use. When this happens, having clearance is important so that the pipes don’t rattle or damage nearby components.
If there isn’t enough clearance, bend, adjust, or replace the hangers to create some. As much as possible, leave 1/4″ to 1/2″ of clearance so that the pipes can move and vibrate. The pipe can also get bigger when it heats up.
If there are non-metal materials like rubber or plastic, then you should leave 2” to 3” of clearance so that these components won’t be affected by the exhaust pipe’s immense heat. This includes plastic bumpers, which might melt.
Ensure the Exhaust System’s Weight Is Evenly Distributed
Once you’ve secured the exhaust pipes onto exhaust hangers, check the weight distribution. The weight must rest equally on all the exhaust hangers. If the pipe isn’t properly resting on some points or if some points are bearing more weight than others, this can strain the pipe joints and cause issues down the line.
Torque Bolts on Flanges Properly
The exhaust pipe is typically connected to the engine with flanges, which are a pair of metal sections that join your exhaust pipe together. Flanges use bolts and gaskets to create a tight seal.
To ensure this seal lasts, the mounting bolts must be torqued evenly and properly. Otherwise, the gasket can fail if the bolts are over-torqued or non evenly tightened. Similarly, make sure there are no broken or missing bolts.
Check for Leaks
Once everything is in place and secured, spray soapy water onto the joints. Turn on your engine and check if bubbles form. If there are, try tightening the connection points or repositioning the gasket inside the pipe.
Exhaust leaks are a serious issue because they allow toxic exhaust gases to escape without passing through the catalytic converter.
Keep Reading: Related Posts


Any information provided on this Website is for informational purposes only and is not intended to replace consultation with a professional mechanic. The accuracy and timeliness of the information may change from the time of publication.