
If you’re about to order a tailgate molding, the first mistake most shoppers make is treating it like a one-item purchase. The molding itself is usually the cheap part. The expensive part is figuring out whether the clips transfer, whether the emblem cutout matches, whether you actually need the upper cap or the band, and whether the piece across the tailgate is going to look right next to a brand-new one.
A tailgate molding is one of those exterior trim items that looks simple in a thumbnail and turns complicated at the vehicle. Generation changes, cab splits, feature options like integrated steps, and position variants (upper, lower, side, cap, center) all create wrong-part risk. Getting it right starts with a simple question: what exactly needs to be in the cart for this job to be done in one session?
This guide reframes the purchase around the repair. Not the cheapest listing. Not the closest-looking photo. The right cart.
The Job in One Sentence
You’re restoring a clean, weather-sealed, correctly contoured trim surface on the tailgate so the panel looks factory and seals where it’s supposed to.
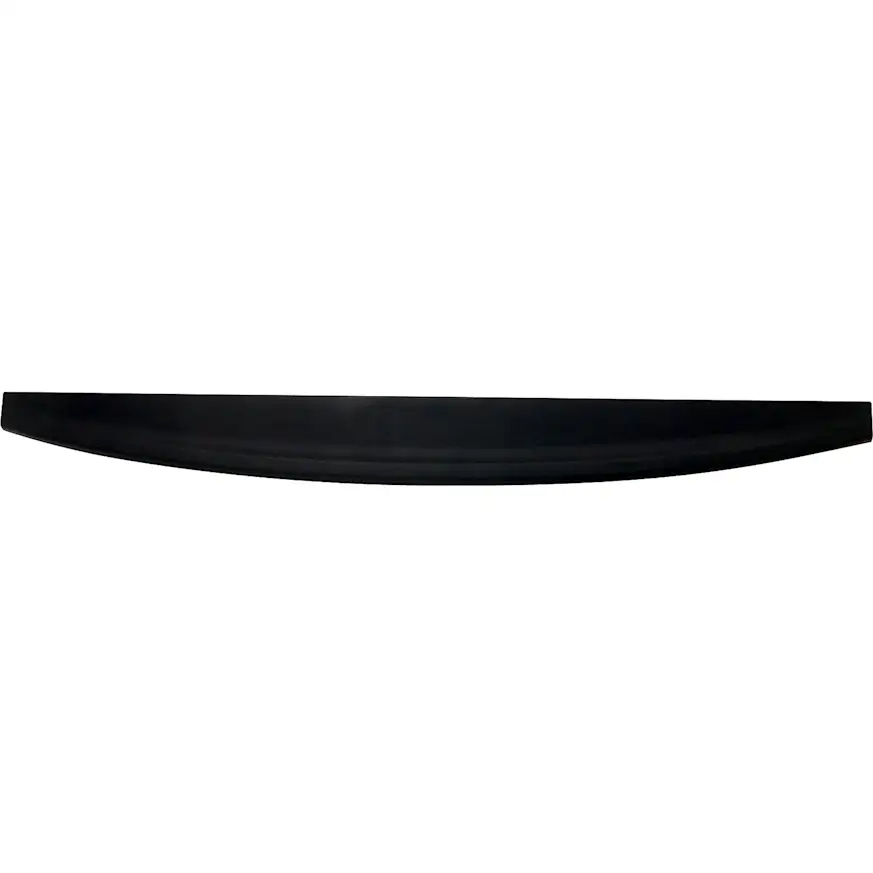
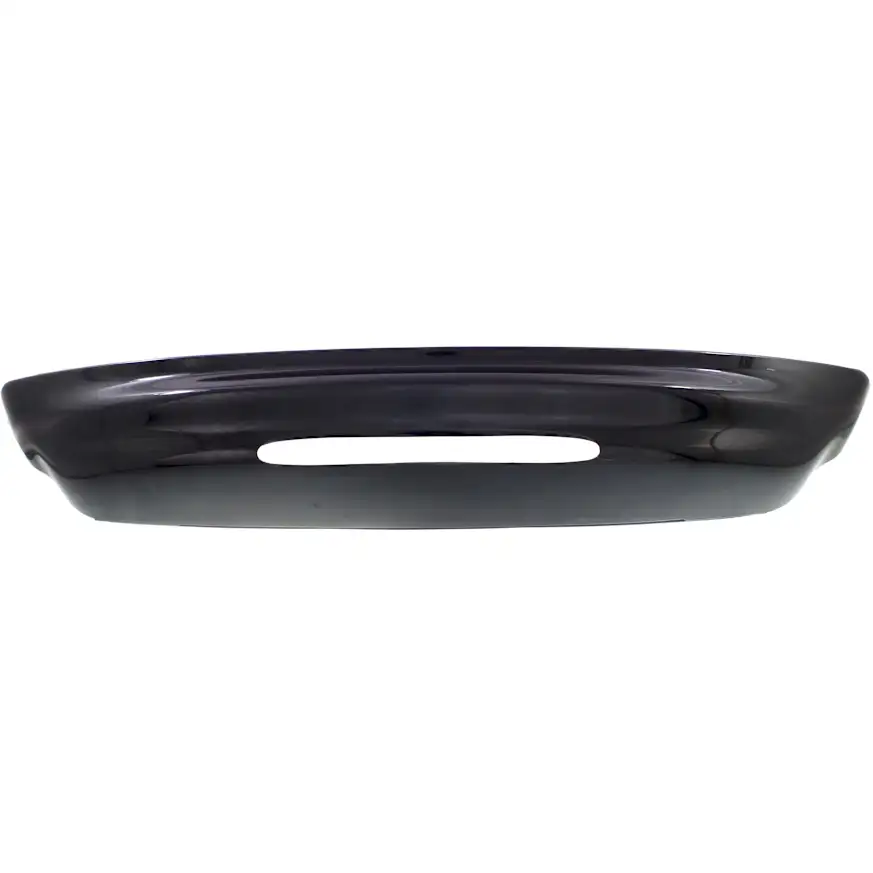
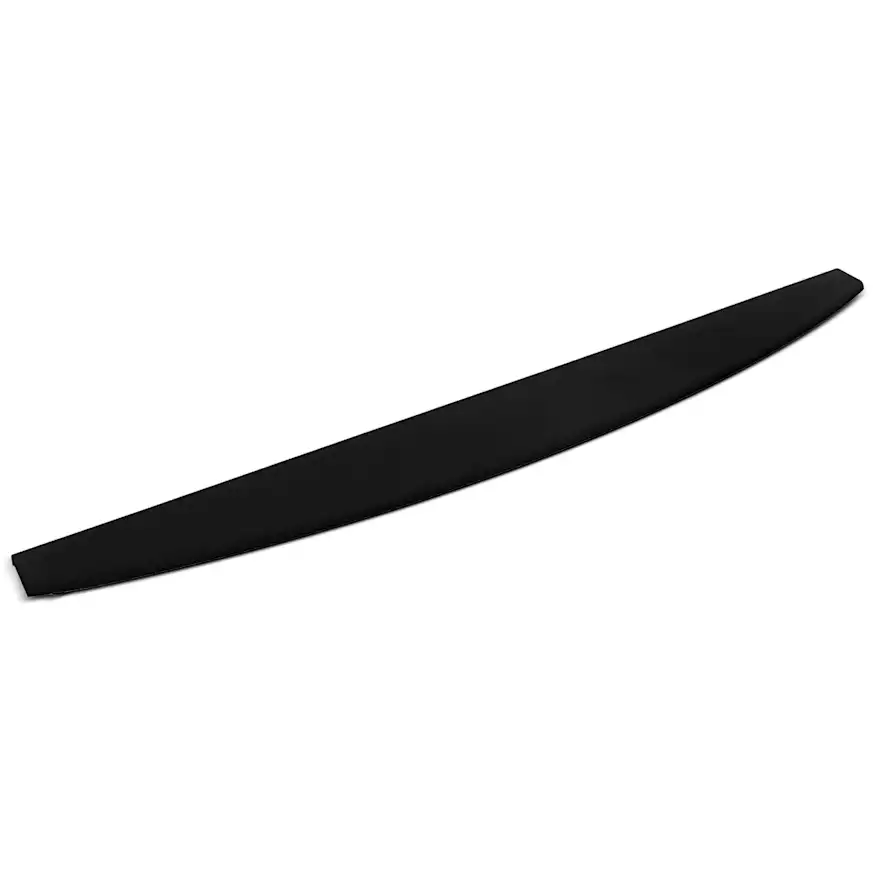
A tailgate molding isn’t just cosmetic. Depending on the application, it can be an upper cap that protects the top edge of the tailgate from rock chips and UV, a band molding that runs across the face, a side trim that meets the bedside line, or a lower piece that covers a pressed seam. Each version has a slightly different job. Some are adhesive-mounted, while others use clips and studs. Some include an emblem or a cutout for one. The order has to match the version actually on your vehicle, not the version that comes up first in a search.
Choose Your Cart Size
Tailgate molding jobs tend to split into three realistic repair scopes. Pick the one that matches why you’re replacing the part in the first place.
1. Minimum Viable Repair
This is the cart for an isolated failure: a cracked upper cap, a scraped lower piece, a single side trim that got curbed.
Choose it if:
- Only one molding is damaged and the rest of the tailgate trim still looks good
- The clips, studs, or adhesive points on the tailgate are intact
- The rest of the tailgate finish matches the new piece closely enough
Typical cart:
- The specific molding (upper cap, band, side, lower, or center as applicable)
- Replacement clips or retainers if the listing doesn’t include them
- Automotive-grade double-sided trim tape if the piece is adhesive-mounted
2. Smart Same-Access Refresh
This is the cart when you’re already pulling trim and it doesn’t make sense to put a new piece next to a sun-faded one.
Choose it if:
- The upper cap is cracked and the lower band is chalky or scratched
- You’re replacing a side molding and the opposite side is faded
- The emblem is sun-damaged and lives on a molding you’re already replacing
- Clips are brittle and you’ve already broken one on removal
Typical cart:
- The failed molding
- The matching mate (opposite side, or upper and lower partner)
- Full clip and fastener set
- Emblem or badge if it doesn’t transfer cleanly
- Trim adhesive remover and fresh double-sided tape
3. High-Mileage, Do-It-Once Reset
This is the cart for older trucks where the tailgate trim has lived through a decade of sun, car washes, and ladder scrapes. You aren’t chasing one piece. You’re refreshing the whole tailgate face.
Choose it if:
- Your truck is 8+ years old and the trim is visibly oxidized
- You’re prepping the vehicle for sale or a paint refresh
- You want the tailgate to match a recent bedside or cab repair
- You’re already replacing the tailgate handle, cap, or latch hardware
Typical cart:
- Upper cap molding
- Lower or band molding
- Side trim, both sides
- Full clip and retainer set
- Tailgate handle or cap if worn
- Emblem or letter set
- Trim adhesive, tape, and cleaner
What Is Commonly Ordered Together on This Job
A tailgate molding rarely rides alone in the cart. Here’s what actually belongs with it, depending on the style.
Clips, Retainers, and Fasteners
Most tailgate moldings mount with a mix of plastic clips, metal retainers, or threaded studs backed by nuts on the inside of the tailgate skin. Clips are the single most forgotten item on this job. They break on removal but rarely come in the box. Order a fresh set sized to the molding you’re buying.
Adhesive and Trim Tape
Cap and band moldings on many trucks are held on by automotive double-sided tape, often in combination with clips. If you’re reusing old tape, the new piece won’t seat flat. A roll of proper trim tape is cheap and prevents a second trip.
Emblems and Badges
If your molding has an integrated emblem or a cutout for a separate badge, decide early whether or not to transfer the old emblem. A sun-faded emblem on a freshly replaced molding looks worse than leaving the old molding alone. A new emblem is often the right call.
Matched Pairs and Partners
Side moldings almost always look wrong when only one side is new. Upper and lower pieces across the same tailgate face also need to match in finish. Think in pairs when the trim is exposed to sun and wear.
Full Assembly vs. Bare Molding
Some listings are bare trim. Others include pre-installed clips, adhesive backing, or integrated fasteners. The price difference usually reflects what’s in the box. Read the inclusions before comparing line items.

What People Forget Until the Vehicle Is Already Apart
This is the short list of things that stop a tailgate molding job cold once the old piece is off.
- Clips aren’t in the box, and the old ones snapped on removal
- The new molding doesn’t have the emblem cutout that your vehicle uses
- The old emblem is too faded to transfer to a new molding
- The adhesive backing is dried out from warehouse age
- The tailgate has a feature option (integrated step, spoiler, camera cutout) that the new molding doesn’t account for
- The finish looks close in photos but reads noticeably different in sunlight next to the rest of the trim
- The threaded studs behind the tailgate skin are corroded and the nuts won’t come off cleanly
- The listing is for a single piece when the factory part is actually sold as a pair
When Replacing Only the Tailgate Molding Is False Economy
A bare molding swap is fine when the rest of the tailgate trim is still in good shape and the failure is genuinely isolated. A clean crack, a fresh scrape, or a clearly damaged single piece on an otherwise tidy truck. Buy one piece, get the clips, move on.
It becomes false economy when the tailgate has already told you it’s due for a broader refresh. A cracked upper cap on a ten-year-old truck is usually sitting next to a chalky lower band, oxidized side trim, and a faded emblem. Installing one new piece in the middle of that lineup makes the rest look worse, not better. You’ll be back ordering the matching pieces within a month, and you’ll be paying for shipping twice.
The other false-economy trap is skipping the clip and tape set to save a few dollars. If the old clips are brittle (and on anything north of 80,000 miles, they usually are), you’ll break them on removal and have to wait for a second order before the job can finish. The cart that finishes the repair the first time is almost always cheaper than the cart that needs a follow-up.
The Fitment Splits That Break Tailgate Molding Orders
This is where most wrong-part returns start. A tailgate molding has more variant traps than its simple shape suggests.
Position on the Tailgate
Upper cap, lower band, center trim, side molding. These all get called “tailgate molding” in listings and in everyday speech. A shopper searching for a scuffed lower piece can easily land on an upper cap that looks similar at a glance and won’t fit anywhere on their vehicle.
Feature Options
Integrated tailgate steps, spoilers, cameras, and power-lock hardware all change the molding’s cutouts and mounting geometry. A tailgate with a flexible step or similar feature is often a different part number than the same-year tailgate without it. Confirm the feature list on the actual vehicle before ordering.
Cab Type and Body Style
On pickups, the same model year can have different tailgate trim depending on cab configuration (regular, extended, crew) or bed style (fleetside vs. stepside on older generations). The molding sometimes carries over, but sometimes it doesn’t.
Emblem and Letter Cutouts
Some tailgate moldings have a cutout, embossed area, or raised mount for the vehicle name or logo. Trim level changes and midyear badge revisions can shift this. A molding without the right cutout won’t accept the old emblem.
Left, Right, and Matched Pairs
Side moldings are position-specific. Upper caps are usually a single piece, but some generations split the upper trim into left and right halves. Always confirm whether the listing is LH, RH, single-piece, or a pair.
Year and Generation Splits
Exterior trim often changes mid-generation. Two tailgate moldings five years apart can look nearly identical in a thumbnail and still use different mounting points. Use the year, make, model, and submodel filter rather than eyeballing the photo.
Finish and Material
Chrome, gloss black, textured black, body-color, and painted-to-match all exist in this category, sometimes for the same vehicle at different trim levels. Confirm that the finish matches the rest of the tailgate, not just the description.
Delivery-Day Inspection Checklist
Before anything gets unbolted or pulled off the tailgate, compare the new part to the old one on the bench. Check for the following:
- Overall length matches edge to edge
- Curvature and contour match the tailgate profile
- Emblem cutout, embossing, or mounting area lines up
- Clip locations and count match the old piece
- Threaded studs (if applicable) are the same size and spacing
- Adhesive backing is present, fresh, and not peeling
- Finish and gloss level match the rest of the tailgate trim in daylight
- Included hardware matches the listing description
- No shipping damage along the edges or corners
- Any included instructions reference the correct model and feature set
Your One-Job Order Sheet for a Tailgate Molding
Skim this before you check out.
1. Confirm the Vehicle
Year, make, model, submodel, cab type, bed style, and any feature options that change the tailgate (step, spoiler, camera, power lock).
2. Confirm the Repair Scope
One piece, matched pair, or full tailgate trim refresh. Pick the cart size lane that matches.
3. Confirm What the Listing Includes
Clips or no clips. Adhesive backing or bare. Emblem included or separate. Single piece or pair.
4. Add the Consumables and Adjacent Items
Fresh clips, automotive trim tape, adhesive remover, replacement emblem if the old one is faded.
5. Bench-Check the Old Part Logic
Count the clips, note the emblem cutout, measure the length, and confirm the finish before the new part ships out.
6. Choose the Right Ownership Logic
Quick cosmetic fix, same-access refresh, or do-it-once reset. Don’t size up without reason, and don’t size down if the tailgate is already telling you it needs more.
The Smart Way To Shop Tailgate Moldings
The cheapest-looking order and the correct order are rarely the same cart. A tailgate molding by itself is a small line item. A tailgate molding plus the clips, tape, and matching partner piece is the cart that finishes the job in one session and looks right when the truck rolls out.
Shop by repair scope, not by thumbnail. Confirm the position, the feature options, the finish, and the fitment split before checkout. If the tailgate is old enough to need one piece, it’s usually old enough to deserve the matching piece and a fresh clip set.
The right order depends on your vehicle, the condition of the surrounding trim, and how long you plan to own your truck. Build the cart for that job, and you’ll only build it once.
Keep Reading: Related Posts


Any information provided on this Website is for informational purposes only and is not intended to replace consultation with a professional mechanic. The accuracy and timeliness of the information may change from the time of publication.


