You already know you need a fuel filter. The harder part is choosing the listing that actually fits your vehicle. Knowing the part name is just the first step.
Fuel filter listings share similar names but differ in fitting size, inlet and outlet orientation, sensor ports, and mounting style. A filter for a carbureted inline-six is a completely different part from one for a direct-injection engine. The product image won’t show you those differences.
This article walks you through the listing-level decisions before you click Add to Cart. Fitment comes first, then version and configuration, then what’s included, then brand.
Quick Answer: How Do You Choose the Right Fuel Filter?
Start with your vehicle’s year, make, model, and engine size. On many modern vehicles, the filter sits inside the fuel pump assembly in the tank, so you’ll order the pump module, not a standalone filter. If your vehicle uses an external inline filter, confirm the inlet and outlet fitting size, the mounting style, and any included hardware. After you confirm fitment and configuration, compare brands and verify what comes in the box.
Start With the Vehicle, Not the Product Image
Start with the vehicle, not the thumbnail. Fuel filter fitment depends on year, make, model, and engine. Where the filter is located on your specific vehicle often determines which listing type you need. Two vehicles from the same model line can use different filters if their engines or build dates differ.
Before you search, confirm these:
• Year, make, and model
• Engine size and type (e.g., 2.5L four-cylinder vs. 3.5L V6)
• Fuel system type (port injection, direct injection, carbureted)
• Submodel or trim, if the fuel system varies by package
• Whether the vehicle uses an in-tank filter, an external inline filter, or both
Image-matching on fuel filters is especially risky because many inline and cartridge-style filters share similar shapes. They still differ on connection type, port count, and thread size. Verify fitment through the vehicle selector or a part number cross-reference.
Which Version of the Fuel Filter Does Your Repair Actually Need?
Two fuel filters can share the same name and still serve completely different ordering needs. The biggest split is between external inline filters and in-tank assembly-based filters. Reviewing the signs of a bad fuel filter can help you confirm which type your vehicle uses before you shop.
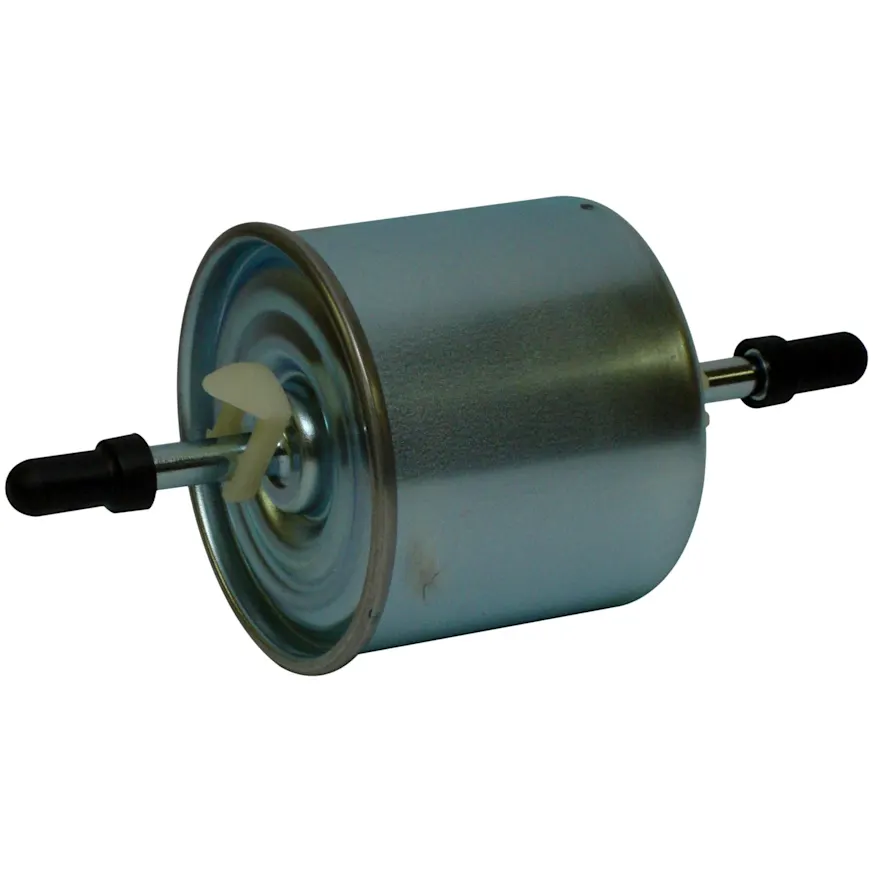
External inline filter: This filter sits in the fuel line between the tank and the engine. Inlet and outlet orientation and fitting size still matter on a direct swap.
In-tank filter or strainer: This filter integrates into the fuel pump module. Order the pump assembly or the strainer sock, not a standalone filter.
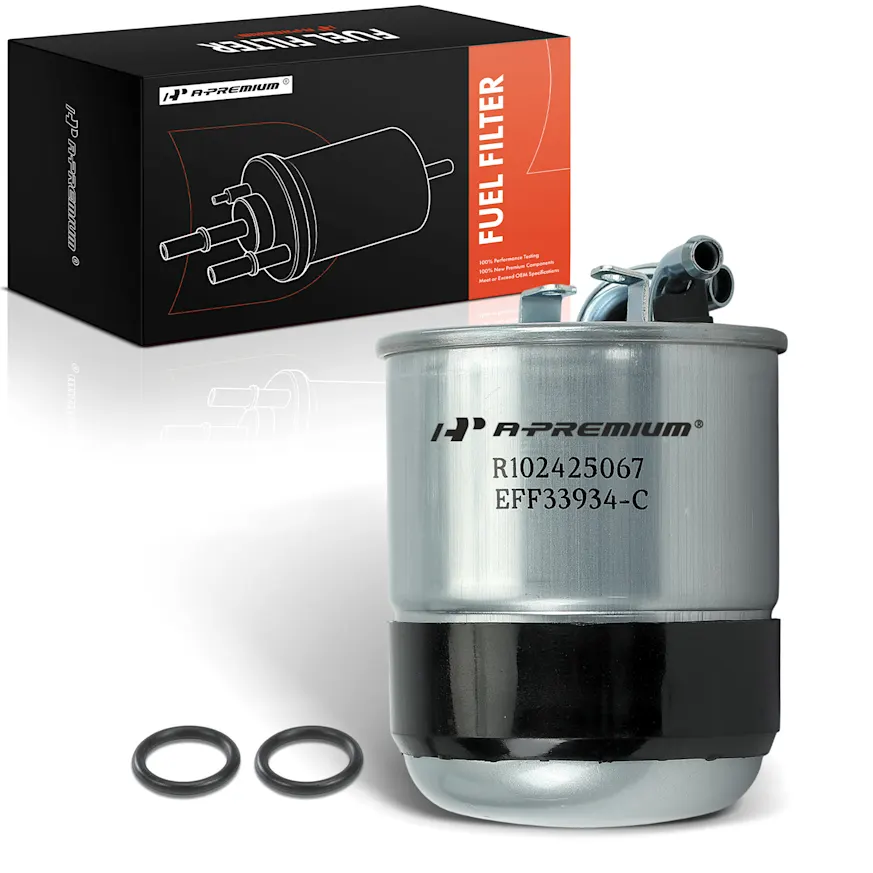
Filter with sensor port: Some listings include a fuel pressure regulator or sensor port on the housing. The replacement must match. A listing without the port won’t work as a direct swap.
Filter with sending unit: Some in-tank assemblies include a fuel level sending unit. If the listing includes the sending unit but yours doesn’t need it, look for a bare filter or strainer-only option.
Diesel vehicles add another layer of complexity. Diesel fuel filters often differ from gas filters in housing design, water separator integration, and micron rating. Confirm the listing targets your specific application.
Compare the Details That Make the Part Fit
Use the product image as a starting point, not as your only check. Fuel filter listings can look nearly identical in photos while differing on the specs that matter.
If you’re replacing an external inline filter, compare:
• Inlet and outlet fitting size and type (compression, threaded, quick-connect, barbed)
• Overall length and diameter
• Mounting bracket style, if the filter uses one
• Sensor port presence and thread size
• Flow direction (most filters are directional; check the arrows on the housing)
For in-tank modules, compare the electrical connector shape, the float arm orientation, and the strainer design. Check whether the listing covers a complete assembly or just the filter element.
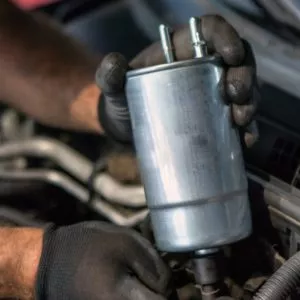
If you have the original part on hand, check it against the listing specs directly. Part numbers on the housing can confirm a match or point to the right cross-reference.
Check What Comes in the Box
A listing can be correct for your vehicle and still be incomplete for your repair. Fitment and completeness are separate checks.
Depending on the listing, a fuel filter may or may not include:
• Mounting hardware or brackets
• O-rings or sealing washers for threaded fittings
• Retaining clips for quick-connect fittings
• A fuel pressure sensor port cap
• The sending unit (for in-tank assemblies with level sensing)
• A strainer sock (for in-tank pump replacements)
Quick-connect retaining clips are a common gap. If the listing doesn’t include them and yours are damaged, order them separately before the kit ships. For a full walkthrough of the job,replacing a fuel filter covers the tools and prep you’ll want on hand.
Compare Brands After You Confirm Fitment
Brand matters, but it shouldn’t be the first filter. Use the brand as a confidence filter after you settle the fitment details. Different brands may offer bare inline filters, sensor-port versions, or complete in-tank assemblies. Beck Arnley and Motorcraft are common choices for import and Ford applications, respectively. A-Premium covers a wider range of in-tank assembly configurations.
The better question isn’t which brand is best. It’s which brand offers the correct fuel filter configuration for this vehicle and this repair.
Choose the Right Ownership Lane
The right fuel filter isn’t always the most expensive one. It’s the one that matches how long you need the repair to hold.
Basic inline replacement: For older vehicles with external inline filters, a direct-fit replacement at the lower price tier handles most routine service needs. Choose this lane if the filter is the only failed part and the fittings are in good shape.
OE-style replacement with matching specs: For daily drivers, an OE-style replacement from a recognized brand removes the guesswork on port location, flow rate, and connector compatibility. This is the practical middle choice for most repairs.
Complete assembly or high-mileage refresh: If the fuel pump module is already coming out, replace the complete assembly to avoid a repeat job. On higher-mileage vehicles, the pump and filter tend to wear together.
Make the Final Add-to-Cart Check
Before you add the fuel filter to cart, confirm the listing matches the vehicle, the configuration, and the repair scope.
• Vehicle year, make, model, and engine confirmed
• Filter type confirmed: inline external or in-tank assembly
• Inlet and outlet fitting size and type match the original
• Sensor port presence matches the vehicle’s requirements
• Included hardware and seals checked
• Sending unit inclusion reviewed if ordering an in-tank assembly
• Brand selected after fitment and configuration are confirmed
• Any missing hardware or clips added to the order separately
• Product notes and fitment notes read before checkout
Your Best Starting Point
Use the vehicle selector to narrow the category to fuel filters confirmed for your year, make, model, and engine. Then filter by type: inline versus in-tank assembly. Check the listing details against the original part before adding anything to the cart.
Fitment first, then configuration, then what’s included, then brand. That order cuts the wrong-part risk significantly before the order ships.
The best fuel filter order isn’t the one that looks close enough. It’s the one that matches the vehicle, the fitting type, the included components, and the details you can verify from the original part.
Keep Reading: Related Posts


Any information provided on this Website is for informational purposes only and is not intended to replace consultation with a professional mechanic. The accuracy and timeliness of the information may change from the time of publication.