Control arm replacement can be difficult—especially if the vehicle’s suspension is rusted and corroded. Separating the ball joint from the steering knuckle can be tricky, too, if you’ve never done the job before. And, oh yeah, you’ll want to get your car’s alignment checked after replacing the control arm.
Front Lower Control Arm Replacement Cost
If you decide to have a professional replace your control arm, which is a smart move if you’re uncertain of your mechanical prowess, expect to pay anywhere from around $500 to well over $1,000. The job can be even more costly if you have a high-end luxury or performance car.
Should you decide to tackle the job yourself, expect to pay anywhere from approximately $50 to $100 for a new control arm. Once again, if you’ve got a fancy car, the cost may be higher.
What Tools Do You Need to Replace Your Front Lower Control Arm?
The tools needed to replace a front lower control arm vary, depending on what type of car you have. But, in general, you’ll need:
- Ball joint separator (optional)
- Breaker bar
- Jack and jack stands
- Long-handled diagonal cutting pliers (optional)
- Large hammer
- Pickle fork (optional)
- Pry bar
- Ratchet and appropriate size sockets and wrenches
- Safety glasses
- Torque wrench
- Wheel chocks
Should You Do the Job Yourself?
Front lower control arm replacement is straightforward on some cars. But on others, it can be a real challenge. The level of difficulty depends a great deal on the vehicle’s suspension design. If you’re dealing with a MacPherson strut suspension, generally, the job is pretty easy. On the other hand, if you’re working on a torsion bar suspension… well, good luck.
If you have any doubts, it’s a good idea to leave the job to a professional. You’ll save yourself a lot of blood, sweat, and tears.

Front Lower Control Arm Replacement
Now we get to the fun part: control arm replacement. Are you ready to grab a wrench and get dirty? Good.
Before we start, however, keep in mind that all vehicles are different. Be sure to follow the repair information for your specific application. Repair manuals, such as those from Chilton, are useful but an ALLDATA subscription is even better. ALLDATA has single-vehicle subscriptions for DIYers that provide detailed factory repair information.
Warning: In some instances, the vehicle’s suspension spring must be compressed before removing the control arm. Failure to do so can result in severe personal injury.
Note: The following are general guidelines for educational and entertainment purposes only. Consult your vehicle’s factory information for specific repair instructions and recommended safety procedures.
The outline below describes the replacement of a front control arm in a MacPherson strut style suspension.
Control Arm Removal
1. Put on your safety glasses.
2. Use a breaker bar to loosen the wheel lug nuts. Do not remove the nuts completely at this time.
3. Safely raise and support the vehicle using a jack and jack stands. Chock the rear wheels and set the parking brake.
4. Remove the lug nuts by hand. Then remove the wheel and tire assembly.
5. Unbolt the sway bar link (if equipped) from the control arm.

6. Remove the cotter pin from the castle nut. There are many ways to do this; I prefer to use a pair of long-handled diagonal cutting pliers. Grip the circular (closed) end of the cotter pin with the pliers. Then pull the pin outward, while pushing the pliers against the steering knuckle to gain leverage.

7. Remove the castle nut from the ball joint.
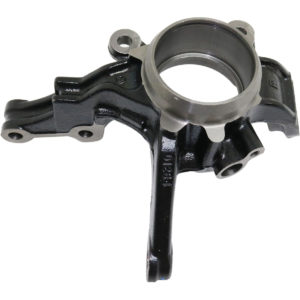
8. Separate the ball joint from the steering knuckle (the joint has a taper fit and will not come out by hand). There are multiple ways to separate the two components:
- Strike the steering knuckle near the ball joint with a large hammer. The ball joint’s stud should eventually pop out if the knuckle is hit hard enough.
- You can also use a ball joint separator to separate the ball joint from the knuckle. But be forewarned: most separators don’t fit all vehicles.
- Using a pickle fork and a hammer is also an option. Keep in mind, however, that if you use a pickle fork, the ball joint boot will get ruined in the process, so you should not use this approach if you plan on re-using the ball joint.

9. Remove the bolts securing the control arm to the frame.
10. Remove the control arm from its mounting brackets on the frame. If the arm does not come out easily, you may need to pry it out with a pry bar.
Note: Make sure the axle shaft does not get over-extended during the control arm removal process. Damage may result.
Control Arm Installation
1. Compare the new control arm to the old control arm to be sure both are the same design.
2. Install the new control arm into the mounting bracket in the frame.
3. Reinstall the bolts that secure the control arm to the frame. Do not tighten the bolts down all the way at this time; you will torque them to specification later.

4. Slide the ball joint stud into the steering knuckle.
5. Install the castle nut on the ball joint stud. Use a torque wrench to tighten the castle nut to the manufacturer’s specification.
6. Install a new cotter pin (the control arm may come with a replacement) into the castle nut.
7. Reattach the sway bar link (if equipped) to the control arm. Use a torque wrench to tighten the retaining nut to the manufacturer’s specification.
8. Reinstall the wheel/tire assembly on the lug nuts.
9. Tighten the lug nuts until they’re snug using a ratchet and socket.

10. Safely remove the jack stands and lower the vehicle.
11. Use a torque wrench to tighten the lug nuts to the manufacturer’s specifications.
12. With the vehicle at its normal ride height, use a torque wrench to tighten the control arm bolts to the manufacturer’s specifications.
13. Take the vehicle to a repair shop and have the alignment checked by a professional.
Front Control Arm Replacement Tips
The most important tip is to read the factory repair information before attempting this job. Failure to do so can result in personal injury and property damage.
Also, if you encounter parts that are rusted or seized, apply a good penetrating oil, such as PB Blaster or, my personal favorite, Kano Kroil. Allow the penetrant to sink in overnight before you try to loosen the parts again in the morning.
Watch these videos for tips on how to replace your lower control arm:
Where to Get a Replacement Control Arm for Your Vehicle
When driving with a bad control arm, you might notice your vehicle tends to pull to one side or that its steering doesn’t respond as it should. It’s best to replace a faulty control arm before these issues lead to an accident on the road. Thankfully, CarParts.com is here to help.
The CarParts.com catalog includes a lot of different aftermarket brands at different price points to suit every budget. Ordering online is a breeze, thanks to our easy-to-navigate website. To view parts that are guaranteed to fit your vehicle, all you need to do is input its specific make and model in our built-in vehicle selector. Once you add a new control arm to your cart,you can proceed through our convenient and secure checkout. With our fast shipping, we’ll deliver your replacement control arm to your doorstep in as few as two business days.
The longer you wait, the harder it’ll get to replace that faulty control arm, especially if it’s looking particularly rusty. Place your order for a new replacement control arm at CarParts.com today.
Products Mentioned in this Guide
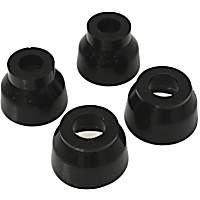 Ball Joint Boot
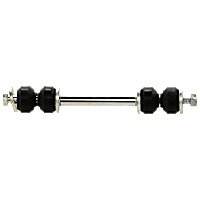 Sway Bar Link
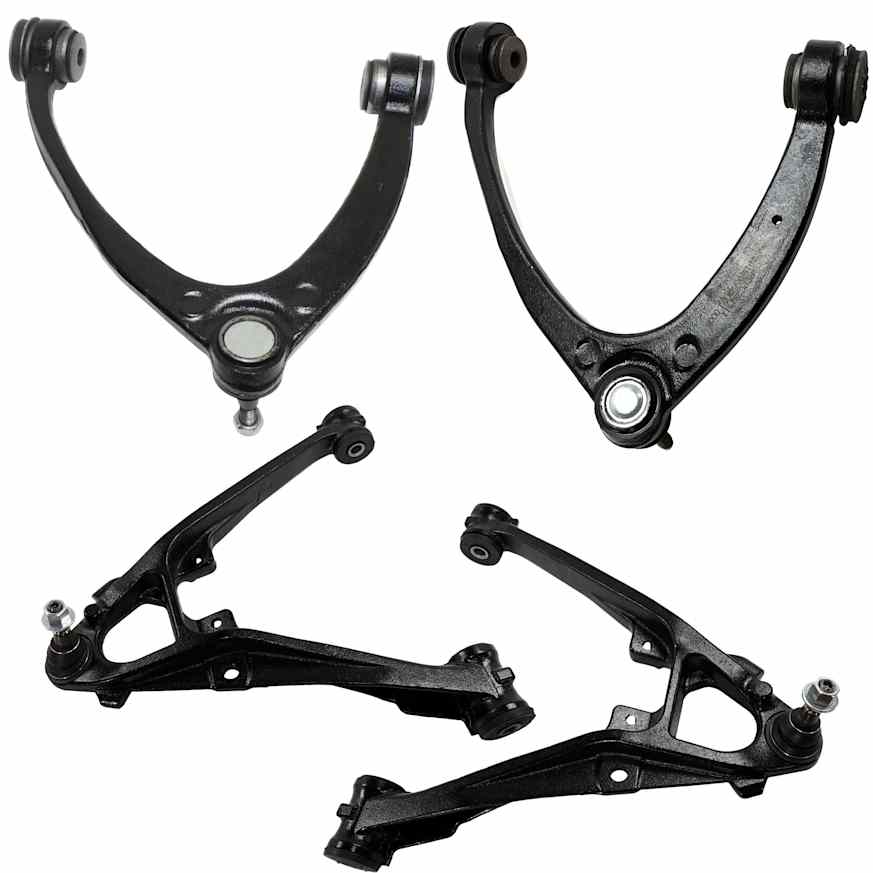
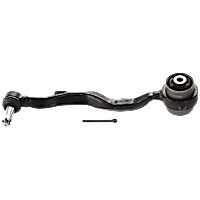 Control Arm
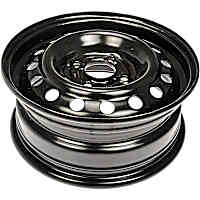 Wheel
Wheel
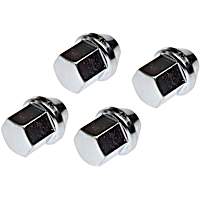 Lug Nut
Keep Reading: Related Posts


Any information provided on this Website is for informational purposes only and is not intended to replace consultation with a professional mechanic. The accuracy and timeliness of the information may change from the time of publication.


