Let your machine cool, rinse the heavy stuff off with low-pressure water, wash with mild soap, dry it completely, then inspect and relube before it goes back in the garage. This sequence runs about 30 minutes after a normal ride and closer to an hour after a mud day. Skipping it is how you’ll end up replacing wheel bearings, CV boots, and radiators that had life left.
Dirt isn’t just cosmetic. Packed mud chokes airflow through radiators and cooling fins, grit works into brakes, suspension pivots, and seals like sandpaper, and trapped moisture sits against metal and connectors until corrosion sets in. Worst of all, a dirty machine hides leaks, torn boots, and loose hardware that you need to catch early.
Key Takeaways
- Wash cool, never hot. Hot brakes and engine cases don’t respond well to a cold blast.
- Low pressure wins. High-pressure water forces grit past seals built only to shed splash.
- Dry it before you inspect it. Water masks fresh leaks, and clean metal shows cracks.
- Relube what the wash removed. Chains, cables, and grease fittings lose protection.
- Check the brakes before every ride.
Why Post-Ride Cleaning Counts as Maintenance
Each element brings its own problem. Mud insulates and blocks cooling. Dust is abrasive and finds filters, intake tracts, and seals. Water carries both where they don’t belong, then stays there.
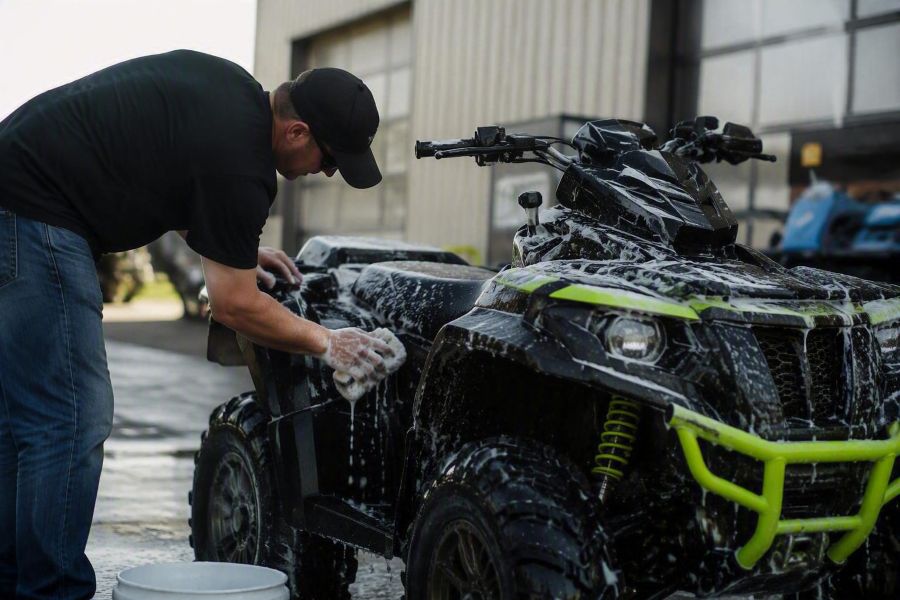
Washing by hand also puts your hands and eyes on every square inch of your machine, which is how you catch a weeping shock, a cracked coolant hose, or a loose skid plate bolt while it’s still a cheap fix. Cleaning and preventive maintenance are the same job.
The Wash Sequence That Won’t Cost You Parts
Let It Cool First
Give the engine, exhaust, and brakes 20 to 30 minutes to cool. Cold water on hot metal stresses components, and hot bodywork flash-dries soap into streaks you’ll fight later.
Keep the Pressure Low and the Nozzle Moving
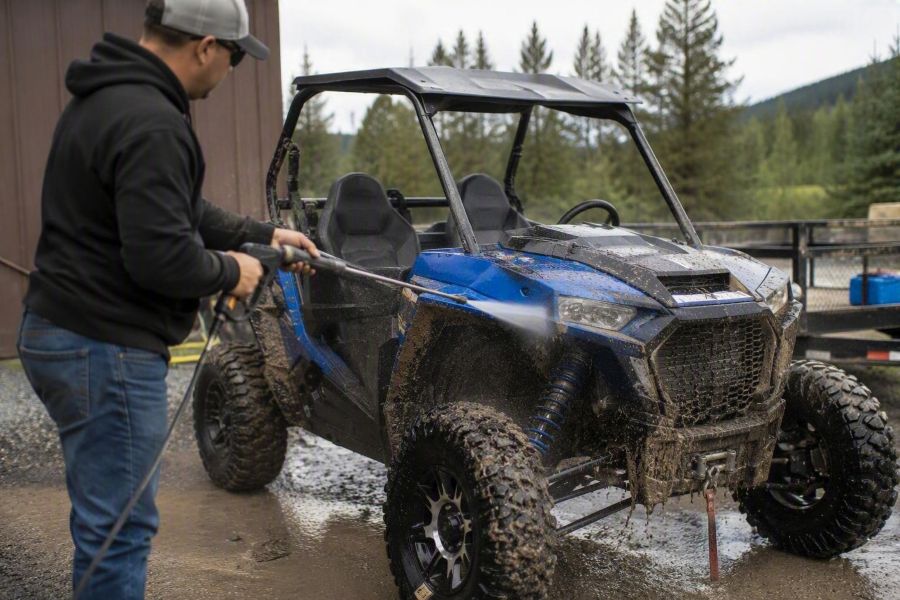
A garden hose and mild soap handle most rides. If you use a pressure washer, dial it down, run a wide fan tip, hold it 18 inches away or more, and keep it moving. Don’t aim it at wheel bearings, hub and axle seals, radiator fins, brake calipers, electrical connectors and switches, air intakes, the airbox, or exhaust openings. Pressurized water pushes past these seals, and then you’re chasing water intrusion instead of riding.
Soak, Then Agitate
Rinse the heavy chunks off, then apply mild soap or a powersports cleaner and let it dwell a few minutes so the film releases. Use a wash mitt, sponge, and a long-handled brush for the undercarriage and A-arms. Where runoff rules or water restrictions apply, a rinseless solution in a bucket or a waterless spray does it with far less water.
Match the Method to the Mess
Dried Mud and Clay
Soak it, don’t chip it. Wet the mud, let it soften, and rinse in stages rather than prying at hardened clay and scratching plastics. Clay packs into radiator fins and behind skid plates, so rinse the radiator from the back side outward where you can reach it, and pull the skid plates after a serious mud day.
Fine Dust and Sand
Never dry-wipe dust. Blow it off intake screens and out of the airbox area first, then wash. Dusty rides are where ATV cleaning pays for itself in engine life, since a plugged filter chokes power and a poorly seated one lets grit straight into the intake. Check the air filter after every dusty day.

Deep Water and Ruts
After a water day, check the airbox drain and gasket, inspect snorkel boots, clamps, and couplers for cracks or shifted joints, and confirm the differential, transmission, and fuel tank vent lines are still routed high, secured, and free of kinks or standing water. Milky oil in a diff or the crankcase means water got in and the fluid has to come out. Grease wheel bearings and driveline fittings after a submersion. If you suspect the intake swallowed water, don’t crank it over. Have it checked first, because hydrolock turns a cheap afternoon into an engine bill.
Cabs, Cockpits, and Cargo Beds
Riders working out how to clean a UTV often stop at the exterior, but the cab collects the same abrasive grit. Blow out the floor pans, clear the cab drains, wipe down seat belts and harness webbing, and clean the pedal box so nothing binds. Dirt in a throttle or brake pivot is a control problem, not a housekeeping one.
Dry It Completely, Then Inspect
A leaf blower is the fastest tool here, with low-pressure compressed air and microfiber towels for the rest. Drive water out of switch housings, gauge pods, bolt heads, and chain rollers so it can’t sit and corrode.
Then walk your machine while everything is visible. Squeeze the brake lever and press the pedal to confirm firm, consistent pressure, and check pad thickness, rotor surfaces, and hoses for weeping. Check CV and axle boots for tears, tie rod ends and ball joints for play, and shock shafts for oil film. Look for pooled fluid, fuel smell, coolant residue, and fasteners that backed out.
If the brakes feel soft or grabby, or if you find leaking fluid, a wet shock shaft, or any fuel odor, park it and get it inspected before you ride. Steering, suspension, and brake issues get worse fast on rough terrain, and they’re cheap to fix while they’re still small.
Relube What the Wash Took Off
Soap and water strip lubricant, so put it back. Lube the chain while the rollers are dry, hit cable ends and pivot points, and grease every fitting on the suspension and driveline. Dielectric grease helps on connectors you opened. A light protectant on plastics and exposed metal slows surface corrosion through the offseason.
FAQ
Yes, with restraint. Dial the pressure down, use a wide tip, stay well back, and keep the spray off bearings, seals, brakes, electronics, and intakes. A garden hose does nearly the same work with less risk.
After mud, water, or heavy dust, yes. After a dry, light trail day, a rinse and a quick inspection is usually enough. The inspection matters more than the shine.
The same day if you can. Mud that dries hard for a week takes far more soaking and scrubbing, and it hides damage the whole time it sits.
A mild automotive or powersports wash, or a cleaner made for chains and grime. Skip harsh degreasers on seals and paint, and check your owner’s manual for anything the manufacturer warns against.
Look for milky or discolored oil, water in the airbox, a rough start, and moisture inside connectors or lights. Any of these calls for fluid changes and a closer look before you ride.
Good aftercare separates a machine that’s ready every weekend from one that eats your riding season. Build the routine once, run it every time, and you’ll spend spring riding instead of wrenching. When you need filters, brake components, drive parts, or a full preseason refresh, the JC Whitney Performance Hub carries parts and fitment for the whole setup, from the truck that tows to the machine that takes you out.
Keep Reading: Related Posts





Any information provided on this Website is for informational purposes only and is not intended to replace consultation with a professional mechanic. The accuracy and timeliness of the information may change from the time of publication.