An oil pressure switch is one of the least expensive parts on an engine, which is exactly why it gets ordered carelessly. The usual failure isn’t the part. It’s the order: a switch arrives with the wrong thread, a single spade terminal where the harness has a two-pin plug, or no sealing washer, and the old unit is already out of the block.
The better starting question isn’t “Which one is cheapest?” or “Which one looks like mine?” It’s “What exactly needs to go in the cart for this job?”
Oil pressure switches create wrong-order risk for three reasons. Listings use switch, sender, and sensor loosely, though these can be different parts in the same engine. The body shape reveals almost nothing about thread type, trip pressure, or electrical output. And access varies: some switches sit in plain view, while others hide under the intake, which changes what the cart must include.
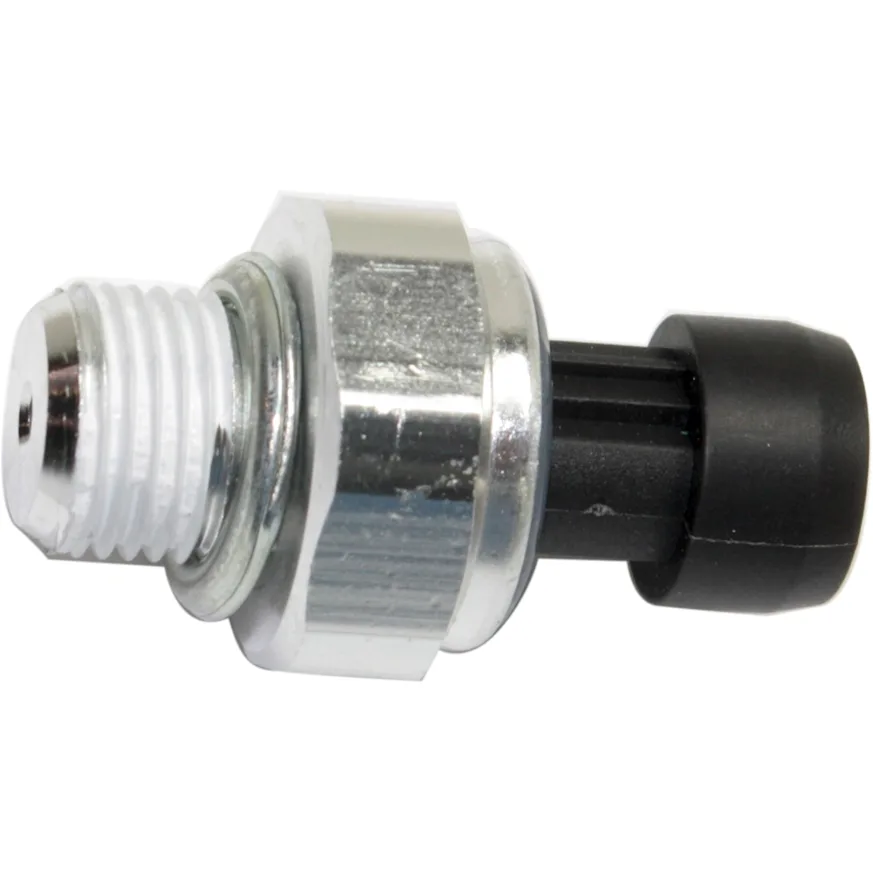
The Job in One Sentence
The job is to restore an accurate oil pressure signal to the warning light, gauge, or engine control module (ECM) and leave the port sealed with no leaks.
The switch threads into a pressurized oil passage and turns pressure into an electrical signal. A basic switch is on/off and triggers the warning light below a set pressure. A sender or sensor produces a variable signal for a gauge or the ECM. This difference decides fitment more than appearance does.
So the order covers three things: the correct electrical output, the correct thread seal, and the correct harness connection. Most switches are sold bare, sometimes with a sealing washer or pre-applied sealant. Pigtails, adapters, and access gaskets are usually separate.
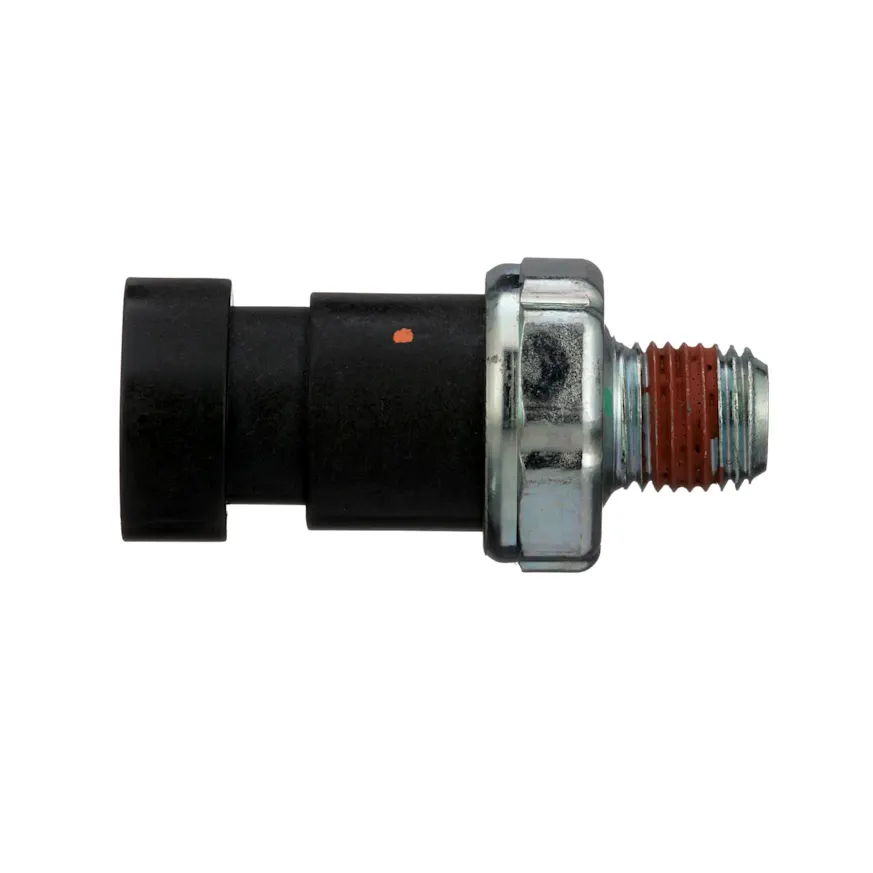
Choose Your Cart Size
Most oil pressure switch orders fit one of three cart sizes, and the smallest one is often the right one.
1. Minimum Viable Repair
For a switch that’s leaking or failing electrically, with nothing else wrong nearby.
Choose it if:
- The switch is easy to reach
- Oil pressure itself has been confirmed as normal
- The connector is clean, dry, and intact
Typical cart:
- Oil pressure switch matched to engine and connector
- Sealing washer, O-ring, or oil-rated thread sealant, if not included
- Engine oil to top off
2. Smart Same-Access Refresh
For a switch that has leaked long enough to affect the parts around it.
Choose it if:
- Oil has wicked into the connector or coated the harness
- The connector latch is cracked or heat-hardened
- The switch mounts in an oil filter housing or adapter that is also seeping
Typical cart:
- Switch plus its seal
- Connector pigtail
- Housing or adapter gasket, if the joint is wet
- Oil, filter, and a serpentine belt if oil reached it
3. High-Mileage / Do-It-Once Reset
For older engines, long-term owners, and switches that take real labor to reach.
Choose it if:
- The switch sits under the intake or behind other components
- The engine has a separate gauge sender of the same age
- You plan to keep your vehicle for years
Typical cart:
- Switch, plus the separate sender if equipped
- Every gasket and one-time-use fastener for parts removed to reach the port
- Any screen or adapter seal the application uses
- Pigtail, oil, and filter
What Is Commonly Ordered Together on This Job
A complete oil pressure switch order usually includes a seal, sometimes a connector, and occasionally the gaskets for whatever blocks the port.
Sealing Items
Every cart needs a thread seal unless the listing clearly includes one. Straight-thread switches seal with a crush washer or O-ring. But switches with tapered pipe threads, such as National Pipe Taper (NPT), need oil-rated thread sealant unless pre-coated. Don’t assume a washer is in the box, and skip plumbing tape because it can shred into a small oil passage and, on single-terminal switches that ground through their threads, interfere with the circuit.
Sensors / Electrical Items
A leaking switch often ruins its connector. Oil can wick into the plug, and heat makes the latch brittle. A connector pigtail is cheap insurance when the old plug is oily or cracked, because a new switch doesn’t fix a bad connection.

Switch vs. Sender vs. Both
Some engines use one part for the light and gauge, while others use a separate switch and sender. If both are the same age and share access, ordering the pair makes sense.
Fluids and Consumables
Plan for oil to top off what drains from the port, plus a full oil and filter change if one is nearly due.
Wear Items in the Same Access Zone
Add these only when the application or condition calls for them:
- Oil filter housing, adapter, or cooler gaskets, when the switch mounts there and the joint seeps
- Screens or adapter seals that sit beneath the switch in some engines
- Intake or cover gaskets, when these parts must come off
- Serpentine belt, when oil has soaked it
Tools That Finish the Job
Many switches have a tall connector boss that a standard socket can’t clear. A slotted oil pressure switch socket is the item most often missing when this job stalls.
What People Forget Until the Vehicle Is Already Apart
These are the gaps that leave an engine with an open oil port and a trip back to the store.
- Does the dash use a switch, a sender, or both?
- Is a sealing washer or O-ring actually in the box?
- Does the port need thread sealant or a washer?
- Does the connector match the harness, including pin count and latch?
- Is the old connector too oily or brittle to reuse?
- Did you pick the right unit for an engine with two switches?
- Will a standard socket clear the connector, or do you need a slotted one?
- Are gaskets in the cart for anything you must remove to reach the port?
When Replacing Only the Oil Pressure Switch Is False Economy
Replacing only the oil pressure switch is the right call for many vehicles. If the switch sits in the open, the connector is clean, and the only fault is a weeping body or dead signal, a switch plus its seal is a complete job.
The math changes when access is hard. In engines where the switch sits under the intake or behind other components, labor far outweighs part cost, and any gasket disturbed on the way in becomes a required purchase. If a separate gauge sender of the same age sits nearby, replacing it now avoids paying for access twice.
The other false economy is reusing a damaged connector. A new switch in an oil-soaked or cracked plug can repeat the same flickering light, and the new part gets blamed. Remember that a new switch only fixes a switch problem, so it’s the right purchase only when oil pressure itself has been confirmed as healthy.
The Fitment Splits That Break Oil Pressure Switch Orders
Most wrong oil pressure switch orders come from a split you never knew existed.
Switch, Sender, or Sensor
This is the biggest trap. A switch is on/off for a warning light, a sender gives a variable signal for a gauge, and a sensor in many newer engines sends voltage to the ECM. They can share a thread and look nearly identical. The wrong one leaves a dead gauge, a stuck light, or a diagnostic trouble code (DTC).
Gauge vs. Warning-Light Cluster
In some vehicles, the same engine uses a switch in base trims and a sender in trims with a factory gauge. Check what your dash shows before ordering.
Thread Size, Pitch, and Seal Style
Depending on application, switches use tapered pipe threads such as NPT, or straight metric or Society of Automotive Engineers (SAE) threads with a washer or O-ring. Forcing the wrong style can crack a housing or strip aluminum threads.
Connector Style and Terminal Count
Connections range from a single spade terminal to sealed multi-pin plugs. Pin count and plug shape must match the harness exactly.
Trip Pressure and Multiple-Switch Engines
Switches change state at a calibrated pressure, measured in pounds per square inch (psi). Some engines use two switches with different trip points, which are often marked by color. Mixing them up triggers false warnings or hides real ones.
Engine and Mounting Location
Engines in the same model often use different switches in different locations. Select by engine size, and by engine code when offered.
Body Length and Clearance
A longer body or larger hex might thread in but hit a bracket, filter, or hose, especially on tightly packaged engines.
Production-Date Splits
Midyear harness or cluster changes can change the correct switch within one model year. Check if the listing names a build date or vehicle identification number (VIN) range.
Delivery-Day Inspection Checklist
Check the new oil pressure switch against the listing and, if possible, against the old part before anything comes off the engine.
- Thread diameter and pitch match the old switch or the listed spec
- Thread style matches: tapered pipe thread vs. straight thread with a sealing face
- Sealing washer or O-ring is in the package if the listing says it should be
- Pre-applied sealant is present and intact if the switch is sold pre-coated
- Connector shape, terminal count, and latch style match the harness plug
- Body length and hex size are close enough to clear nearby brackets and the oil filter
- Part markings or color match the engine’s position for multiple-switch engines
- Threads and terminals show no shipping damage, and the connector boss isn’t cracked
Your One-Job Order Sheet for an Oil Pressure Switch
Run these six steps before checkout.
1. Confirm the Vehicle
Year, make, model, and engine, plus engine code, trim, and VIN or build date if the listing asks.
2. Confirm Part Type
Warning-light switch, gauge sender, ECM sensor, or more than one. Check whether the dash has a gauge, a light, or both.
3. Confirm What the Listing Includes
Look for a washer, O-ring, or pre-applied sealant. Assume that pigtails and gaskets are separate.
4. Add Consumables and Adjacent Items
Sealant or seal, top-off oil, a pigtail if the plug is oily or brittle, and gaskets for anything removed for access.
5. Bench-Check the Old Part Logic
Compare thread, seal style, connector, length, and markings. Keep the old part until the new one is confirmed.
6. Choose the Right Ownership Logic
Easy access and a clean connector point to the minimum cart. Buried access, a second sender, or an oily harness point to a larger one.
The Smart Way To Shop Oil Pressure Switches
The smart way to shop oil pressure switches is by repair scope, not by thumbnail. Two switches can look identical and still differ in output, thread, trip pressure, and connector.
The cheap-looking order is picking a bare switch because it resembles the old one. The correct order is the right part type, the right seal, a connector you trust, and any gaskets the access requires. The order might still be small for an easy-access engine.
What belongs in your cart depends on your vehicle, its engine, and how long you plan to keep it. Build the order to finish the job once.
Keep Reading: Related Posts






Any information provided on this Website is for informational purposes only and is not intended to replace consultation with a professional mechanic. The accuracy and timeliness of the information may change from the time of publication.