Picture two quarter panel listings sitting side by side. One says lower quarter panel, and the other says outer quarter panel. The prices aren’t close, and that gap has little to do with quality.
It usually comes down to which section of the panel each listing actually covers. The name dates back to when this part really was about a quarter of the car’s body, before doors and front sheet metal were added. The panel kept its name even as cars changed shape around it.
A quarter panel does real structural work and shapes a big chunk of your car’s look. Picking the right one means matching your vehicle, the side, the section, and the finish to your repair, whether you’re fixing a damaged quarter panel or refreshing the look.
Quick Answer: How Do You Choose the Right Quarter Panel?
Start by confirming your vehicle’s year, make, and model. Then narrow the search by side and section. Rear driver side and rear passenger side are the most common splits, and listings often break the panel into lower, outer, or full sections.
Check whether the panel ships primed or painted. Most aftermarket quarter panels arrive primed, so you can color match them yourself. Once fitment and section line up, compare CAPA-certified options for a closer match to factory specs, then use brand as your final check.
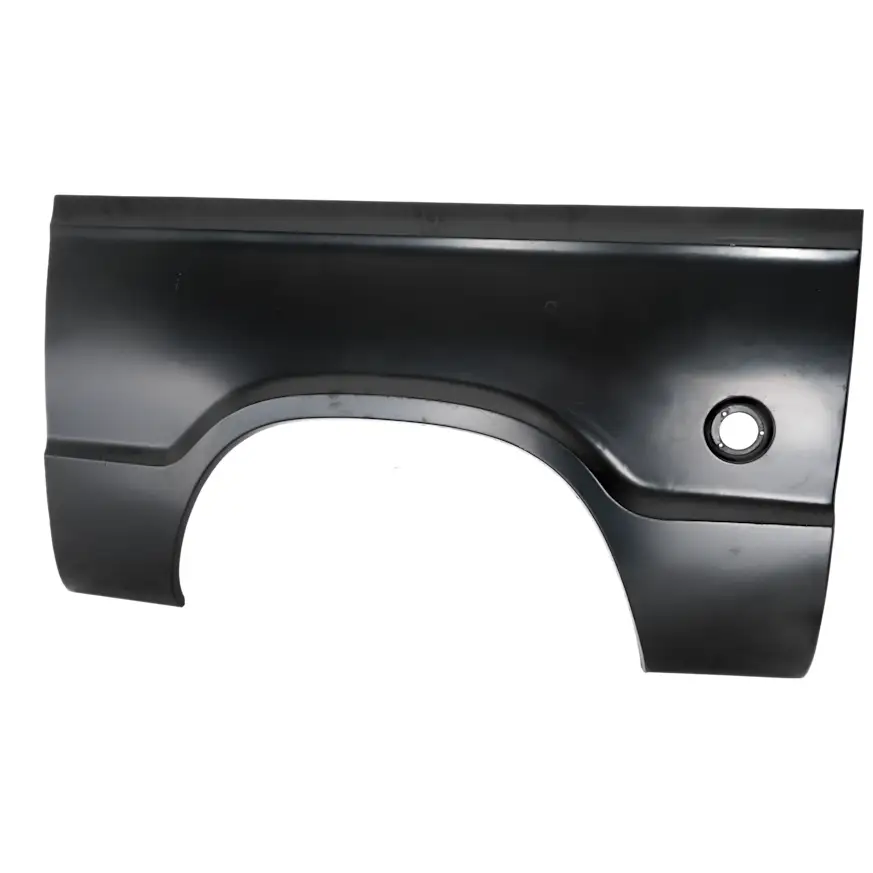
Start With the Vehicle, Not the Photo
Quarter panel photos look similar across a lot of vehicles, so the image alone won’t tell you much. Confirm these details before you compare listings:
- Year, make, and model
- Body style, since sedans, coupes, and hatchbacks use different panel shapes
- Driver side or passenger side
- Full panel or a smaller section
Front Fender or Quarter Panel?
Some listings apply the quarter panel name to the area near the front fender panel too. Technically, the front section between the door and hood is a fender, and the quarter panel sits at the rear. Double-check the position on the listing so you’re not comparing a fender to a true quarter panel.
Identify the Section Your Repair Actually Needs
Two listings can both say quarter panel and still solve different problems. A full quarter panel replaces the entire structural section. A lower quarter panel covers just the rocker area and wheel well lip, the spot most prone to rust and stone chips. Catching it early helps prevent wheel arch rust from spreading into the rest of the panel. If the damage is limited to that lower strip, a wheel arch repair panel might solve it for less than a full replacement.
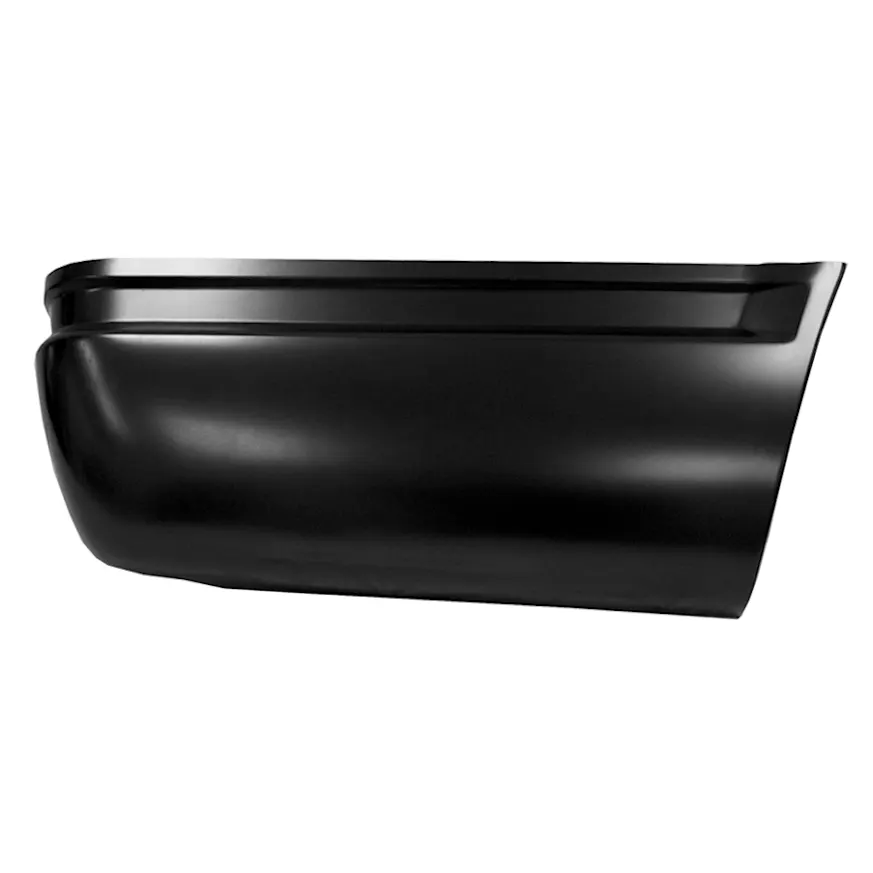
An outer quarter panel skin covers the visible surface without the structure behind it. Some outer skins carry CAPA certification, which means the panel gets tested to match the original part’s fit and finish. Check the listing title before you compare prices, since a budget lower section and a full replacement panel solve entirely different repairs.

Compare the Details That Make the Panel Fit
A photo shows the panel’s shape, but not whether the flange edges and mounting points line up with your car. Compare the listing’s photos against your old panel or the damaged area. Pay close attention to the wheel well lip and the trunk opening seam.
If your car has a distinct trim line or body crease, check that the replacement includes it. A generic-looking outline can still be the wrong stamping for your trim level.
Check What Comes in the Box
Fitment and completeness are two separate questions worth checking. Most aftermarket quarter panels ship primed but unpainted, so plan on paint and clear coat before you finish the repair. Some listings sell one side individually, while others bundle both the driver and passenger side as a set.
If you only need one side, double-check the listing isn’t a two-panel bundle. That difference changes both the price and what shows up at your door.
Compare Brands After You Confirm Fitment
Brand matters, but it shouldn’t be the first thing you check. CarParts.com carries quarter panels from Key Parts, JC Whitney, Replacement, ReplaceXL, Sherman, Mopar, and Genuine Mercedes. Many of these same brands also supply bumper covers for the same kind of collision repair jobs. A Key Parts or Replacement panel still has to match your vehicle’s side, section, and finish before it earns a spot in your cart.
Use brand as a confidence filter once fitment lines up. Warranty coverage often varies by brand too, so it’s worth a quick check alongside fitment. If you’re working on a newer or luxury vehicle, an OE option like Mopar or Genuine Mercedes tends to match factory specs most closely.
Choose the Right Ownership Lane
The right quarter panel depends on how long you need the repair to hold and how visible the section is. A lowest-cost functional repair makes sense for a lower section headed for a full repaint anyway, where an aftermarket steel panel gets the job done just fine.
A direct-fit standard replacement covers most daily drivers and matches factory dimensions without a premium price tag. A CAPA-certified or OE match earns its higher cost on a newer vehicle, a lease return, or any panel that needs to hit factory tolerances closely.
Make the Final Add-to-Cart Check
Before you add a quarter panel to your cart, run through this checklist:
- Vehicle year, make, and model confirmed
- Correct side and front or rear position confirmed
- Section confirmed as full panel, lower section, or outer skin
- Primed, painted, or CAPA certified status checked
- Quantity confirmed, especially for driver and passenger sets
- Brand chosen after fitment and section are settled
Your Best Starting Point
Start with the vehicle selector tool so the results already match your car. From there, narrow by side and section before you look at price or brand.
The right quarter panel isn’t the one with the lowest price or the most familiar brand name. It’s the one that matches your car’s side, section, and finish, so it fits right the first time.
Keep Reading: Related Posts




Any information provided on this Website is for informational purposes only and is not intended to replace consultation with a professional mechanic. The accuracy and timeliness of the information may change from the time of publication.