A back up camera order goes wrong more often than most ecommerce shoppers expect. The thumbnails look similar. The price ranges overlap. And the listings don’t always make it obvious which camera will actually plug into the monitor sitting in your dash.
That’s why the right place to start isn’t “What’s cheapest?” or “What looks like the one I had.?” It’s “What exactly needs to go in the cart for this job to finish?”
Back up cameras create wrong-order risk for a specific reason. The camera is one piece of a small system that includes the camera, the wiring path, the power source, the connector format, and the display. Miss any of those, and the package shows up looking right while your vehicle still won’t show an image.
The Job in One Sentence
A back up camera order is about restoring a working rear-view image, not just buying a camera.
The camera is only the front end of a small video system. It sends a signal through a cable, picks up power from somewhere near the reverse circuit, and pushes an image to a monitor that has to accept that signal in the right format. Get any one of those wrong and the picture either doesn’t show up, shows up with the wrong mirror orientation, or only displays when the monitor is in the wrong mode.
That’s why a back up camera is commonly sold three different ways: as a bare camera, as a camera plus harness kit, and as a complete system with a monitor included. Knowing which one your vehicle actually needs is the first decision before anything else goes in the cart.
Choose Your Cart Size
Each cart size is built around a different ownership logic.

1. Minimum Viable Repair
You already have a working monitor or factory head unit and an intact harness. The camera itself failed.
Choose it if:
- Your factory or aftermarket monitor still powers on and shows other inputs correctly
- The existing wiring runs from rear to dash without damage
- You only need to replace the camera at the back of the vehicle
- You can confirm the connector format the monitor expects
Typical cart:
- Replacement back up camera in the matching mount style
- Short pigtail or adapter only if the original connector is no longer available
- Mounting hardware or sealing grommet if those parts aren’t transferable
2. Smart Same-Access Refresh
The camera is bad, but the wiring is questionable, the mount is cracked, or the harness has been spliced more than once.
Choose it if:
- The cable shows abrasion, corrosion, or shrinkage near the tailgate hinge or rear hatch
- Connectors at the back have been opened, taped, or repaired before
- The mount, bracket, or license plate frame holding the camera is damaged
- You’re already pulling trim or the tailgate apart
Typical cart:
- Replacement camera
- Full extension or replacement video and power cable
- New mounting bracket, license plate frame mount, or tailgate handle assembly with integrated camera
- Reverse-light tap or T-tap connectors
- Heat shrink and weatherproof butt connectors for any splice that lives outside the cabin
3. High-Mileage or Do-It-Once Reset
The vehicle is older, the factory monitor is fading, or the system was never installed cleanly to begin with.
Choose it if:
- The factory head unit or monitor has dim spots, color shift, or no longer accepts the input reliably
- You’re upgrading from a non-camera vehicle and adding the system from scratch
- You want HD resolution where a standard-definition camera was failing
- You’re towing or running a longer body where the original wiring is short
Typical cart:
- Camera and monitor as a matched system, or a camera plus a compatible new monitor
- Harness long enough for the full body length
- Power, ground, and reverse-trigger leads
- Mounting hardware, brackets, and any vehicle-specific adapter
- Optional split-screen monitor or mirror replacement if you’re consolidating displays
What Is Commonly Ordered Together on This Job
A back up camera rarely ships with everything the installation needs. Here’s what might be missing:
Wiring and Cable
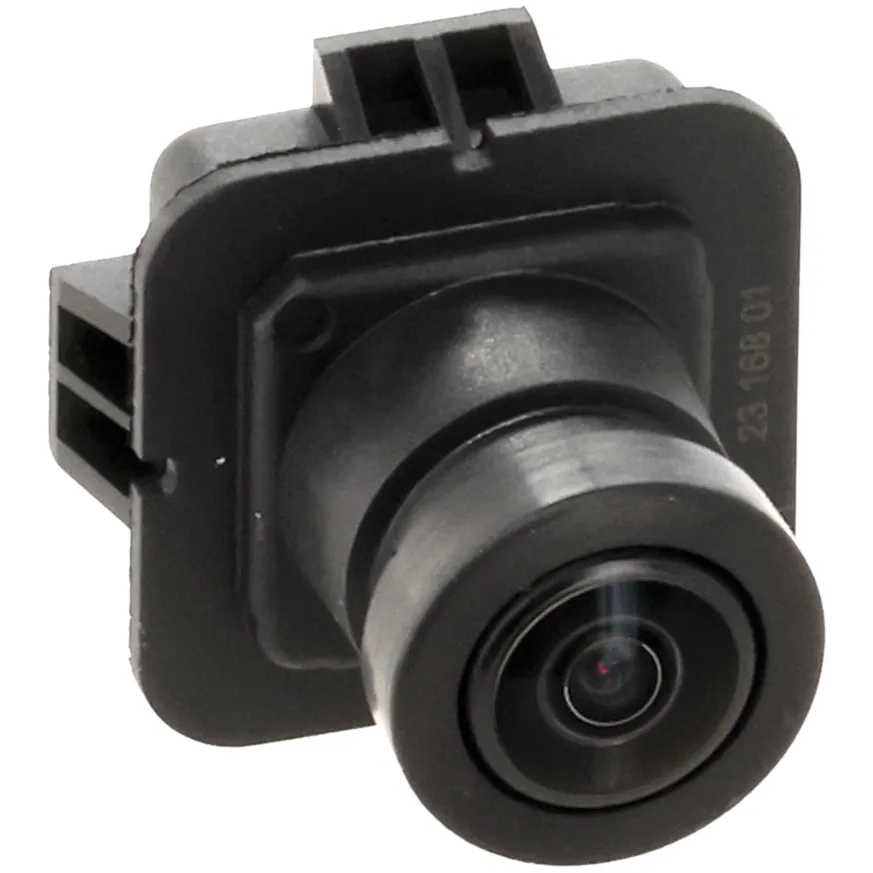
Most cameras include only a short pigtail. The video and power run from the back of the vehicle to the dash usually requires a separate extension cable. Many systems use RCA video plus a 12V trigger wire, but factory-integrated cameras often use a proprietary plug. Confirm cable length and connector format before you assume the cable in the box is the one you need.
Power Source Hardware
Cameras are typically triggered by the reverse-light circuit. This means a tap connector, a butt splice, or a soldered joint into a 12V reverse signal. Heat shrink, weatherproof connectors, and a crimp tool are commonly missed on first orders.
Monitor or Display
If your vehicle doesn’t have a screen capable of accepting the camera input, the camera alone is useless. Add a dedicated monitor, a rearview mirror with built-in display, or confirm that your existing aftermarket head unit has a camera input. Signal format matters here. NTSC or PAL on analog systems. Digital or AHD on newer kits.
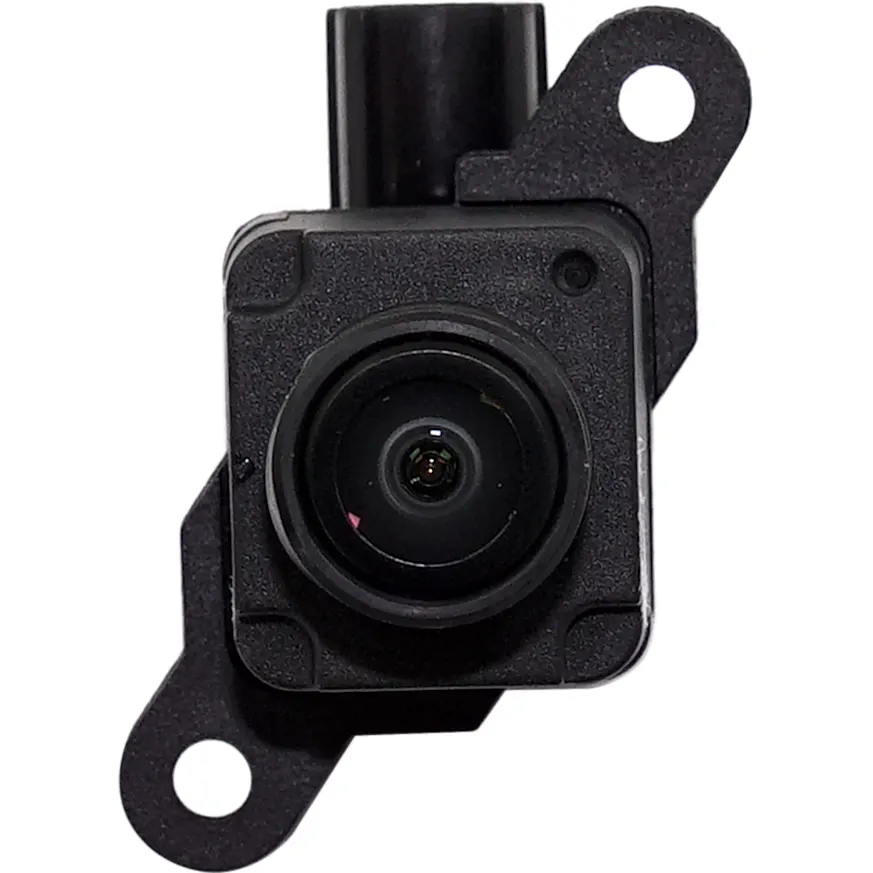
Mounting Hardware and Brackets
Some cameras mount to a license plate frame. Some bolt into a tailgate handle. Some are flush-mounted into bumper trim. Bracket styles aren’t interchangeable. Tailgate-handle cameras for trucks often replace the entire handle assembly. License plate cameras include a mounting strap or screws.
Sealing and Weatherproofing
Rear cameras live outside in spray, salt, and heat cycles. Dielectric grease, sealant, and weatherproof connectors are inexpensive and commonly forgotten until water gets into the harness.
Wireless Transmitter and Receiver Pair
On wireless systems, the camera, transmitter, and receiver are usually matched. Replacing only the camera on a wireless system rarely works unless you confirm pairing compatibility. The smarter cart is a complete wireless kit.
What People Forget Until the Vehicle Is Already Apart
This is where carts come up short.
- The new camera uses a different connector than the old one and the adapter isn’t in the box.
- The cable in the box is a meter shorter than the run actually requires.
- The image is mirrored the wrong way and the monitor has no flip setting.
- The factory head unit needs a coding or activation step to enable the input.
- The reverse light is LED and the trigger circuit needs a load resistor or relay.
- The mount holes don’t line up with the existing bumper or license plate cutout.
- The camera is rated for 12V but the application is 24V.
- The new wireless camera doesn’t pair with the old wireless monitor.
- The tailgate-handle replacement is for the wrong year split or trim.
- The included parking lines are static and the old setup had dynamic guidelines.
When Replacing Only the Back Up Camera Is False Economy
Sometimes the smallest cart is the right one. If the monitor works fine, the wiring is intact, and only the camera lens or housing has failed, replacing just the camera is correct.
The minimalist order is shortsighted in a few specific situations. If the wiring has been spliced multiple times near the tailgate hinge, replacing only the camera leaves the most failure-prone part of the circuit untouched. If the monitor has been showing artifacts, dimming, or input dropouts, a new camera won’t fix the display side of the system. And if the camera died from water intrusion, the connectors and harness running into it have probably seen the same water.
Tailgate-handle cameras are a separate case. On many trucks the camera is integrated into the rear handle assembly, and replacing just the camera module is often more expensive and harder to source than replacing the complete handle assembly with the camera built in. While the rear handle is apart, the bezel, gasket, and hardware are easy adds that prevent a second teardown.
When you’re upgrading from standard definition to HD, the camera change is only half the upgrade. The monitor has to support the higher resolution input, or the new camera will display at the lower format anyway. That’s a case where the right order is a matched system, not a single component.
The Fitment Splits That Break Back Up Camera Orders
This is the section that prevents the most returns.
Connector Format
RCA is common for aftermarket monitors and basic kits. Factory-integrated cameras often use proprietary plugs that are unique to the head unit and sometimes to the model year. A camera with the wrong connector physically won’t plug into the monitor.
Signal Format
Analog NTSC is the most common consumer format. PAL appears in some imported systems. Newer kits use AHD or digital signals that aren’t backward compatible with analog-only monitors. Mismatched signal types produce no image, a black-and-white image, or a rolling picture.
Mount Style
License plate frame, surface mount, flush mount, lip mount, tailgate-handle replacement, and bumper bezel cameras aren’t interchangeable in the same opening. The mount style has to match the surface or panel where the camera is going.
Vehicle-Specific vs. Universal
A universal camera will physically fit in many places but rarely fits a factory tailgate-handle cutout. A vehicle-specific tailgate-handle camera fits only the year, make, and model split it was designed for, and these splits often change mid-generation.
Mirror Image Setting
Rear cameras are typically mirrored so that the image on the monitor matches what the driver would see in a rear view mirror. Front and side cameras use a normal image. Some cameras have a switch, but many do not. Picking the wrong fixed orientation breaks the installation.
Power Voltage
Most light-duty vehicles run 12V. Heavy-duty trucks, RVs, and commercial vehicles sometimes run 24V. A 12V camera on a 24V circuit is a one-time mistake.
Wired vs. Wireless
Wired is more reliable and supports HD more cleanly. Wireless is easier to install and skips the long cable run. The receiver and transmitter usually have to be paired as a system, which limits mix-and-match.
Parking Lines
Some cameras output static lines burned into the image. Others output no lines and rely on the head unit to draw them. A few output dynamic lines that move with the steering wheel. Replacing a no-lines camera with a static-lines camera changes how the screen looks even when everything else works.
Delivery-Day Inspection Checklist
Before any trim comes off, lay the new camera on the bench and verify the following:
- Connector type matches the harness or adapter that will plug into it
- Cable length is long enough to reach from the camera location to the monitor
- Mount style fits the bracket, frame, handle, or bumper opening you’re working with
- Mirror orientation is correct for the position the camera will sit in
- Power leads are present and rated for the vehicle’s voltage
- Signal format matches what the monitor accepts
- Bracket, screws, gasket, and grommet are in the box
- Lens is clean and the housing isn’t cracked from shipping
- Any included pigtail, adapter, or extension uses the same connector style as the rest of the system
Your One-Job Order Sheet for a Back Up Camera
1. Confirm the Vehicle
Year, make, model, trim, and any tailgate or rear-panel split. This isn’t negotiable for tailgate-handle cameras.
2. Confirm the Repair Scope
Camera only. Camera plus wiring. Camera plus monitor. Full system from scratch. Determine the scope before you pick the part.
3. Confirm What the Listing Includes
Pigtail length, power leads, mounting hardware, and adapter to the monitor. Don’t assume any of it.
4. Confirm the Connector and Signal Format
RCA or proprietary. NTSC, PAL, AHD, or digital. The camera and monitor have to agree.
5. Add the Consumables and Adjacent Items
Extension cable, weatherproof connectors, heat shrink, dielectric grease, mounting hardware, and a reverse-light tap or load resistor if the application calls for one.
6. Bench-Check the Old Part Logic
Compare connector, mount, cable length, and lens orientation against the replacement before any trim comes off the vehicle.
7. Choose the Right Ownership Logic
Replacing a failed component, refreshing the access zone while it’s open, or resetting the system in an older vehicle. The cart should match the answer.
The Smart Way To Shop Back Up Cameras
The order that finishes the job once is rarely the cheapest order on the page. It’s the one that matches the camera to the monitor, the connector to the harness, and the mount to the vehicle.
The cart that fails is the one built off a thumbnail. A camera that looks identical to the original can use a different connector, a different signal format, or a different mount and still ship in the same week. The cart that succeeds is built off scope. What’s the repair? What’s already in your vehicle? What has to go with the camera so that the installation actually finishes?
Shop by the job. Confirm your vehicle, system, and included parts. Then add the consumables that keep you from making a second order three days later.
Keep Reading: Related Posts


Any information provided on this Website is for informational purposes only and is not intended to replace consultation with a professional mechanic. The accuracy and timeliness of the information may change from the time of publication.


