Installing a spare tire carrier is one of the more useful upgrades a truck or SUV owner can make. It frees up interior cargo space, lets you carry a full-size spare that may not fit the factory location, and keeps the tire within easy reach when you actually need it. The job is straightforward once the right carrier is matched to the vehicle and the common pitfalls are understood upfront.
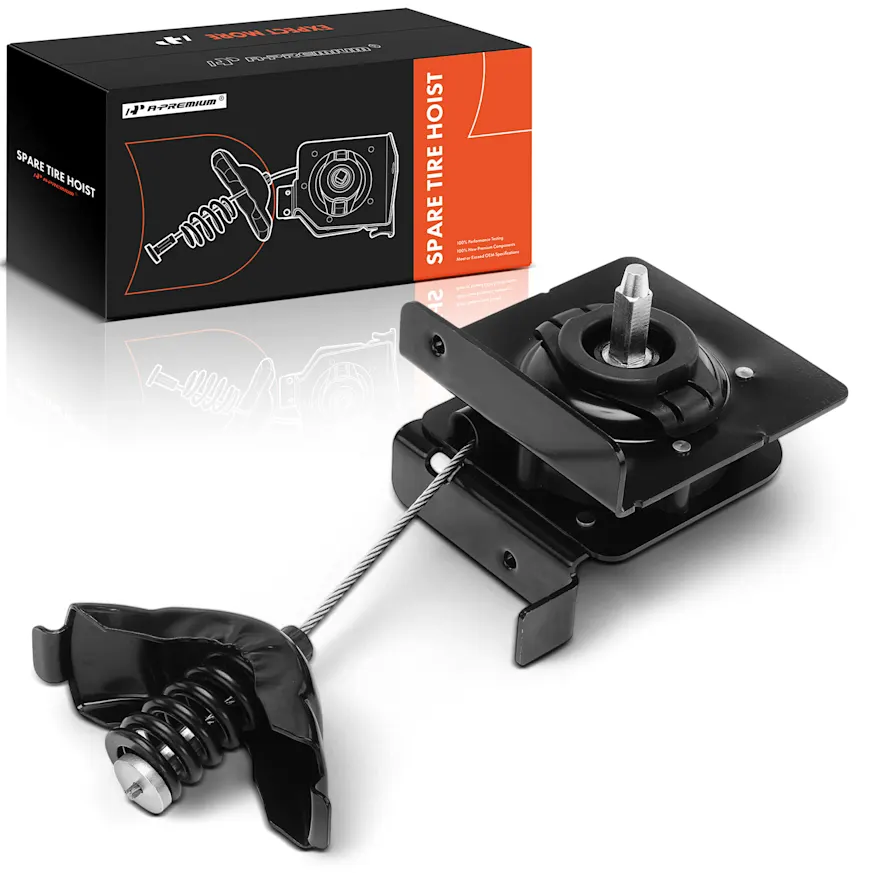
How to Install a Spare Tire Carrier: The Core Steps
The process varies by carrier style, but the same general sequence applies to most hitch-mount and bolt-on rear applications.
1. Park on a level surface and set the parking brake.
2. Identify the mounting location. For a hitch-mount carrier, slide the receiver tube into the 2-inch Class III hitch opening. For a bumper-bolt or door-mount carrier, locate the factory bolt holes or mark new drill points using the bracket as a template.
3. If drilling is required, start with pilot holes to keep the bit from wandering. Apply rust-inhibiting primer to all bare metal before hardware goes in.
4. Install the mounting brackets or receiver tube, leaving fasteners snug but not fully torqued yet.
5. Attach the swing arm or carrier frame to the brackets. Line up all holes before tightening any single bolt completely.
6. Once alignment looks good, torque all fasteners to the manufacturer’s spec. In the absence of a published spec, 40 to 60 ft-lbs is a reasonable range for M8 to M10 grade-8 hardware on most carriers.
7. Mount the spare wheel to the tire plate. Start lug nuts by hand, then tighten in a star pattern. Spare tire lug nuts on a carrier plate do not require the same torque as road wheels. Most setups call for 40 to 60 ft-lbs.
8. Test the swing arm or latch mechanism with the tire fully mounted before driving.
9. Re-torque all bolts after the first 50 to 100 miles. Vibration settles hardware, especially on rough pavement or gravel.
10. One thing many people forget: relocate the license plate and light during installation. Running an unlit plate is a ticketable offense in most states, and catching it after the fact means pulling hardware back out.
What Parts Are Included in a Hitch-Mounted Spare Tire Carrier Kit?
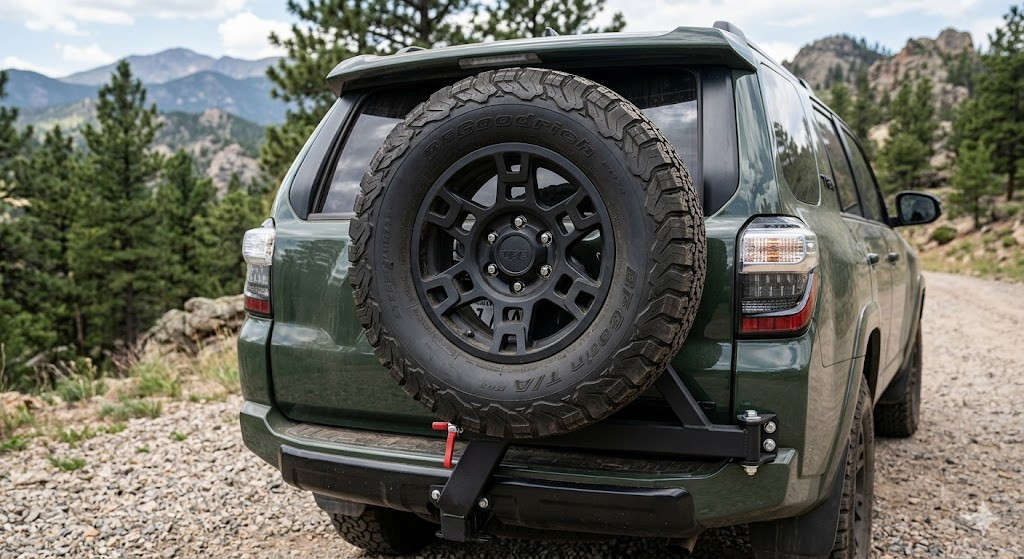
To install a hitch-mounted swing-away spare tire carrier like the one shown in the image, a comprehensive kit typically includes several heavy-duty components designed to handle the weight of an oversized off-road tire and the stresses of vibrations.
Here are the primary parts you would find in such a kit:
The Main Chassis Components
- Hitch Insert/Receiver Mount: The heavy-duty steel beam that slides into your vehicle’s 2-inch Class III or IV hitch receiver.
- Swing Arm: The main pivoting horizontal bar that holds the tire. This is usually constructed from boxed steel or thick tubular steel.
- Wheel Plate or Mounting Face: The vertical plate with a specific lug pattern, such as 5×4.5 or 6×5.5, where the spare tire actually bolts on.
The Pivot and Locking Hardware
- High-Shear Pivot Bolt: A massive, greaseable Grade 8 bolt, equivalent high-strength fastener, or tapered roller bearing assembly that allows the arm to swing open smoothly.
- Locking Latch Mechanism: Usually a heavy-duty toggle latch or spring-loaded T-handle pin that keeps the arm securely closed while driving.
- Safety Pin: A secondary backup pin to ensure the arm does not swing open if the primary latch fails.
Support and Stability Parts
- Anti-Wobble Wedge or Hitch Tightener: A critical bracket or internal wedge system that tightens the mount inside the receiver to prevent the entire assembly from rattling or tilting.
- Polyurethane Bump Stops: Small rubber pads that cushion the swing arm against the main frame to eliminate metal-on-metal noise.
Electrical and Legal Accessories
- License Plate Relocation Bracket: Since the tire often covers the factory plate location, most kits include a bracket to move the plate to the center of the spare tire.
- LED license plate light: A small light with a wiring harness to keep the relocated plate legal for night driving.
- Wheel Studs and lug nuts: The hardware specifically sized to secure the wheel to the carrier’s mounting face.
Technical Note: Depending on the SUV model, some deluxe kits also include a hitch extension if the bumper is particularly deep, or a vertical height adjustment plate to ensure the tire does not block the rearview camera or hit the ground on steep inclines.
Picking the Right Carrier Type
Three main styles exist for trucks, SUVs, and vans, and they are not interchangeable.
Hitch-mount Swing-out Carrier
The hitch-mount swing-out slides into a 2-inch Class III receiver and pivots open for full rear access. It is removable, relatively affordable, and works on a wide range of vehicles. The catch is tongue weight. Most mid-size vehicle hitches are rated between 350 and 500 lbs of static tongue weight, and a tire and wheel assembly can easily run 60 to 90 lbs before adding any accessories. Keep an eye on that number.
Bumper-integrated Swing-out Carrier
A bumper-integrated swing-out replaces the factory rear bumper with a unit that has a built-in pivot and latch. It is more stable at highway speed and on rough terrain, but it is expensive and entirely vehicle-specific. Installation quality matters more here because misalignment causes persistent rattle and accelerates latch wear.
Door-mount or Van Rear-door Carrier
The door-mount or van rear-door carrier bolts directly to the rear door. Use a backing plate on the inside of the door to distribute weight, and put foam between the bracket and the door skin to prevent metal-on-metal contact that leads to rust.
Avoid a roof-basket spare setup unless there is no better mounting option. Mounting a 60 to 90 lb tire overhead raises the center of gravity, eats into parking structure clearance, and turns every tire swap into a lifting exercise. For many van builders and overlanders, it ends up being more awkward than useful.
Fitment Checks to Make Before Ordering
This is where most buyers waste money. A carrier that does not match the vehicle’s geometry either will not install cleanly or creates clearance problems that only appear after delivery.
Run through this list before purchasing:
- Hitch receiver depth: Hitch-mount carriers need at least 4 to 4.5 inches from the hitch pin hole toward the front of the vehicle for the anti-wobble wedge lock to seat properly.
- Hitch face recession: The receiver face should sit flush with, or no more than 1.5 inches behind, the rear bumper. Deeply recessed hitches on some Subaru and Land Rover models can create fitment problems.
- Tire diameter and wheel offset: Wheels with a positive offset of +45 or greater may need a spacer on the carrier plate.
- Rear door clearance: Clamshell doors, split barn doors, and side-swing tailgates each require different swing angles. Look for 180-degree swing models for Transit, Sprinter, and Land Cruiser applications.
- Lug pattern: The tire mount plate must accommodate the wheel’s bolt pattern. Smaller patterns like 5×100 may require drilling the plate.
Most hitch-mount swing-out carriers will block the factory backup camera and proximity sensors. Plan for a camera relocation bracket or a wireless aftermarket camera before installation, particularly on vehicles that rely on sensor-based auto-braking.
What to Know About Load and Suspension
Adding 80 to 150 lbs behind the rear axle puts a real load on the rear suspension. Full-size trucks and body-on-frame SUVs handle it without much drama. Car-based crossovers and compact SUVs are more sensitive. On platforms like the Subaru Outback or Ford Escape, a full-size spare plus carrier can cause noticeable rear squat and a slight change in braking behavior.
If the combined weight of the carrier and loaded spare approaches 40 percent of the vehicle’s tongue weight rating, consider stiffer rear springs or an upgraded rear sway bar before committing to the setup long-term.
Dynamic load on washboard roads is significantly higher than static weight, which is why most manufacturers recommend re-torquing the pivot bolt to 60 to 70 ft-lbs every few months and greasing the shaft in climates with road salt.
Common Mistakes and Patterns Worth Avoiding
Carriers with thin welds fail at the pivot point more often than at any other location. The swing arm on a cheap hitch carrier is under continuous dynamic load on every drive, not just off-road. Established brands like A-Premium and Replacement have better track records because their designs are load-rated and built with appropriate steel thickness.
Avoid over-torquing the spare to the carrier plate. The plate is not a wheel hub. Torquing spare lug nuts to road-wheel specs risks cracking the plate or stripping the studs. Follow the carrier manufacturer’s spec, which typically falls between 40 and 60 ft-lbs.
If adding a bike rack or accessories to a hitch-mount carrier, account for the combined weight carefully. Load capacity drops as the load moves farther from the receiver. A carrier rated for 250 lbs at 18 inches from the hitch may drop to 150 lbs at 24 inches. Add the tire, wheel, rack, and bikes before assuming the setup is within spec.
Keeping the Spare Ready After Installation
A spare that sits unattended for a season creates two problems: a flat tire when needed most, and rubber that ages faster because it never rotates into the road set. Check spare tire pressure every 30 days, and if the spare matches the road tires in size and load rating, rotate it into the five-tire rotation on schedule. Apply UV protectant spray to the sidewall if the carrier leaves the tire fully exposed, particularly in high-sun climates. A spare tire cover costs very little and meaningfully extends sidewall life.
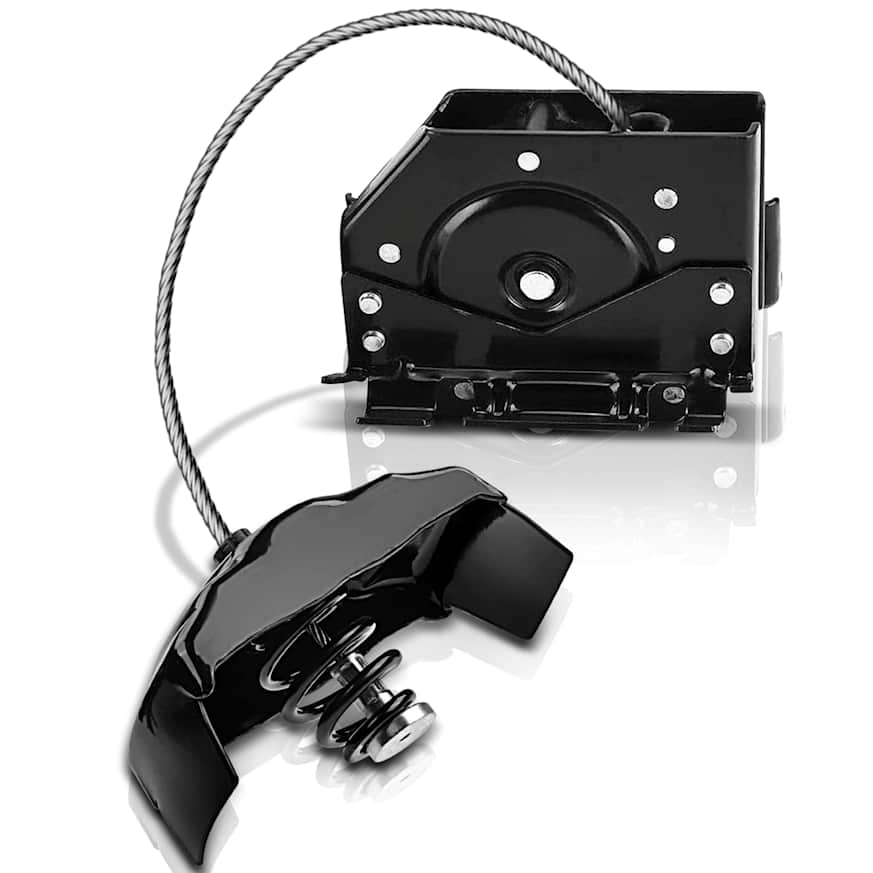
Find the Right Parts for Less by Shopping Online
Spare tire carriers, mounting hardware, wheel studs, lug nuts, and related hardware cost noticeably more at the dealer or local shop than they do online. For anyone sourcing parts for a carrier installation or upgrading an existing setup, CarParts.com is worth a look.
CarParts.com carries a wide selection of quality aftermarket and replacement parts at competitive prices, with fitment tools that make it easy to confirm compatibility by year, make, and model before ordering. It is a practical way to get the right parts without the markup.
Keep Reading: Related Posts







Any information provided on this Website is for informational purposes only and is not intended to replace consultation with a professional mechanic. The accuracy and timeliness of the information may change from the time of publication.