A driving light order usually goes wrong in a small, annoying way. The new lamp arrives, the lens shape matches the photo, and then you notice the bulb socket doesn’t match, the bezel didn’t come in the box, or the mounting tab sits in the wrong spot for the bumper.
That’s why you shouldn’t start with “Which one is cheapest?” or “Which one looks close enough?” Start with a better question: “What exactly needs to go in the cart for this job?”
Driving lights create more wrong-order risk than their size suggests. They’re side-specific for many vehicles, they change shape when a bumper gets redesigned mid-generation, and they ship in several package styles, from a bare housing to a complete assembly with bulb and bezel.
The Job in One Sentence
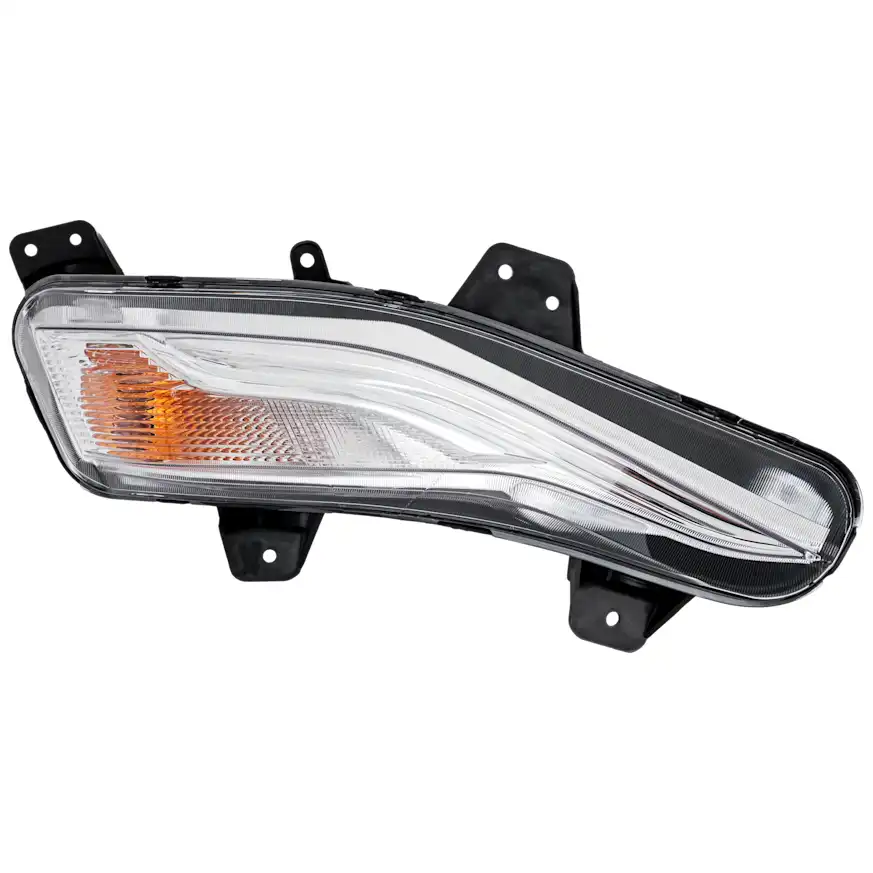
The job is to restore a sealed, correctly aimed, factory-fit lamp in the bumper or grille opening, with the right bulb, bezel, and mounting hardware, so both sides light up and look the same.
A driving light throws extra forward light from a low mounting position, and it only works correctly when the housing seals out water, locks into its bracket, and points where the factory aimed it. That’s why the job takes more than a lamp.
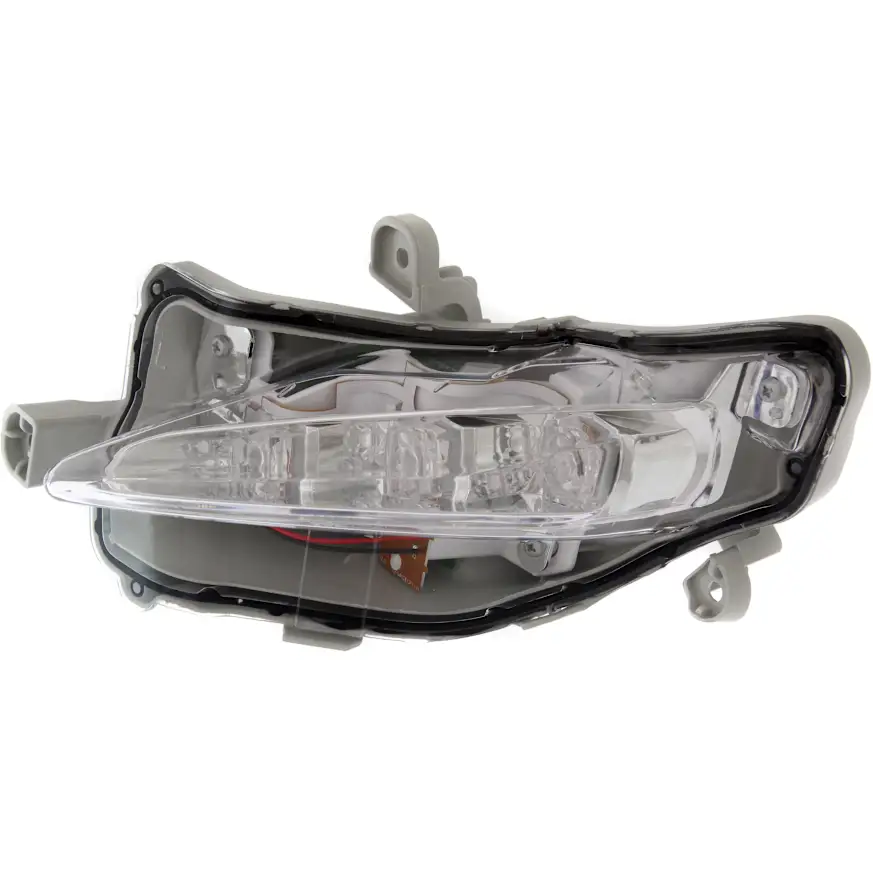
Replacement driving lights ship as anything from a bare housing to a complete assembly with bulb, socket, and bezel, so the same product photo can hide very different carts.
Choose Your Cart Size
Most driving light jobs fit one of three cart sizes, and the right one depends on how the lamp failed and how long you plan to keep your vehicle.
1. Minimum Viable Repair
This lane covers one damaged lamp on a vehicle where the other side still looks and works like new.
Choose it if:
- A rock or curb strike cracked one lens, and the opposite lamp is clear
- You can reach the lamp through a bezel opening or wheel-well access panel
- The socket and connector on the damaged side look clean and tight
Typical cart:
- One side-specific driving light assembly (driver or passenger)
- One bulb if the listing ships without it
- Replacement bezel only if the old one cracked
2. Smart Same-Access Refresh
This lane makes sense when you’re already removing the bumper cover, grille, or splash shield to reach the lamp.
Choose it if:
- Your vehicle requires bumper cover removal to reach the lamp
- The opposite lens shows haze, yellowing, or moisture spots
- You want matched light color and output for both sides
Typical cart:
- A left and right pair, or a two-lamp set
- Two new bulbs of the same type and color temperature
- Bezels or trim covers if either side has broken tabs
- A small pack of bumper retainers, push-pin clips, and splash shield fasteners
- Dielectric grease for the connectors
3. High-Mileage / Do-It-Once Reset
This lane fits older vehicles, salt-belt trucks, or repairs after a minor front-end hit where several small parts took damage.
Choose it if:
- Connectors or sockets show green corrosion or brittle, cracked plastic
- Brackets or mounting tabs have bent or broken
- You plan to keep your vehicle for years and don’t want to reopen the bumper
Typical cart:
- A driving light pair with bulbs
- Replacement sockets or pigtail connectors, depending on application
- New mounting brackets and bezels
- Bumper cover retainers, clips, and screws
- Dielectric grease
Lane 1 is fine for a lot of shoppers. Lane 3 only earns its cost when your vehicle shows the wear or damage that justifies it.
What Is Commonly Ordered Together on This Job
A complete driving light order usually includes the lamp plus bulbs, trim, and small mounting hardware.
Bulbs
Halogen driving lights use a replaceable bulb, and some replacement housings ship without one. Buyers often assume the bulb comes in the box because the product photo shows a lit lamp. Check the listing, then match the old bulb number. Replacing one side? Make sure to match the other side’s bulb color temperature.
Sockets, Pigtails, and Connectors
The socket and wiring pigtail sit low in the bumper, where road salt and water hit them first. Drivers often blame a flickering new lamp when the real problem sits in the old pigtail. Add a replacement socket or pigtail if yours shows corrosion, melted plastic, or loose terminals.

Bezels, Trim Covers, and Brackets
The bezel finishes the bumper opening, and the bracket holds the lamp at its factory angle. Both crack easily in a minor impact or during removal. Many buyers expect the old bezel to transfer over, then find a snapped retaining tab once it’s off. Bezels also come in different finishes, such as chrome, black, or paint-to-match, depending on trim.
Clips, Fasteners, and Bumper Hardware
Plastic push-pin retainers, splash shield screws, and bumper cover clips often break when you pull them, especially on older vehicles. Order spares instead of reusing brittle ones.
Consumables
Dielectric grease on the connector helps keep moisture out of the terminals. But buyers often skip it because nobody thinks of it until the connector is apart.
Paired Left and Right Lamps
Lenses haze and yellow with age. A new lamp next to a ten-year-old lamp often looks noticeably brighter and clearer. Decide whether this difference matters to you and whether you want to buy a single lamp or a pair before checkout.
What People Forget Until the Vehicle Is Already Apart
These are the gaps that stall a driving light job halfway through.
- Did the listing say “bulb included” or not?
- Did the old bezel survive removal, or does it have cracked tabs?
- Is the bracket built into the housing or a separate part on your vehicle?
- Does the old connector look clean, or green and crusty?
- Is the lamp actually a driving light, or a fog light with a different housing on the trim?
- Did the old lamp stop working without visible damage? Confirm the bulb and fuse before you buy a housing.
When Replacing Only the Driving Light Is False Economy
Replacing a single driving light becomes false economy when the access work costs more than the second lamp.
On many cars and crossovers, you can’t reach the driving light without loosening the bumper cover or removing a splash shield. If the opposite lens already shows haze or moisture, you’ll likely repeat this teardown within a year or two. Ordering the pair now means you remove the bumper cover once instead of twice.
The same logic covers small parts. A brittle bezel, corroded pigtail, or cracked bracket tab can leave the new lamp loose, dim, or rattling, and each costs little compared to reopening the bumper.
That said, a one-lamp order often makes perfect sense. If a rock cracked one lens, the other side looks clear, and you can reach the lamp through a bezel or wheel-well opening, there’s no labor overlap to protect. Buy the single lamp, add a bulb if needed, and finish the job.
The Fitment Splits That Break Driving Light Orders
Most wrong driving light orders come from a split you didn’t know existed, not from picking the wrong vehicle.
Driver Side vs. Passenger Side
On many vehicles, the housing follows the bumper’s contour, so the left and right lamps aren’t interchangeable. Round lamps sometimes fit either side, but don’t assume it. Confirm whether the listing names a side or sells a pair.
Model Year and Bumper Redesign
When automakers reshape the bumper in a mid-generation refresh, the driving light housing usually changes too. If your vehicle falls near a refresh year, check the production date on the driver’s door jamb label and compare the lamp shape to the bumper opening.
Trim, Package, and Bumper Style
Sport, off-road, and appearance packages often use different bumper covers or grilles. On trucks, a chrome steel bumper and a body-color bumper can take different lamps. A listing that fits “the model” might not fit your trim’s bumper.
Halogen vs. LED
A halogen lamp uses a replaceable bulb. A factory LED driving light often has its light source built into the housing and plugs in through a different connector. These two styles don’t swap without wiring changes, depending on application.
Bulb Type and Socket Style
Halogen driving lights use several bulb and socket designs, such as H11 or 9006, depending on application. A lamp that matches the bumper but carries the wrong socket won’t accept the bulb or connector.
Driving Light vs. Fog Light
Many shoppers use these names interchangeably, but the lamps aren’t the same. Under Society of Automotive Engineers (SAE) lighting codes, a lens marked “Y” identifies an auxiliary high beam (driving) lamp, while “F” identifies a front fog lamp. Check the old lens and the listing title so you replace the same function.
Complete Assembly vs. Housing Only
Two listings can show the same lamp and include different parts. Compare the included components, not just the photos.
Vehicles Not Originally Equipped
If your vehicle’s trim never came with driving lights, a replacement lamp alone won’t work. You’ll need a kit that includes the wiring harness, relay, switch, and bezels, depending on application. That’s a different job from replacing a factory lamp.
Delivery-Day Inspection Checklist
Compare the new driving light to the old one, or to the bumper opening, before you remove anything.
- Check the side marking or part label against the side you need
- Compare the lens outline and contour to the old lamp or bumper opening
- Count the mounting tabs and confirm their positions match
- Confirm the bulb socket style matches the bulb number
- Check the connector shape and pin count on LED units
- Verify that every listed component arrived, such as the bulb, socket, bezel, or bracket
- Look for the aiming adjuster screw if the old lamp had one
- Inspect the lens for cracks, scratches, or shipping damage
- Confirm any vent caps or seals sit in place on the housing
Your One-Job Order Sheet for a Driving Light
Use these six steps to build a complete driving light order before checkout.
1. Confirm the Vehicle
Enter the year, make, model, and trim. Note the bumper style or appearance package, and check the production date if your vehicle sits near a refresh year.
2. Confirm the Repair Scope
Decide whether you’re replacing one damaged lamp, a matched pair, or a set of lamps and trim after a minor front-end hit.
3. Confirm What the Listing Includes
Check for the bulb, socket, bezel, bracket, and side.
4. Add the Bulbs, Trim, and Small Hardware
Add bulbs if they don’t come in the box, plus bezels, push-pin retainers, splash shield fasteners, and dielectric grease as your scope requires.
5. Check the Old Lamp Before You Order
Read the bulb number from the old bulb, note the lens marking, and look at the connector. These three details settle most halogen, LED, and fog-versus-driving questions.
6. Choose the Right Ownership Logic
Pick the single lamp for an isolated failure with easy access. Pick the pair when the bumper cover has to come off or the other lens has aged. Pick the full reset only when connectors, brackets, or trim show real wear.
The Smart Way To Shop Driving Lights
Shop driving lights by repair scope, not by thumbnail. A lamp that looks right in a photo can still carry the wrong socket, the wrong contour, or none of the trim you need.
With a cheap-looking order, you’ll get a lamp at your door. With the correct order, you’ll get a lamp, a bulb that fits, trim that finishes the opening, and spare clips for any that snap during removal. That’s the difference between finishing the job in one afternoon and waiting for a second box.
Your vehicle, its bumper style, and how long you plan to keep the car decide which cart makes sense. Confirm the fitment details, read what the listing includes, and you’ll finish the job once.
Keep Reading: Related Posts





Any information provided on this Website is for informational purposes only and is not intended to replace consultation with a professional mechanic. The accuracy and timeliness of the information may change from the time of publication.